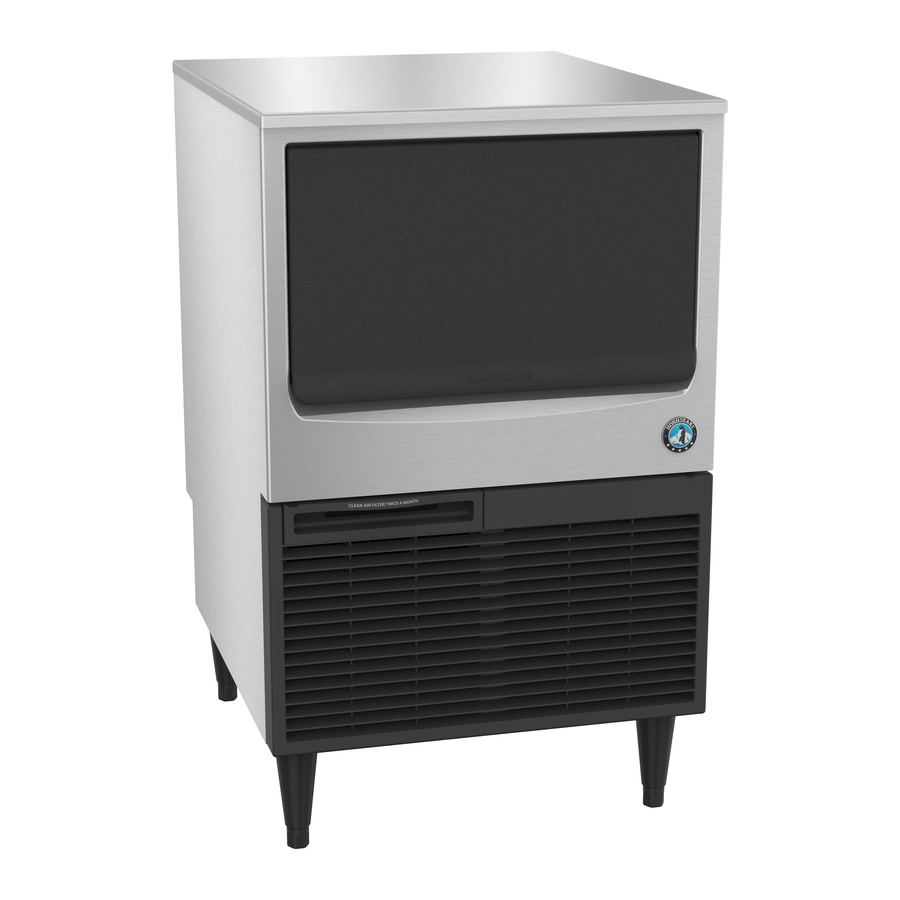
Hoshizaki KM-101BAH Instruction Manual
Self-contained crescent cuber
Hide thumbs
Also See for KM-101BAH:
- Instruction manual (32 pages) ,
- Parts list (22 pages) ,
- Specifications (2 pages)
Summary of Contents for Hoshizaki KM-101BAH
- Page 1 SELF-CONTAINED CRESCENT CUBER INSTRUCTION MANUAL KM-61BAH KM-101BAH KM-151BAH KM-151BWH L1M006102 (100109)
- Page 2 Should the reader have any questions or concerns which have not been satisfactorily addressed, please call, write, or send an e-mail message to the Hoshizaki Technical Support Department for assistance. HOSHIZAKI AMERICA, INC.
-
Page 3: Table Of Contents
I. Specifications -------------------------------------------------------------------------------------------1 A. Nameplate Rating ----------------------------------------------------------------------------------1 B. Dimensions/Connections -------------------------------------------------------------------------2 1. KM-61BAH ----------------------------------------------------------------------------------------2 2. KM-101BAH --------------------------------------------------------------------------------------3 3. KM-151BAH --------------------------------------------------------------------------------------4 4. KM-151BWH -------------------------------------------------------------------------------------5 II. Installation and Operating Instructions -----------------------------------------------------------6 A. Checks Before Installation -----------------------------------------------------------------------6 B. -
Page 4: Specifications
I. Specifications A. Nameplate Rating Model Amperes KM-61BAH 3.4 AMPS KM-101BAH 5.2 AMPS KM-151BAH 7.0 AMPS KM-151BWH 7.0 AMPS See the Nameplate for electrical and refrigeration specifications. This Nameplate is located on the upper part of the Left Side Panel. -
Page 5: Dimensions/Connections
B. Dimensions/Connections 1. KM-61BAH Unit: mm [inches]... -
Page 6: Km-101Bah
2. KM-101BAH Unit: mm [inches]... -
Page 7: Km-151Bah
3. KM-151BAH Unit: mm [inches]... -
Page 8: Km-151Bwh
4. KM-151BWH Unit: mm [inches]... -
Page 9: Installation And Operating Instructions
II. Installation and Operating Instructions A. Checks Before Installation * Visually inspect the exterior of the shipping container, and any severe damage noted should be reported to the carrier. 1. Remove shipping carton, tape(s) and packing. If packing material is left in the icemaker, it will not work properly. -
Page 10: Location
Separator Storage Bin Door Control Switch Air Filter C. Location This icemaker is not intended for outdoor use. Normal operating ambient temperature should be within +45°F to +100°F (+7°C to +38°C); Normal operating water temperature should be within +45°F to +90°F (+7°C to +32° C). -
Page 11: Electrical Connection
* The icemaker requires no clearance at either side. But allow enough space at rear for water supply and drain connections, at least 12” (approx. 30 cm) clearance at front, and at least 0.6” (approx. 15 mm) clearance at top for maintenance. D. -
Page 12: Water Supply And Drain Connections
4) When installing the unit without legs, the perimeter where the machine touches the counter should be sealed with silicone to prevent water from leaking under the icemaker. 5) When installing the unit with legs on the bottom, use the four accessory legs adjustable from 6”... - Page 13 * This icemaker should be installed in accordance with applicable national, state and local regulations. * A plumbing permit and services of a licensed plumber may be required in some areas. Drain Outlet 3/4” FPT KM-61BAH, KM-101BAH, KM-151BAH Fig. 4 Water Supply Inlet 1/2” FPT...
- Page 14 KM-151BWH Bin Drain Outlet 3/4” FPT Separate piping to approved drain. Leave a two-inch (5 cm) vertical air gap between the end of each pipe and the drain. Condenser Water Outlet 1/2” FPT Two-inch (5 cm) air gap Drain Valve Floor Drain Fig.
-
Page 15: Final Checklist
G. Final Checklist 1) Is the icemaker level? 2) Is the icemaker in a site where the ambient temperature is within +45°F to +100°F (+7° C to +38°C) and the water temperature within +45°F to +90°F (+7°C to +32°C) all year around? 3) Is there at least 0.6”... -
Page 16: Startup
H. Startup 1. All parts are factory-adjusted. Improper adjustments may result in failure. 2. If the unit is turned off, wait for at least 3 minutes before restarting the icemaker to prevent damage to the Compressor. * Check that shipping tape(s), string and packing are removed before starting the icemaker. 1) Open the Water Supply Line Shut-off Valve. -
Page 17: Cleaning And Maintenance Instructions
1. Cleaning Procedure 1) Dilute 5 fl. oz. (148 ml) of recommended cleaner Hoshizaki “Scale Away” or “LIME-A- WAY” (Economics Laboratory, Inc.) with 1 gallon (3.8 lit.) of water. 2) Remove the Air Filter. Remove all ice from the Evaporator and the Storage Bin. - Page 18 7) Same as step 4. 8) Move the Control Switch to the “ICE” position to fill the Water Tank with water. 9) After 3 minutes, move the Control Switch to the “WASH” position. 10) After 5 minutes, move the Control Switch to the “OFF” position. 11) Same as step 4.
-
Page 19: Sanitizing Procedure - Following Cleaning Procedure
Water Tank * This illustration shows KM-61BAH. The following number of Cube Guides are provided: KM-61BAH KM-101BAH 3 pcs KM-151BAH 3 pcs KM-151BWH 3 pcs * The Bin Control Switch is accessible by removing the Water Tank. Pull the switch towards you for easy maintenance. -
Page 20: Maintenance
3) Discard the sanitizing solution and rinse the parts thoroughly with water. 4) Replace the removed parts in their correct positions in the reverse order of which they were removed. 5) Same as step 1. 6) Pour the sanitizing solution into the Water Tank, and allow the sanitizer to sit for 10 minutes. -
Page 21: Air Filter
3. Air Filter The plastic mesh Air Filter removes dirt or dust from the air, and keeps the Condenser from getting clogged. As the filter gets clogged, the icemaker’s performance will be reduced. Check the filter at least twice a month. When it is clogged, use warm water and a neutral cleaner to wash the filter. - Page 22 8) Quickly blow the potable water supply line out using compressed air or carbon dioxide. 2. Drain the potable Water Tank: 1) Turn off the power supply at the breaker box. 2) Move the Control Switch on the Control Box to the “OFF” position. 3) Open the Door.


Need help?
Do you have a question about the KM-101BAH and is the answer not in the manual?
Questions and answers