Table of Contents
Advertisement
Quick Links
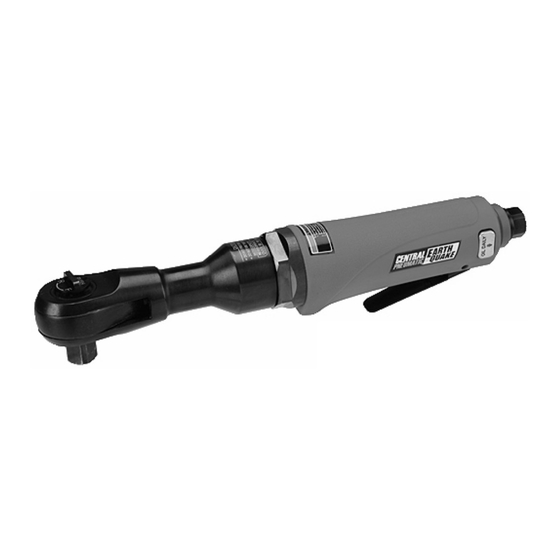
Professional Air Ratchet Wrench
When unpacking, make sure that the product is intact and undamaged.
If any parts are missing or broken, please call 1-800-444-3353 as soon as possible.
©
Copyright
2011 by Harbor Freight Tools
or form without the express written consent of Harbor Freight Tools. Diagrams within this manual may not be drawn proportionally. Due to continuing
improvements, actual product may differ slightly from the product described herein. Tools required for assembly and service may not be included.
Read this material before using this product. Failure to do
so can result in serious injury. SAVE THIS MANUAL.
Visit our website at: http://www.harborfreight.com
®
. All rights reserved. No portion of this manual or any artwork contained herein may be reproduced in any shape
68428 1/4" Air Wrench
68426 3/8" Air Wrench
68427 1/2" Air Wrench
Advertisement
Table of Contents

Related Manuals for Central Pneumatic 68426


Summary of Contents for Central Pneumatic 68426
- Page 1 . All rights reserved. No portion of this manual or any artwork contained herein may be reproduced in any shape or form without the express written consent of Harbor Freight Tools. Diagrams within this manual may not be drawn proportionally. Due to continuing...
-
Page 2: Important Safety Instructions
Save This Manual IMPORTANT SAFETY Keep this manual for the safety warnings and INSTRUCTIONS precautions, assembly, operating, inspection, maintenance and cleaning procedures. Write the product’s serial number in the back of the manual near INSTRUCTIONS PERTAINING the assembly diagram (or month and year of purchase TO A RISK OF FIRE, if product has no number). -
Page 3: Air Source
Proper footing and balance enables better Service control of the tool in unexpected situations. a. Tool service must be performed only Use safety equipment. A dust mask, by qualified repair personnel. non-skid safety shoes and a hard hat must be used for the applicable b. -
Page 4: Specific Safety Instructions
8. Do not lay the tool down until it has come to Symbol Property or statement a complete stop. Moving parts can grab the surface and pull the tool out of your control. National pipe thread, straight 9. Do not force the tool. Use a larger one if needed. WARNING marking concerning Risk of Eye Injury. -
Page 5: Specifications
If any parts are missing maximum air pressure at any time. Adjust or broken, please call Harbor Freight Tools at the pressure gradually, while checking the air 1-800-444-3353 as soon as possible. - Page 6 Page 6 For technical questions, please call 1-800-444-3353. Air Ratchets...
- Page 7 Air Ratchets For technical questions, please call 1-800-444-3353. Page 7...
-
Page 8: Tool Set Up
7. Inspect the air connections for leaks. 3. Route air hose along a safe route to reach work Repair any leaks found. area without creating a tripping hazard or exposing the air hose to possible damage. The air hose must 8. -
Page 9: Cleaning, Maintenance, And Lubrication
Cleaning, Maintenance, User-Maintenance Instructions and Lubrication Procedures not specifically explained Note: These procedures are in addition to the in this manual must be performed regular checks and maintenance explained as part only by a qualified technician. of the regular operation of the air-operated tool. 1. -
Page 10: Please Read The Following Carefully
PLEASE READ THE FOLLOWING CAREFULLY THE MANUFACTURER AND/OR DISTRIBUTOR HAS PROVIDED THE PARTS LIST AND ASSEMBLY DIAGRAM IN THIS MANUAL AS A REFERENCE TOOL ONLY. NEITHER THE MANUFACTURER OR DISTRIBUTOR MAKES ANY REPRESENTATION OR WARRANTY OF ANY KIND TO THE BUYER THAT HE OR SHE IS QUALIFIED TO MAKE ANY REPAIRS TO THE PRODUCT, OR THAT HE OR SHE IS QUALIFIED TO REPLACE ANY PARTS OF THE PRODUCT. - Page 11 68428 1/4” Air Ratchet Assembly Diagram Air Ratchets For technical questions, please call 1-800-444-3353. Page 11...
- Page 12 68426 3/8” Air Ratchet Parts List Part Description Q’ty Part Description Q’ty Housing Crank Shaft Spring Pin (Ø3*22) Drive Bushing Air Inlet Yoke Throttle Lever Direction Switch Throttle Shaft Spring Bushing Lock Pin O-Ring (14*1.8) Washer Spring Ratchet Pawl O-Ring (10*1.5) Ratchet Anvil 3/8"...
- Page 13 68426 3/8” Air Ratchet Assembly Diagram Air Ratchets For technical questions, please call 1-800-444-3353. Page 13...
- Page 14 68427 1/2” Air Ratchet Parts List Part Description Q’ty Part Description Q’ty Housing Crank Shaft Spring Pin (Ø3*22) Drive Bushing Air Inlet Yoke Throttle Lever Direction Switch Throttle Shaft Spring Bushing Lock Pin O-Ring (14*1.8) Washer Spring Ratchet Pawl O-Ring (10*1.5) Ratchet Anvil 1/2"...
- Page 15 68427 1/2” Air Ratchet Assembly Diagram Air Ratchets For technical questions, please call 1-800-444-3353. Page 15...
- Page 16 90 Day Warranty Harbor Freight Tools Co. makes every effort to assure that its products meet high quality and durability standards, and warrants to the original purchaser that this product is free from defects in materials and workmanship for the period of 90 days from the date of purchase.
Need help?
Do you have a question about the 68426 and is the answer not in the manual?
Questions and answers