
Related Manuals for Honda FG110


Summary of Contents for Honda FG110
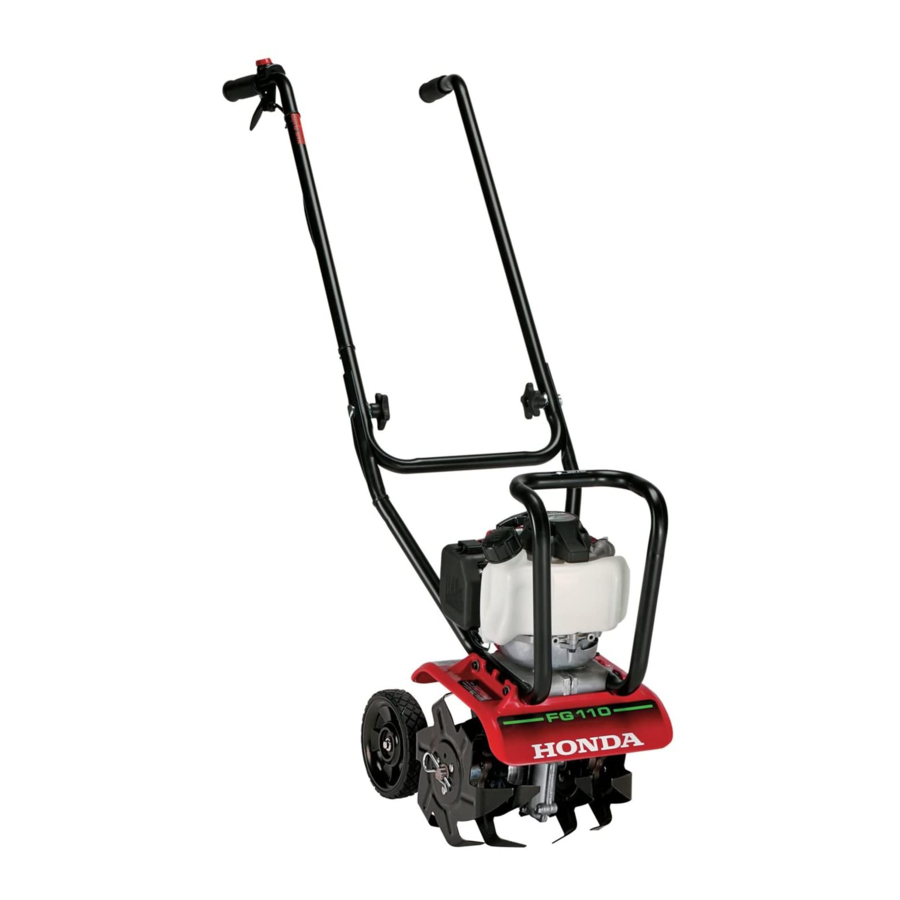
- Page 1 OWNER'S MANUAL Mini-Tiller FG110 See page 27 for instructions on assembling your FG110 Mini-Tiller. © 2004-2006 American Honda Motor Co., Inc. All Rights Reserved...
- Page 2 Keep this owner’s manual handy, so you can refer to it any time. This owner’s manual is considered a permanent part of the tiller and should remain with the tiller if resold. The information and specifications included in this publication were in effect at the time of approval for printing.
- Page 3 INTRODUCTION Congratulations on your selection of a Honda FG110 Mini-Tiller. We are certain you will be pleased with your purchase of one of the finest tillers on the market. We want to help you get the best results from your new tiller and to operate it safely. This manual contains the information on how to do that;...
-
Page 4: A Few Words About Safety
A FEW WORDS ABOUT SAFETY Your safety, and the safety of others, is very important. And using this tiller is an important responsibility. To help you make informed decisions about safety, we have provided operating procedures and other information on labels in this manual. This information alerts you to potential hazards that could hurt you or others. -
Page 5: Table Of Contents
TILLER SAFETY ......4 IMPORTANT SAFETY INFORMATION ..4 ATTACHMENTS AND MODIFICATIONS . -
Page 6: Tiller Safety
Tie up or restrain long hair. Turn Engine Off When Not Tilling If you need to leave the tiller for any reason, even just to inspect the area ahead, always stop the engine. -
Page 7: Attachments And Modifications
An adult should also be present during refueling and maintenance. In fact, it’s up to the adult owner to make sure the tiller is properly maintained and kept in safe operating condition. -
Page 8: Safety Label Locations
The labels shown here contain important safety information. Please read them carefully. These labels are considered permanent parts of your Honda tiller. If a label comes off or becomes hard to read, contact an authorized Honda servicing dealer for a replacement. -
Page 9: Controls & Equipment
COMPONENT & CONTROL LOCATIONS ENGINE SWITCH THROTTLE LEVER CHOKE LEVER PRIMING BULB AIR CLEANER FUEL CAP TRANSPORT WHEELS OR DRAG BAR (DRAG BAR NOT SHOWN) HANDLEBAR KNOBS RECOIL STARTER GRIP TILLING TINES CARRYING HANDLE ENGINE OIL FILLER CAP/ ENGINE OIL DRAIN TINE SHIELD... -
Page 10: Description Of Controls
Releasing the throttle lever reduces engine speed and stops the tiller tines from turning. The tiller will have the greatest tilling force at maximum engine speed. At idle, the tilling tines should stop rotating. -
Page 11: Transport Wheels
Drag Bar The drag bar is used to control the forward action of the turning tiller tines. The drag bar can be adjusted to control the tilling depth of the tines. Narrow Cultivating The two outer tines can be removed to give you a narrower cultivating width. -
Page 12: Before Operation
Physical and Mental Readiness You must be alert and in good physical condition to operate the tiller. Do not operate the tiller if you are tired, ill, or under the influence of alcohol, medication, or any substance that might impair your vision, dexterity, or judgment. -
Page 13: Is Your Working Area Ready
• Check the oil level (see page 18). Running the engine with a low oil level can cause engine damage. • Check the air filter (see page 19). A dirty air filter will restrict air flow to the carburetor, reducing engine and tiller performance. -
Page 14: Operation
Sudden vibration is a sign of a hazardous problem, such as a loose or damaged tilling tines (or tiller attachment), hidden objects in the soil, or the ground that is too hard to till. -
Page 15: Starting The Engine
4. Place your left hand on the carrying handle and hold it firmly. Make sure your feet are away from the tiller tines. With your right hand, pull the starter grip lightly until you feel resistance, then pull briskly. Return the starter grip gently. -
Page 16: Tiller Operation
5. Lower the front of the tiller until the tines begin to dig into the ground. 6. Lower the handle slightly so the front of the tiller is raised about 6 ~ 8°. To get the maximum advantage from the tiller, hold the tiller at this angle while you are tilling the ground. -
Page 17: Narrow Cultivating
OPERATION Narrow Cultivating The two outer tines can be removed to give you a narrower cultivating width. This width is approximately 5 inches. This gives you the ability to get between very closely spaced plants. To remove the two outer tines, pull the lock pins out of the holes in the end of the tine shaft. -
Page 18: Servicing Your Tiller
Remember that your authorized Honda servicing dealer knows your tiller best and is fully equipped to maintain and repair it. -
Page 19: Maintenance Schedule
(3) Log hours of operation to determine proper maintenance intervals. First Every Every each month or month 3 months 10 Hrs 10 Hrs 25 Hrs O(1) SERVICING YOUR TILLER Every Every Every Refer 6 months year 2 years page 50 Hrs 100 Hrs after each... -
Page 20: Engine
2. Remove the oil filler cap/dipstick. 3. Tip the tiller to drain the used oil through the oil filler opening. Allow the used oil to drain completely. Please dispose of used motor oil in a manner that is compatible with the environment. -
Page 21: Engine Oil Recommendations
6. Reinstall the air cleaner cover by hooking the two lower tabs on the bottom of the cover and snapping the upper tab into place. SERVICING YOUR TILLER AIR CLEANER BASE CHOKE LEVER FILTER... -
Page 22: Air Filter Cleaning
SERVICING YOUR TILLER Air Filter Cleaning A dirty air filter restricts air flow to the carburetor, reducing engine performance. If you operate the engine in very dusty areas, clean the air filter after each refueling. 1. Remove the air filter (see page 19). -
Page 23: Spark Plug Service
Overtightening the spark plug can damage the threads in the cylinder head. 8. Attach the spark plug cap. 9. Install the fan cover, and tighten the 5 mm hex bolt securely SERVICING YOUR TILLER FAN COVER 5 mm HEX BOLT SPARK PLUG SPARK PLUG CAP... -
Page 24: Spark Arrester Service
SERVICING YOUR TILLER Spark Arrester Service (Optional) The spark arrester must be serviced every 100 hours to keep it functioning as designed. If the engine has been running, the muffler will be very hot. Allow the muffler to cool before servicing the spark arrester. -
Page 25: Carburetor Adjustment
Adjustment procedure below. Carburetor Adjustment A tachometer is required to adjust the idle speed. If you do not have one, take your tiller to an authorized Honda servicing dealer to perform idle speed adjustment. 1. Start the engine outdoors, and allow it to warm up to normal operating temperature. -
Page 26: Fuel System
To refuel, set the tiller on level ground. Remove the fuel tank cap, and fill the tank with gasoline to the bottom of the filler neck. Refuel carefully to avoid spilling fuel. Do not overfill. There should not be fuel in the filler neck. After refueling, tighten the fuel tank cap securely. -
Page 27: Fuel Tube Inspection
Fuel Filter and Fuel Tank Cleaning 1. Remove the fuel tank cap. 2. Tip the tiller as shown and empty the fuel tank into an approved gasoline container. Use a funnel to avoid spilling gasoline. 3. Pull the fuel filter out through the fuel filler neck by hooking the black fuel supply tube with a piece of wire, such as a partly straightened paper clip. -
Page 28: Transmission Lubrication
1. Place the tiller on the left side as shown. 2. Remove the lock pin from the right side tine shaft by turning it UP [a] and pulling it out [b] as shown. -
Page 29: Assembly
THE IMPORTANCE OF PROPER ASSEMBLY Proper assembly is essential to operator safety and the reliability of the machine. Any error or oversight made by the person assembling and servicing a unit can result in faulty operation, damage to the machine, or injury to the operator. -
Page 30: Unpacking
Add oil from the bottle of oil supplied with the tiller before attempting to start the engine. 1. Working on a level surface, tip the tiller on its carrying handlebar as shown. 2. Remove the oil filler cap/dipstick. -
Page 31: Storage Preparation
7. Stop the engine and allow it to cool. 8. After the tiller is clean and dry, touch up any damaged paint, and coat other areas that may rust with a light film of oil. Lubricate the throttle cable core with a silicone spray lubricant. -
Page 32: Storage Precautions
STORAGE PRECAUTIONS If your tiller will be stored with gasoline in the fuel tank and carburetor, it is important to reduce the hazard of gasoline vapor ignition. Select a well-ventilated storage area away from any appliance that operates with a flame, such as a furnace, water heater, or clothes dryer. -
Page 33: Transporting
BEFORE LOADING If the engine has been running, allow it to cool for at least 15 minutes before loading the tiller on the transport vehicle. A hot engine and exhaust system can burn you and can ignite some materials. 1. Turn the engine switch to the OFF position. -
Page 34: Engine Will Not Start
Air filter dirty or restricted. Fuel filter dirty or restricted. Throttle cable out of adjustment, broken, or bent. Tiller Tines (or Attachment) Won’t Stop Turning When Throttle is at SLOW Position Possible Cause Faulty throttle control or cable; throttle cable out of adjustment or bent. -
Page 35: Technical & Consumer Information
High altitude performance can be improved by specific modifications to the carburetor. If you always operate your tiller at altitudes above 5,000 feet (1,500 meters), have your servicing dealer perform this carburetor modification. This engine, when operated at high altitude, with carburetor modifications for high altitude use, will meet each emission standard throughout its useful life. -
Page 36: Oxygenated Fuels
TECHNICAL & CONSUMER INFORMATION OXYGENATED FUELS Some conventional gasolines are being blended with alcohol or an ether compound. These gasolines are collectively referred to as oxygenated fuels. To meet clean air standards, some areas of the USA and Canada use oxygenated fuels to help reduce emissions. -
Page 37: Emissions Control System Information
TECHNICAL & CONSUMER INFORMATION EMISSIONS CONTROL SYSTEM INFORMATION Source of Emissions The combustion process produces carbon monoxide, oxides of nitrogen, and hydrocarbons. Control of hydrocarbons and oxides of nitrogen is very important because, under certain conditions, they react to form photochemical smog when subjected to sunlight. -
Page 38: Air Index
TECHNICAL & CONSUMER INFORMATION Air Index An Air Index Information hang tag/label is applied to engines certified to an emission durability time period in accordance with the requirements of the California Air Resources Board. The bar graph is intended to provide you, our customer, the ability to compare the emissions performance of available engines. -
Page 39: Tuneup
Alpharetta, GA 30005-8847 Or telephone: (770) 497-6400 weekdays, 8:30 a.m. - 8:00 p.m. EST TECHNICAL & CONSUMER INFORMATION TILLER FG110 A FAAA 40.9 x 14.5 x 39.4 in (1038 x 368 x 1000 mm) With drag bar 28.6 lb (13 kg) With wheels 30.6 lb (13.9 kg) -
Page 40: Honda Publications
Fuel stabilizer Matte black touch-up paint (aerosol can) Optional Equipment Below is a list of available optional attachments to enhance the versatility of your tiller. Apply anti-seize to the tine shaft to make removing and installing the attachments easier. Description... -
Page 41: Distributors Limited Warranty
To Obtain Warranty Service: You must take the Honda FG110 Mini-Tiller and proof of original retail purchase date, at your expense, to any Honda Power Equipment dealer in the United States, Puerto Rico, or the U.S. Virgin Islands who is authorized to service that product, during the dealer’s normal business hours. -
Page 42: Accessories, Replacement Parts, And Apparel Warranty
Tiller tines, are specifically not warranted against damage, including but not limited to, abrasive damage. Disclaimer of Consequential Damage and Limitation of Implied Warranties: American Honda disclaims any responsibility for loss of time or use of the product, or the power equipment on which the product is installed, transportation, commercial loss, or any other incidental or consequential damage. -
Page 43: Emission Control System Warranty
EMISSION CONTROL SYSTEM WARRANTY Your new Honda Power Equipment engine complies with the U.S. EPA, Environment Canada and State of California emission regulations. American Honda Motor Co., Inc. provides the emission warranty coverage for engines in the United States, and its territories. - Page 44 TECHNICAL & CONSUMER INFORMATION Warranty Coverage: Honda power equipment engines manufactured after January 1, 1995 and sold in the State of California, U.S. EPA certified engines manufactured on or after September 1, 1996 and sold in all of the United States, and Canadian certified engines manufactured on or after January 1, 2005 are covered by this warranty for a period of two years from the date of delivery to the original retail purchaser.
-
Page 45: Index
Inspection Before Tilling Tiller ........11 Tilling Area ......11 Maintenance Air Filter . - Page 46 INDEX Spark Arrester Service ..... . . 22 Spark Plug Service ......21 Starting Problems .
-
Page 47: Quick Reference
Fuel Type Engine oil Type Transmission lubricant Type Spark plug Regular Resistor* Before each use Maintenance First month or 10 hours. Subsequent * Resistor plugs reduce the interference with radio and television reception. QUICK REFERENCE Unleaded gasoline with a pump octane rating of 86 or higher SAE 10W-30, API SJ or later Grease (NLGI #2) - Page 48 POM53749-B Printed on IPC 40000.2006.01 31V25010 Recycled Paper 00X31-V25-0020 PRINTED IN U.S.A.
Need help?
Do you have a question about the FG110 and is the answer not in the manual?
Questions and answers
Нужно ли размешивать бензин с маслом