Roland JUNO-G Product Manual
Juno-g recording and creating cd
Hide thumbs
Also See for JUNO-G:
- Owner's manual (252 pages) ,
- Workshop manual (21 pages) ,
- Micro manual (16 pages)

Related Manuals for Roland JUNO-G


Summary of Contents for Roland JUNO-G
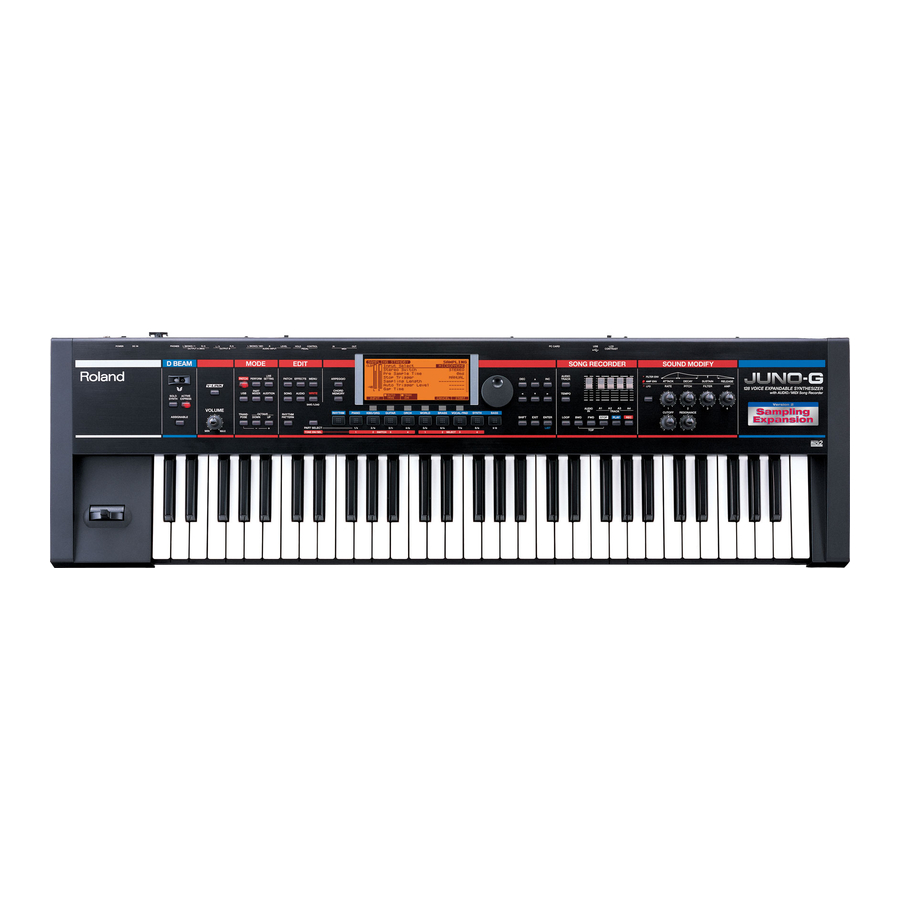
- Page 1 Record a song using Roland’s versatile JUNO-G — the “all-in-one” synth that gives you a synth, rhythm machine, effect unit, sequencer, recorder, and mixer in one package!
- Page 2 The Roland JUNO-G is an excellent keyboard for live performance, but it also has sophisticated recording features that rival studio equipment. This book will lead you through the process of using the Roland JUNO-G to create a song, and then turning your song into a CD.
- Page 3 P. 16 Record a vocal Record your vocal on an audio track. P. 18 Use the JUNO-G’s mixer and eff ects Mix your song to add fi nishing touches to your song. P. 20...
- Page 4 — complete with vocals! — on just the JUNO- G without needing any other equipment. The instant you get your hands on the JUNO-G, you’ve got your own very powerful studio.
- Page 5 There are also 45 drum sets, letting you generate beats of any style. With the JUNO-G, a whole world of musical instru- ments is at your fi ngertips.
- Page 6 The JUNO-G is a powerful synthesizer that lets you create a full-fl edged song simply by step-recording with its built-in synth sounds. But the JUNO-G doesn’t stop there — it’s also a powerful audio recorder that lets you edit, process, and mix your songs like a pro.
- Page 7 512 Mbytes With 256 Mbytes of memory, the JUNO-G’s four stereo audio tracks would fi ll up the memory in just six minutes. We recommend that you go for 512 Mbytes, so you’ll be able to record a song more than ten minutes long even when using all tracks in stereo!
-
Page 8: Li Ste N To T He De Mo Song
Take a l o o k a t t he s o n g r e c o r d e r The JUNO-G has a function called the “song recorder. ” The song recorder contains “MIDI tracks” that let you record note data that will play the JUNO-G’s own sounds, and “audio tracks”... - Page 9 Patch m o d e i s g r e at f o r l i ve p e r f o r m a n ce ! If you’re playing live, you’ll be using the JUNO-G as a simple “keyboard. ” In such cases, it’s convenient to use “Patch mode.
- Page 10 Use the rhythm pattern function machine! to play patterns The JUNO-G can play patterns just like a rhythm machine. It’s Press the [RHYTHM PATTERN] button; the rhythm pattern screen easier to come up with ideas for your song when you’ve got a appears.
- Page 11 [Down cursor] button to move the cursor by to record the pattern on a MIDI track. to “10,” and you’ll see the rhythm you just recorded. The JUNO-G always records the rhythm on track 10. Press this button to stop the pattern you selected;...
-
Page 12: Using Realtime Recording
H e r e a r e t h e p i a n o s o u n d s w e r e co m m e n d ! The JUNO-G gives you 21 acoustic piano sounds and 36 electric piano sounds. PR-A:001 “Juno-G Grand” is particularly recommended. - Page 13 Record your piano performance Look at what you recorded Press the [PLAY] button so that the drums When you’ve fi nished recording, let’s take a look at the data that play, and then start playing your piano part. was recorded. In the MIDI TRACK screen, go back to the beginning Having the rhythm playing makes it easier of the song.
- Page 14 H e r e a r e s o m e b as s s o u n d s w e r e co m m e n d ! The JUNO-G has a rich array of bass sounds. PR-B:020 “Ulti Ac Bass” is a stand- up bass that sounds so “woody”...
- Page 15 Access the step recording screen Enter the data The procedure until this point has been the same as when you We’ll begin by making some settings that specify the type of notes recorded the piano, but now we’ll shift to a procedure that is dis- we want to enter.
- Page 16 A n e f f e c t p r o ce s s o r w i t h b u i l t- i n a m p s i m u l ato r i s g r e at ! When you connect your guitar to the JUNO-G, it’s especially nice to use a multi-eff ect unit that contains an amp simulator, such as the BOSS GT-8.
-
Page 17: Start Recording
Adjust the level so that when you play your guitar the loudest, button, the recorded region the JUNO-G’s level meter does not quite reach all the way to the will blink. maximum point. You should also make sure that the level is not too low. - Page 18 Record a vocal on an audio track Connect your mic to the JUNO-G Adjust the JUNO - G’s input set- tings appropriately for a mic Connect your mic to the AUDIO INPUT jack “L (MONO)/MIC” on Just as you did when you played your guitar, press the [PERFORM] the JUNO-G’s rear panel.
- Page 19 But if the AUDIO IN slider is raised, any noise from the mic or guitar connected to the JUNO-G will always be mixed into the output of the JUNO-G, so it’s best to keep the AUDIO IN slider lowered unless you’re actually recording.
- Page 20 Us e t h e s l i d e r s to a d j u s t t h e AU D I O T R ACK vo l u m e s ! You can use the sliders on the front panel of the JUNO-G to adjust the AUDIO TRACK volumes. In fact, you can simultaneously adjust the MIDI TRACK mixer in the screen while you use the sliders to adjust the AUDIO volumes.
-
Page 21: Adjust The Volume Balance
Adjust the volume balance Use reverb to add space to the sound Now let’s adjust the volume of the instruments you’ve recorded up The reverberation in a church or concert hall is relatively long, to this point. The volume balance is the basis of mixing, so make and this can add a beautiful character to the sound. - Page 22 Mix down your completed song into a single WAV file In order to create a CD, the song you created on the JUNO-G has to be rendered into a WAV fi le. Since WAV fi les can be played back on your computer, you can use them to make a CD.
- Page 23 A screen like the following will appear, so use the dial to select “1. A message will ask if you want to save the data, so press the [EXEC] Save Song+Smpls.” This will save all data of the MIDI tracks and button.
- Page 24 T h e pro cess of creating a CD You’ve fi nished creating your song on the JUNO-G! Now you’re going to transfer the WAV fi le created on the UNO-G to your computer, and burn it to a CD. In order to create a CD, your computer needs to have a drive hat can write a CD, and software such as “Windows Media Player”...
- Page 25 [Windows Media Player]. In Windows Media Player, click the [Burn] tab. Copy to the desktop Drag and drop the WAV fi le you created on the JUNO-G into the “Burn List.” Drag and drop Insert a blank CD-R into your computer.
- Page 27 Sp e ci f i c ati o ns JUNO-G: Synthesizer Keyboard (Conforms to General MIDI 2 System) Keyboard Others 61 keys (velocity sensitive) ● Arpeggio Preset: 128 Sound Generator Section User: 128 ● Rhythm Pattern ● Maximum Polyphony Preset: 256 (32 groups)
- Page 28 All product names mentioned in this document are trademarks or registered trademarks of their respective owners. Visit us online at www.Roland.com Copyright © 2006 ROLAND CORPORATION All rights reserved. No part of this publication may be reproduced in any RAM-4168 04566901 06-12-IN form without the written permission of ROLAND CORPORATION.
Need help?
Do you have a question about the JUNO-G and is the answer not in the manual?
Questions and answers