Roland JUNO-Gi Workshop
Hide thumbs
Also See for JUNO-Gi:
- Owner's manual (152 pages) ,
- Workshop manual (19 pages) ,
- Workshop (9 pages)
Table of Contents
Advertisement
Quick Links
Advertisement
Table of Contents

Related Manuals for Roland JUNO-Gi


Summary of Contents for Roland JUNO-Gi
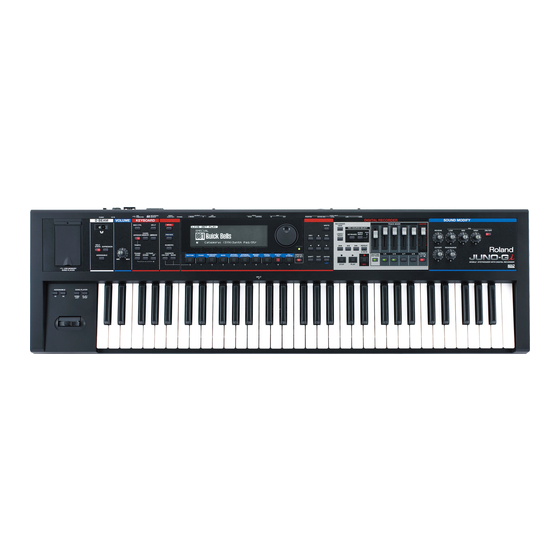
- Page 1 Workshop ®ÂØÒňΠ® JUNO-Gi Mobile Synthesizer and Digital Recorder Meet the JUNO-Gi © 2010 Roland Corporation U.S. All rights reserved. No part of this publication may be reproduced in any form without the written permission of Roland Corporation U.S. JUNOGiWS01...
- Page 2 MIDI Controller mode, the JUNO-Gi also fits nicely into any computer-based recording system. Finally, the JUNO-Gi sports a No, we’re not talking about its top, sides, and bottom. The JUNO-Gi is really versatile USB song player for playing backing tracks onstage.
- Page 3 You can connect stereo headphones—to its rear-panel PHONES jack. This yanking out the plug or damaging the adapter. is the fastest way to get going, and a great way to listen to the JUNO-Gi. • You can connect the JUNO-Gi to a stereo amp—with the JUNO-Gi’s Jump ahead to “Turning on the JUNO-Gi”...
- Page 4 If you’re in playing position and feeling around for the POWER button gently pressing down the door so its tabs lock in place. on the back of the JUNO-Gi, it’s just to the left of the DC IN jack. After power-up, you’ll see the JUNO-Gi’s Live Set Play screen.
- Page 5 The first thing to explore on any JUNO is, of course, its sounds. The ones you want quickly. Each category has its own button, which you’ll find JUNO-Gi’s streamlined synth engine makes it easy for you to find the sound beneath the JUNO-Gi display.
- Page 6 • Special live sets—are multi-tone live sets that combine tones and take advantage of other JUNO-Gi features such as the built-in arpeggiator. To select a live set from this list, turn the Value dial or use the DEC and/or INC We’ll show you what we mean on Page 10.
- Page 7 Press the 6 button to highlight the live-set number parameter. The JUNO-Gi’s Preview Feature The JUNO-Gi’s Preview feature makes it especially easy to check out its live sets. For each live set, there’s a short musical phrase that shows off its possibilities.
- Page 8 Upper 2 As you can see, this live set uses just a single tone: 88KeyGrand 1. Many of the JUNO-Gi’s Preset live sets use a single tone. This one is, in fact, named after the tone it uses. Press the EXIT button to leave the LAYER/SPLIT screen and return to Play the JUNO-Gi keyboard or hold down the PREVIEW button to hear the Live Set Play screen.
- Page 9 PRST:325 Searing COSM Shaping Sounds in Realtime BASS once PRST:368 Fingered Bs1 The JUNO-Gi has a rich assortment of tools for manipulating your sounds BASS twice PRST:384 MG Bass as you play. These realtime controllers let you play live sets even more...
- Page 10 Let’s see what it is we’re hearing. Hold down SHIFT and press SPLIT to go to the LAYER/SPLIT screen for this live set. Whenever the soft buttons are active on the JUNO-Gi, you’ll see their labels onscreen. In this booklet, when we want you to press a soft We can see that QuickBells uses three tones.
- Page 11 The reason that a live set’s tones are called “Upper 1 and 2” and “Lower 1 and 2” is that, in the JUNO-Gi’s simplest type of split, Upper tones can be assigned to your right hand in a split, and the Lower tones to your left.
- Page 12 8 Playback Tracks vs 64 Recording V-Tracks A song on the JUNO-Gi can have up to eight tracks playing back. When you record on the JUNO-Gi, though, you have far more tracks on which to record:...
- Page 13 If you’ve done either of these things, you can reload “Gonna Want It” as described on Page 15 of this booklet. Once you’ve done that, return When you’re using the JUNO-Gi as a synth, your base of operations is the Live here.
- Page 14 EXIT to leave them altogether.) In addition to the first TRACK SETTING screen shown above—on which you can set each track’s level and stereo panning in the main JUNO-Gi mix— there’s a screen on which you can set tracks’ Reverb and EQ:...
- Page 15 Song Player, which we’ll get to in a few pages. Before using a new SD card in your JUNO-Gi, it has to be formatted for the JUNO-Gi. To learn more, see Page 15 in the Owner’s Manual.
- Page 16 Creating a New Song The JUNO-Gi gives you a choice of upper-case and lower-case letters, as well as symbols. Press 2 (TYPE) to jump between character types. To create a new song on the currently installed SD card: On the RECORDER VIEW screen, press 3 (MENU) to show the Recorder To finish naming your song: Menu screen.
- Page 17 Meet the Beat It’s important to set your song’s tempo before recording, since Let’s listen to our new song’s default rhythm. changing it after you’ve recorded some tracks will cause those tracks to be out of time with the song’s other elements. Press RECORDER VIEW to display the RECORDER VIEW screen.
- Page 18 If the REC SOURCE SELECT AUDIO IN button is also it, press it once to you connect what it is you want to record to the JUNO-Gi’s rear-panel turn it off.
- Page 19 From the RECORDER VIEW screen, press the AUDIO INPUT button so it lights red. The JUNO-Gi’s rear panel The live-audio AUDIO The JUNO-Gi’s live-audio inputs are in the AUDIO INPUT area of its rear panel. INPUT button has The: its own level-peak indicator.
- Page 20 Press 6 (CLOSE) to return to the RECORDER VIEW screen. effects in detail here, but we recommend you have a look at the One of the best features of the JUNO-Gi is that its digital recorder Owner’s Manual, where you’ll learn such things as how to contains acclaimed BOSS GT effects such as those in the GT-10.
- Page 21 RECORDER VIEW button, and then press 5 (EXEC). This automatically deletes your last performance, or “take,” from the SD If you’d like the JUNO-Gi to mix down its stereo output for recording card. Press , and then repeat Steps 2-5 above to try recording again.
- Page 22 “Getting Ready to Record a Track” on Page 18. To connect the JUNO-Gi to your computer via USB, connect the A end of a standard USB A/B cable to the JUNO-Gi’s rear-panel USB COMPUTER jack, and You can build or rework your rhythm arrangement even after recording the B end to an unused USB port on your computer.
- Page 23 JUNO-Gi’s own sounds. There are a range of audio interfaces on the market for this task, but the JUNO-Gi spares you having to buy one since it can act as your DAW’s audio interface. Using the same USB cable over which it sends MIDI messages to your computer, MIDI notes...
- Page 24 The JUNO-Gi’s USB Song Player Next, you format the stick for use in the JUNO-Gi, as described on Page 79 in the JUNO-Gi Owner’s Manual. The JUNO-Gi’s USB Song Player provides a fast and easy way to After formatting, you move the USB stick to an unused USB port on your play backing tracks onstage you can perform along with.
- Page 25 In addition, when you’ve selected an • audio file—you can press 4 (C.CAN) to turn on the JUNO-Gi’s Center Cancel feature. Center Cancel allows you to remove lead vocals from many commercial recordings so you can sing or play along with the remaining instruments.
Need help?
Do you have a question about the JUNO-Gi and is the answer not in the manual?
Questions and answers