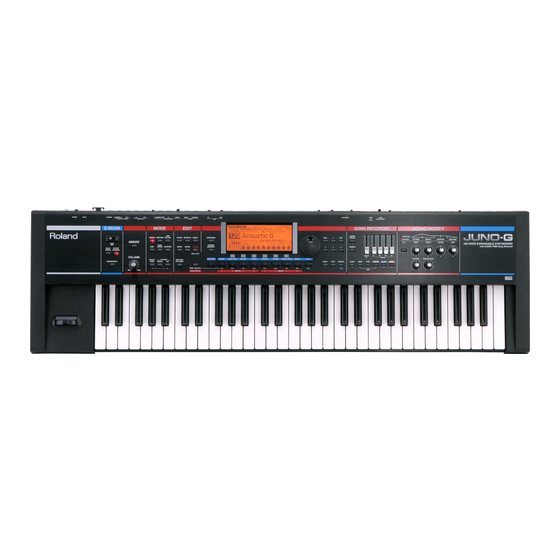
Roland Juno-G Micro Manual
Hide thumbs
Also See for Juno-G:
- Owner's manual (252 pages) ,
- Product manual (28 pages) ,
- Workshop manual (21 pages)
Table of Contents
Advertisement
Quick Links
Advertisement
Table of Contents

Summary of Contents for Roland Juno-G
- Page 1 Juno-G Micro Manual 1023 Artemiy Pavlov www.sinevibes.com...
-
Page 2: Table Of Contents
Processing an external signal Patch e ect settings in performance mode Working with audio Importing audio les Recording a song into an audio le Exchanging data with a computer USB MIDI connection USB storage connection Using the Juno-G Librarian software... -
Page 3: System And Settings
System and settings Internal structure To have a clear understanding of how the Juno-G works, please have a look at it’s internal structure diagram: Synthesizer Sequencer Keyboard Arpeggiator Controllers Rhythm machine Flash RAM E ects DIMM PC card MIDI The keyboard and controllers send MIDI messages to the synthesizer and this information can also be recorded into the sequencer. -
Page 4: Making Settings
The USB port can work in two di erent modes. In USB MIDI mode you can use the Juno-G with your computer as a MIDI controller keyboard or a sound module. In USB storage mode, your computer will access it as a USB ash drive, this is how you can import and export sound banks, songs and samples. -
Page 5: Expanding The Memory
However, when the power is switched o , the RAM looses it’s data. Juno-G’s ash memory ( ash RAM) is like a hard drive, it is used for saving the data, and it can keep it when the power is o . However, ash RAM is not fast enough for working in realtime. -
Page 6: System Settings
System settings To enter the system settings mode, in the main PATCH or PERFORMANCE screen, press MENU, select System and press ENTER. All settings are divided into several sections and screens (see the table below). To select the needed section and screen, use the “F” soft keys below the display. - Page 7 Section Screen Description METRO/SYNC METRO Metronome SYNC Internal synchronization settings D-BEAM GENERAL D-Beam sensitivity ASSIGN “Assignable” mode ATV EXP “Active Expression” mode SYNTH “Solo Synth” mode INFORMATION MEMORY Information about RAM and ash RAM Information about the SRX card VERSION Operating system version...
-
Page 8: Working With E Ects
Working with effects Processing an external signal With the Juno-G it’s possible to process sound from an external source (microphone, audio player, guitar or another synthesizer) using it’s internal e ects processors. This can be used both during recording and for realtime applications. -
Page 9: Patch E Ect Settings In Performance Mode
Patch effect settings in performance mode Part of the Juno-G patches actively use the e ects processors to produce the nal sound. However, when you call up such patches in performance mode, these e ects settings are not loaded by default. In order for a patch to load it’s e ects settings, you need to do the following: 1. -
Page 10: Working With Audio
/TMP/AUDIO_IMPORT 3. Exit the USB storage mode by pressing EXIT. 4. Press the AUDIO button twice to enter the Juno-G’s sample list. 5. Press MENU, select Import Audio and press ENTER. 6. You will see a le selection window. Select the USER or CARD area depending on where you put the samples. -
Page 11: Recording A Song Into An Audio Le
INSERT function. Recording a song into an audio file Right within the Juno-G, you can record your composition (or part of it) into an AIFF or WAVE audio le (the Default File Type is set in the General →... - Page 12 10. Now, switch to USB storage mode (see the Exchanging data with a computer section below) and copy the audio sample of your song to your computer (the le will be named. SMPL0120.AIF SMPL0120.WAV depending on the selected default format).
-
Page 13: Exchanging Data With A Computer
Exchanging data with a computer USB MIDI connection Juno-G can send and receive MIDI data through it’s USB port: you can use it as a USB MIDI keyboard controller for software instruments and as a sound module for a software sequencer. - Page 14 CARD (if you have a ash memory card): 3. On your computer’s desktop or in the storage device list you will see a new external drive named “JUNO-G USER” or “JUNO-G CARD”, depending on which memory area you have selected: 4.
-
Page 15: Using The Juno-G Librarian Software
4. In order to load the Juno-G’s internal patches into the Librarian, press the “All” button in the “Read” toolbar group. 5. Open any sound bank in the Juno-G Librarian format. You will see it open in another Librarian window. - Page 16 7. Copy these patches (“Copy” command in the “Edit” menu) and paste them (“Paste” command in the “Edit” menu) in the desired location of the USER bank (“Main” Librarian window): 8. To load these patches into the Juno-G, press the “Selected” button in the “Write” toolbar group.


Need help?
Do you have a question about the Juno-G and is the answer not in the manual?
Questions and answers