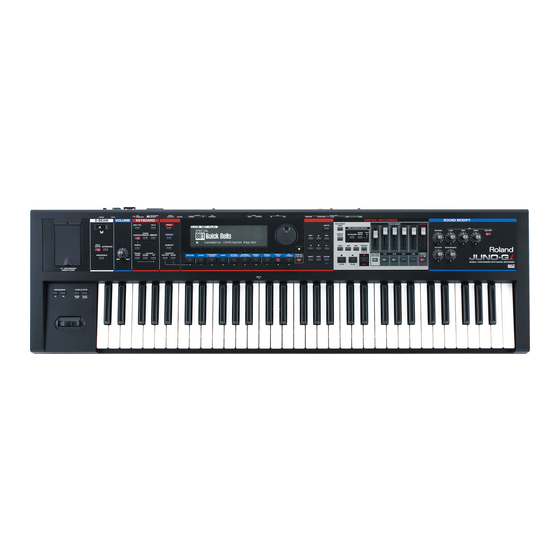
Roland JUNO-Gi Workshop Manual
Mobile synthesizer and digital recorder
Hide thumbs
Also See for JUNO-Gi:
- Owner's manual (152 pages) ,
- Workshop (26 pages) ,
- Workshop manual (19 pages)
Table of Contents
Advertisement
Quick Links
Workshop
®ÂØÒňÎ
®
JUNO-Gi
Mobile Synthesizer
and Digital Recorder
The Digital Recorder—Getting Serious
© 2011 Roland Corporation U.S.
All rights reserved. No part of this publication may be reproduced in any form without the
written permission of Roland Corporation U.S.
iTunes ™ is a trademark of Apple Inc.
Apple Inc. is not associated or affiliated with Roland in any manner.
JUNOGiWS05
1
Advertisement
Table of Contents

Subscribe to Our Youtube Channel
Related Manuals for Roland JUNO-Gi


Summary of Contents for Roland JUNO-Gi
- Page 1 All rights reserved. No part of this publication may be reproduced in any form without the written permission of Roland Corporation U.S. iTunes ™ is a trademark of Apple Inc. Apple Inc. is not associated or affiliated with Roland in any manner. JUNOGiWS05...
-
Page 2: About This Booklet
USB song player for playing backing tracks onstage. The JUNO-Gi’s factory demos reside on the card that shipped with your JUNO-Gi, and they take up some space on the card. If you’d like to Each JUNO-Gi Workshop Series booklet focuses on one JUNO-Gi topic, and is hold onto them, you should either back them up on your computer and intended as a companion to the JUNO-Gi Owner’s Manual. -
Page 3: Installing A Memory Card
Installing a Memory Card Removing the Factory-Installed SD Card You don’t have to turn the JUNO-Gi off to change memory cards. The JUNO-Gi ships with a memory card pre-installed. Before installing a new Here’s how to format a card for use in the JUNO-Gi: card, you’ll need to remove it. -
Page 4: What You Need
We recommend always copying the entire ROLAND folder—instead of any of its contents individually—to avoid possible problems later on. You can also use a memory card for backing up the JUNO-Gi’s other settings, as described on page 78 of the Owner’s Manual. - Page 5 In the following sections, we’re going to assume you’ve read the Getting Here’s how to manually punch a track you’ve just recorded: to Know the JUNO-Gi Workshop booklet, and know how to record and play Press the DIGITAL RECORDER REC button so it flashes, and back tracks in the digital recorder.
- Page 6 7 without using your hands. To set this up, connect your foot switch to the You can clear either the punch-in or punch-out point—A or B, JUNO-Gi’s PEDAL CONTROL jack, and set the System Control Pedal respectively—by highlighting it onscreen and pressing 5 (CLEAR.)
-
Page 7: Song Select
Press the WRITE button just to the left of the RECORDER VIEW button. The JUNO-Gi asks if you’re sure you want to proceed. We described this tool in the Getting to Know the JUNO-Gi booklet. To load a song from your card, highlight the song on this screen, hit ENTER, and then press 5 (EXEC) to confirm your intentions, or 6 (CANCEL) if you’re not sure. -
Page 8: Song Remove
SD card: your SD card to free up space on the card, or if to simply get rid of the song. Select the song on this screen, and then press 6 (EXEC). When the JUNO-Gi •... -
Page 9: Song Protect
ENTER to display the tool’s screen. When you select Song Protect on the SONG EDIT MENU screen, the JUNO-Gi asks if you’re sure you want to lock the song. Press 5 (EXEC) to do so. Track Copy To unlock a loaded and protected song, select Song Protect from the SONG EDIT MENU screen, and then press 5 (EXEC). -
Page 10: Track Move
Press 6 (EXEC) to move your audio, or press 5 (BACK) if you’ve got a When the JUNO-Gi asks if you’re sure you want to proceed, press 5 setting you want to change. (EXEC) to continue, or press 6 (CANCEL). -
Page 11: Track Exchange
Set Target Track and Target V-Track to the second V-Track. Insert the card into the JUNO-Gi’s card slot. Press 6 (EXEC), and when the JUNO-Gi asks if you’re sure, press 5 (EXEC) to proceed with the swap, or press 6 (CANCEL). - Page 12 2 (TYPE)—to toggle between upper- and lower-case letters, and Press 6 (EXEC). digits. When the JUNO-Gi asks if you’re sure you want to proceed, press 5 • 3 (DELETE)—to remove the character at the currently highlighted (EXEC) to complete the importing process, or 6 (CANCEL).
- Page 13 Voice 1, Voice 2, Stereo Voice 3, The JUNO-Gi’s V-Tracks make this guesstimating worry-free, though, After the bounce we showed you on page Voice 4 12, we can switch Tracks 3-6 to new, unused since you have so many of them you don’t have to erase your original V-Tracks and record more stuff.
-
Page 14: Performing The Bounce
RECORDER screen. Adjust it if necessary so the level’s not too loud or soft. If you’re bouncing in stereo, the JUNO-Gi automatically targets the same-numbered V-Track for both of the selected tracks. If you select a V-Track that already contains a recording, you’ll see a ... - Page 15 A helpful collection of mastering-effect patches for a range of musical styles Press 1 (MODE) repeatedly until the JUNO-Gi displays a message to ships with the JUNO-Gi, so you don’t need to dig in any further than you wish announce your entry into Mastering mode and you see “MASTERING”...
- Page 16 USER mastering-effect patch—that you can tweak and save in then 3 and/or 4 to highlight an effect module whose settings you the JUNO-Gi for later use with any song. You can store 10 USER want to change. mastering-effect patches in your JUNO-Gi.
- Page 17 The End We hope you’ve found this workshop helpful. Keep an eye out for other JUNO-Gi Workshop booklets available for downloading at We’re going to customize the Compressor here. www.RolandUS.com. With the module highlighted, press ENTER to display and modify the module’s settings.
Need help?
Do you have a question about the JUNO-Gi and is the answer not in the manual?
Questions and answers