
Subscribe to Our Youtube Channel
Related Manuals for Hunter Universal Fan and Light Remote Control


Summary of Contents for Hunter Universal Fan and Light Remote Control
- Page 1 Universal Fan and Universal Fan and Universal Fan and Light Remote Control Light Remote Control Light Remote Control Hand-Held Remote and Wall Cradle Owner’s Guide and Installation Manual Form# 44092-01 20101215 ©2010 Hunter Fan Co.
-
Page 2: Table Of Contents
6 • Operation ............8 7 • Troubleshooting ........... 10 8 • Warranty ............11 Ratings: 120 VAC, 60 Hz,1.0 Amp Fan Receiver Weight: 6 oz. 300 Watts incandescent light © 2010 Hunter Fan Company 44092-01 • 12/15/10 • Hunter Fan Company... -
Page 3: Installation Preparation
1. This device complies with Part 15 of the FCC Rules. Operation is subject to the following two conditions: (1) this device may not cause harmful 4. Not for use with shaded-pole motors, Hunter 42” Low Profile fans, and interference, and (2) this device must accept any interference received, Hunter Baseball fans. -
Page 4: Receiver Installation
INSTALLATION. DO NOT USE THE PULL CHAIN TO CHANGE THE FAN SPEED AFTER INSTALLATION, AS DAMAGE TO YOUR CEILING FAN OR UNIVERSAL CONTROL MAY RESULT. THE SPEED OF THE FAN SHOULD ONLY BE CHANGED BY THE HUNTER CONTROL!! 2. Set the ceiling fan light kit to the ON position before installation. - Page 5 NOTE: Some fans may have considerable excess lead wire. For easier canopy installation, cut 3 – 6˝). the excess wire leaving a minimum of 6 inches remaining. Restrip the fan lead wires 1/2 inch. Place remaining excess wire into the ceiling electrical box as needed. 44092-01 • 12/15/10 • Hunter Fan Company...
- Page 6 3 small (blue) wire connectors supplied to connect the receiver and ceiling fan wiring. Refer to the Wiring Diagram in Figure 6. If you are installing the remote with a Hunter Fan, the wire colors in the fan Antenna...
-
Page 7: Transmitter Installation
2. Mount the remote holder over the ceiling fan’s wall switch using the existing wall plate screws. Refer to Figure 8. 3. The transmitter can be placed on the remote holder for convenience or safekeeping. Figure 7 Figure 8 44092-01 • 12/15/10 • Hunter Fan Company... -
Page 8: Programming The Remote
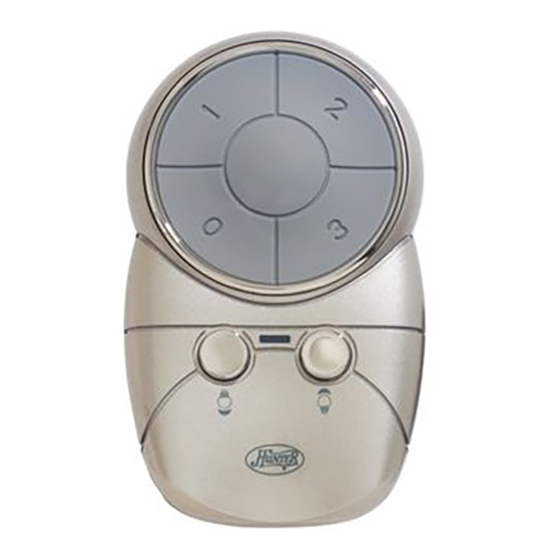
• Press the High (3), Medium (2), or Low (1) speed buttons to turn the ceiling fan ON at the desired speed. • Press the fan “0” key to turn the ceiling fan OFF. Figure 9 44092-01 • 12/15/10 • Hunter Fan Company... -
Page 9: Operation
To turn the light off instantly, press and quickly release either light button once. Down • When the light is turned on again, it will “remember” the brightness level it was at before it Dimmer was turned off and resume at that level again. 44092-01 • 12/15/10 • Hunter Fan Company... -
Page 10: Troubleshooting
Extend antenna into ceiling box, or move it for better reception. reaching receiver. RF interference. Turn OFF wall switch for 5 seconds, then turn back ON. Continuing RF interference. Re-program the remote. Refer to “Programming the Remote,” Page 8. 44092-01 • 12/15/10 • Hunter Fan Company... -
Page 11: Warranty
HUNTER FAN COMPANY CONTROL LIMITED WARRANTY The Hunter Fan Company makes the following limited warranty to the original purchaser of the Control (“Control”): Your Control is warranted to be free from defects in material and workmanship for a period of one year from the date of sale. If the Control malfunctions or fails within the warranty period due to a defect in material or workmanship we will replace it free of charge.
Need help?
Do you have a question about the Universal Fan and Light Remote Control and is the answer not in the manual?
Questions and answers