Advertisement
Installation
- Turning off the power
Before installation, use the pull chains to set the fan speed to HIGH and the light to ON. Ensure the power is OFF at the outlet box and wall switch location before proceeding with installation.
![]()
![]()
To avoid possible electrical shock, before installing your fan, disconnect the power by turning off the circuit breakers to the outlet box associated with the wall switch location.
![]()
- Removing the canopy
Remove the canopy. If uncertain how to remove it, reference the fan's owner's manual. With wiring exposed, it may be helpful to note existing wire connections or take a digital photo for reference. Remove the wire connectors that connect the wires from the outlet box to the fan, leaving the grounding wires connected.
![]()
- Installing the receiver
Choose the hanging system that most closely resembles the one used by your fan, and install the receiver and wire as directed.
You may have installation issues if the fan is installed on an angled ceiling. For assistance, call 1-888-830-1326.

Note: Some fans may have considerable excess lead wire. For easier canopy installation, cut the excess wire, leaving a minimum of 8" remaining. Re-strip the fan lead wires 1/2". Place remaining excess wire into the ceiling electrical box. The bracket and fan must remain properly grounded.
Examples of receiver connections


- Connecting the ground wires
Using an orange wire connector, connect the 3 grounding wires (green, green/yellow stripe, or bare copper) coming from the ceiling, downrod, and hanging bracket.
![]()
All wiring must be in accordance with national and local electrical codes ANSI/NFPA 70. If you are unfamiliar with wiring or in doubt, consult a qualified electrician.

- Wiring the receiver to the fan (continued)
Using the orange wire connectors, connect the blue wire from the receiver to the blue wire (or possibly black with white stripe wire) from the fan. Connect the yellow wire from the receiver to the black wire from the fan.

- Wiring the receiver and fan to the ceiling
Using the orange wire connectors, connect the black wire (ungrounded) from the ceiling to the black wire from the receiver. Connect the white wire (grounded) from the ceiling to both the white wire from the receiver and the white wire from the fan.
AFTER ALL WIRES ARE CONNECTED and secured with wire connectors, re-install the canopy.

![warning]() Turn the splices upward and push them carefully back through the hanger bracket into the outlet box. Spread the wires apart, with the grounded wires on one side of the outlet box and the ungrounded wires on the other side of the outlet box.
Turn the splices upward and push them carefully back through the hanger bracket into the outlet box. Spread the wires apart, with the grounded wires on one side of the outlet box and the ungrounded wires on the other side of the outlet box. - Installing the battery
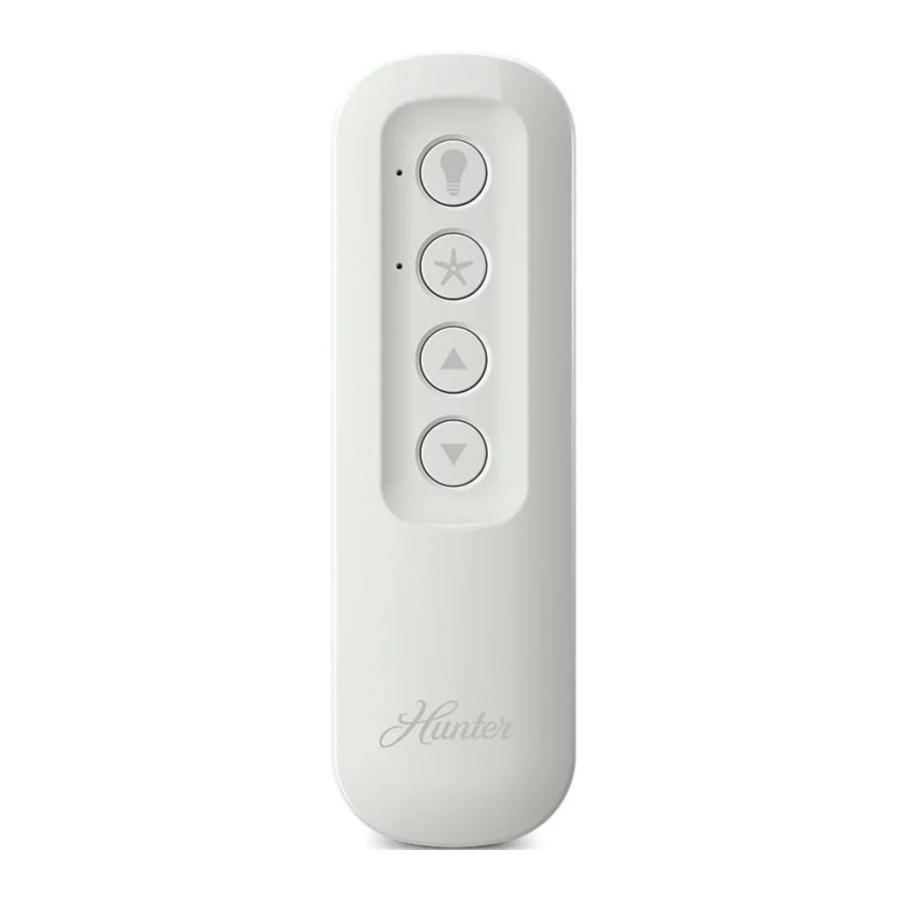
To access the battery compartment, remove the small Phillips head screw that secures the battery door to the remote control. Replace the used battery with a CR2032 battery when necessary. The battery should be installed with the positive (+) side up.
![]()
![]()
Turning on the power
![]()
- Reference the included remote function card for information on how to use your control!


The remote transmitter is already paired to the receiver and ready to use.
Note: If your need to pair your remote, remove the battery door. Cycle power to the fan by turning power off and back on at the wall switch (or circuit breaker if necessary). Within three minutes, press the pair button on the remote.
To prevent faulty operation, please disconnect power from all other ceiling fans within range while pairing.

Trouble Shooting
Remote Control of Fan is Erratic
- Make sure the battery is installed correctly.
- Install a fresh battery.
Multiple Remote Issues
- If you have multiple remotes or multiple remote-controlled fans installed on the same circuit breaker and you are experiencing interference or faulty operation of your remote controls, please go to www.HunterFan.com/FAQs and click "How do I properly install multiple remote-controlled fans?" for information on how to correct this issue.
Cradle Installation

Remove the cradle from the cradle bracket.
You have two options to install the included remote control cradle to the wall. Choose which path works best for you.
Option 1
Using screws
Choose your cradle installation location.
If you are installing into drywall, drill two 9/64 width holes using the cradle bracket as a guide. Gently hammer the included drywall anchors into the pre-drilled holes.
Install the cradle bracket to the wall with the included screws.

Option 2
Using Adhesive Strip
Apply the adhesive sticker to the back of cradle bracket per the instructions on the adhesive sticker.
Press the cradle bracket against the wall and hold firmly for 30 seconds.


Slide the cradle onto the mounted bracket.

Documents / ResourcesDownload manual
Here you can download full pdf version of manual, it may contain additional safety instructions, warranty information, FCC rules, etc.
Download Hunter 99372, 99392 - Ceiling Fan Remote Controls Manual
Advertisement


Need help?
Do you have a question about the 99372 and is the answer not in the manual?
Questions and answers