
Related Manuals for Hunter UNIVERSAL FAN AND LIGHT REMOTE CONTROL 27184


Summary of Contents for Hunter UNIVERSAL FAN AND LIGHT REMOTE CONTROL 27184
- Page 1 Form# 41797-01 20100706 ©2010 Hunter Fan Co. Universal Fan and Universal Fan and Universal Fan and Light Remote Control Light Remote Control Light Remote Control Hand-Held Remote and Wall Cradle Owner’s Guide and Installation Manual Models 27184, 27188...
-
Page 2: Table Of Contents
7 • Troubleshooting ... 10 8 • Warranty ... 11 © 2010 Hunter Fan Company 41797-01 • 07/06/10 • Hunter Fan Company Read and Save these Instructions Caution: Risk of Electrical Shock! All wiring must be performed in accordance with national and local electrical codes. -
Page 3: Installation Preparation
7. Not for use in applications where the fan does not have a wall switch. Any changes or modifications to this equipment not expressly approved by Hunter Fan Company will void the user’s authority to operate the equipment. 41797-01 • 07/06/10 • Hunter Fan Company... -
Page 4: Dip Switch Settings
Hunter control. Installation Instructions: 1. Disconnect power to the ceiling fan and light kit at the main electrical panel. Remove fuse or move circuit breaker to the OFF position. 2. IMPORTANT! Change the position of the jumpers in the transmitter and the DIP switches in the receiver. -
Page 5: Receiver Installation
Pages 5-6. Most installations will be one of these five types. 5. If the fan is already installed, turn the power OFF at the main electrical panel. Reverse the installation procedure according to the fan instructions, to the point of disconnecting the fan wiring. - Page 6 The bracket must remain properly grounded. Connect wiring as shown in Figure 8. Extend antenna above the receiver 41797-01 • 07/06/10 • Hunter Fan Company Figure 8 Bracket Hanger...
- Page 7 Refer to the Wiring Diagram in Figure 9. 7. Be sure the antenna is positioned securely, so it can not interfere with the ceiling fan motor. Refer to Figure 9. Do not modify or damage the antenna wire, as control performance may be reduced.
-
Page 8: Transmitter Installation
1. Install the 12 Volt alkaline battery (A23 or equivalent) inside the handheld transmitter, after setting the jumpers to match the dip switches in the receiver. Refer to Figure 11. 2 Mount the remote holder over the ceiling fan’s wall switch using the existing wall plate screws. Refer to Figure 12. -
Page 9: Operation
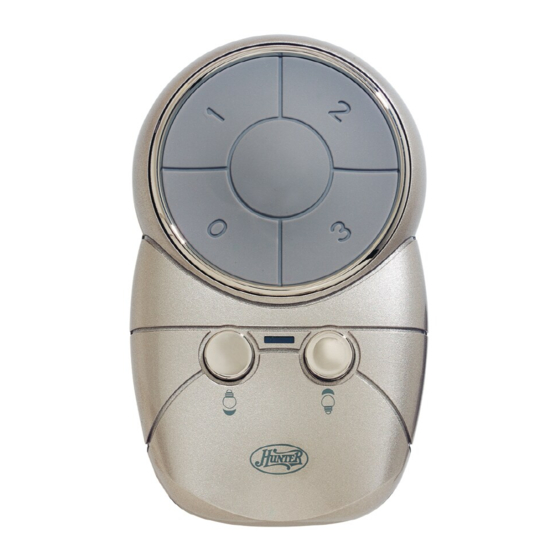
Continue to hold the light button to repeat the cycle. (Maximum–light level decrease–OFF) 2. Fan Operation: • Press the High (3), Medium (2), or Low (1) speed buttons to turn the ceiling fan ON at the desired speed. • Press the fan “0” key to turn the ceiling fan OFF. -
Page 10: Troubleshooting
Possible Causes 1.No functions operate. Main Power not restored. Fan pull chain not set to High. Set fan pull chain to High speed. Light pull chain not set to ON. Set light kit to ON. Receiver wiring incorrect. Transmitter and receiver DIP switches do not match. -
Page 11: Warranty
HUNTER FAN COMPANY CONTROL LIMITED WARRANTY The Hunter Fan Company makes the following limited warranty to the original purchaser of the Control (“Control”): Your Control is warranted to be free from defects in material and workmanship for a period of one year from the date of sale. If the Control malfunctions or fails within the warranty period due to a defect in material or workmanship we will replace it free of charge.
Need help?
Do you have a question about the UNIVERSAL FAN AND LIGHT REMOTE CONTROL 27184 and is the answer not in the manual?
Questions and answers