Table of Contents
Advertisement
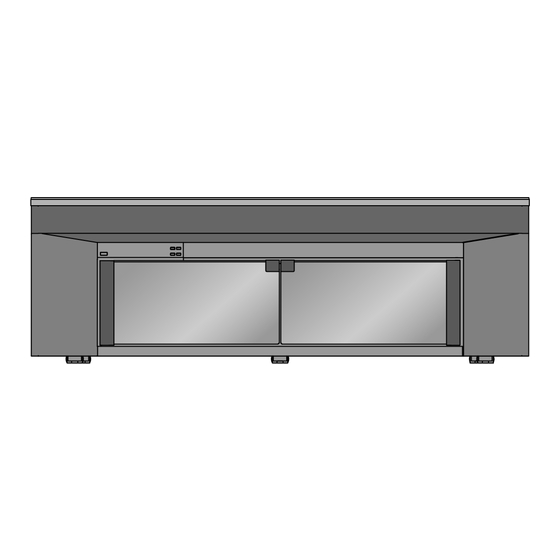
The illustration shows SC-HTR310.
Dear customer
Thank you for purchasing this product.
For optimum performance and safety, please read these instructions carefully.
Before connecting, operating or adjusting this product, please read the instructions completely.
Please keep this manual for future reference.
Note
"EB" on the packaging indicates the United Kingdom.
EB
E
Home Theater Audio System
Operating Instructions
SC-HTR310
Model No.
SC-HTR210
RQTX0151-B
Advertisement
Table of Contents


Need help?
Do you have a question about the SC-HTR310 and is the answer not in the manual?
Questions and answers