Advertisement
Table of Contents
Advertisement
Table of Contents

Related Manuals for Sanyo DMP-P8


Summary of Contents for Sanyo DMP-P8
-
Page 2: Table Of Contents
Table of Contents IMPORTANT SAFEGUARDS ..............2-3 PREPARATION FOR USE ................4 LOCATION OF CONTROLS AND INDICATORS ........5-7 REMOTE CONTROL BATTERY ..............8 OPERATION INSTRUCTIONS .............. 9-15 CARE AND MAINTENANCE ..............16 TROUBLESHOOTING ................. 16-17 TECHNICAL INFORMATION ..............18 - 1 -... -
Page 3: Important Safeguards
Important Safeguards Signal Word Definitions DANGER - Indicates an imminently hazardous situation, which, if not avoided, will result in death or serious injury. This symbol appears only in the most extreme situations. WARNING - Indicates a potentially hazardous situation which could result in death or serious injury. - Page 4 • Keep the power cord and product away from heated surfaces. • The apparatus shall not be exposed to dripping or splashing and no objects filled with liquids, such as vases, shall be placed on the product. • Do not place or drop the product into water or other liquids. If the product falls into water, immediately unplug it from the electrical outlet;...
-
Page 5: Preparation For Use
• Never throw batteries into a fire. Do not expose batteries to fire or other heat sources. Preparation For Use UNPACKING AND SET UP • Carefully remove all the accessories from the display carton. Verify that you have all the necessary accessories before you dispose of the display carton. -
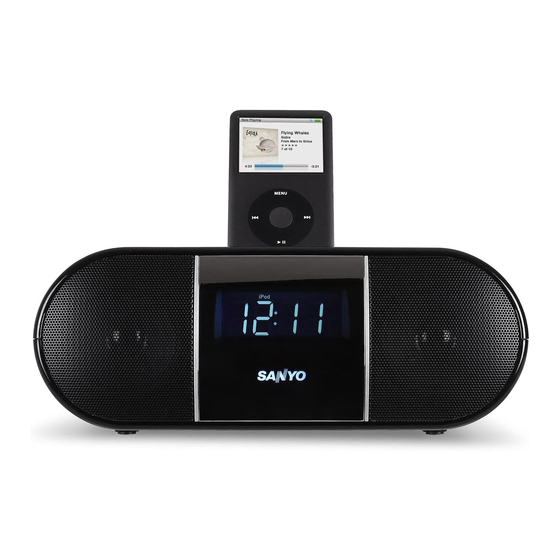
Page 6: Location Of Controls And Indicators
Location Of Controls And Indicators TOP PANEL FRONT PANEL - 5 -... - Page 7 BACK PANEL DISPLAY - 6 -...
-
Page 8: Location Of Controls And Indicators
Location Of Controls And Indicators Remote Control - 7 -... -
Page 9: Remote Control Battery
Remote Control Battery The remote control requires one"CR2025 type"3-volt lithium battery (included). To extend the life of the original battery we have inserted a small clear plastic spacer tab between the lithium battery and the battery terminal. You must remove this battery spacer tab before you use the remote control. -
Page 10: Operating Instructions
Operating Instructions Make sure the AC power cord from this unit is properly connected to a 240V 50Hz household AC power outlet. Make sure the AC power cord from this unit is properly connected to a 240V 50Hz household AC power outlet. І) Setting the Clock 1) While the unit is at STANDBY mode, press and hold MODE... - Page 11 Operating Instructions ІІ) SETTING 1 or 2 ALARMS You can only set your Alarm mode at Standby mode. A. Set Alarm 1 1) While the unit is at STANDBY mode, press and hold ALARM 1 button on the top panel for 2 sec. and the hour digit will begin flashing.
- Page 12 Operating Instructions C. Snooze Function After alarm is ON, you can press SNOOZE and ALARM1 / ALARM2 buttons on the top panel or remote control to temporarily deactivate the alarm which will activate again after 9 minutes lapse. To switch it off, you can press ALARM1 / ALARM2 button.
- Page 13 Operating Instructions A. LISTEN TO iPod 1) Press STANDBY/SOURCE button on the top panel or remote control to Power on the unit. To select iPod mode, press STANDBY/ SOURCE button again until the “iPod” icon is shown on the top of display. 2) While the “iPod”...
- Page 14 Operating Instructions 1) Press STANDBY/SOURCE button on the top panel or remote control to Power on the unit. To select FM or AM radio, press STANDBY/ SOURCE button until “FM” or “AM” icon is shown on the top of display. 2) FM/AM frequency will show on the display.
- Page 15 3) Adjust the VOLUME level controls of this system as desired. V) Display Brightness Control During POWER ON Mode, Press SNOOZE button on top panel or remote control once to select Dimmer or Brightness display and the SANYO Logo. This will interchange between Dimmer and Brightness mode. - 14 -...
- Page 16 Operating Instructions During Stand By Mode, Press SNOOZE button on top panel or remote control once to activate the display from Dimmer (Default in Stand By mode) to Brightness mode for 9 sec. Then the display will return to Dimmer mode automatically. RESETTING If the system does not have any respond, you may have experienced a severe electric shock (ESD) or a power surge that triggered the internal...
-
Page 17: Care And Maintenance
Care And Maintenance Care of the cabinet If the cabinet becomes dusty wipe it with a soft, dry dust cloth. Do not use any wax, polish sprays, or abrasive cleaners on the cabinet. Caution: Never allow any water or other liquids to get inside the unit while cleaning. - Page 18 iPod - Make sure the function is set to Won’t play iPod files or will not iPod mode. function as expected. - Make sure iPod is connected properly. - Make sure the proper cradle for your iPod is fitted to the unit. - Pause mode may be activated;...
-
Page 19: Technical Information
Technical Information AC Power : AC 240 ~ 50Hz : 522 - 1620kHz : 87.5 - 108 MHz DC Backup : 3 V (2 "AA" size batteries) Output Power : 2 x 3.5 W Power Consumption : 13 W - 18 -...
Need help?
Do you have a question about the DMP-P8 and is the answer not in the manual?
Questions and answers