Dacor DO130 Installation Instructions Manual
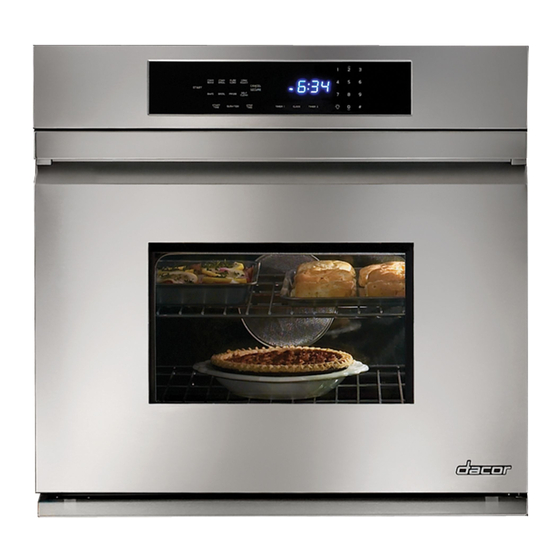
Distinctive wall oven
Hide thumbs
Also See for DO130:
- Use and care manual (36 pages) ,
- Installation instructions manual (16 pages) ,
- Planning manual (2 pages)

Related Manuals for Dacor DO130


Summary of Contents for Dacor DO130
- Page 1 Installation Instructions Distinctive Wall Oven For use with models DO130 and DO230 Part No. 106732 Rev. D...
-
Page 2: Table Of Contents
It can be seen through the grill located directly below the control panel. Open the door to expose the grill. All specifications are subject to change without notice. Dacor ®assumes no liability for changes to specifications. © 2009 Dacor, all rights reserved. -
Page 3: Important Safety Instructions
• Always contact the Dacor Customer Service Team WARNING about problems and conditions that you don't under- WARNING-NEVER use this appliance space stand. -
Page 4: General Safety Precautions
• Do not touch the outside surfaces of the oven dur- how to turn off electr c power to the oven. Dacor ing the self-clean cycle. They will be hot. Venting is n0t responsible for service required to c0rrect a from the oven may cause the trim to become hot. -
Page 5: Product Specifications
Product Dimensions All tolerances: +1/16 (+1.6 mm), unless otherwise stated. /_.._/'_ Top of chassis Model DO130 3A"Conduit: 60" (152 cm) Control panel long front _l_i _T°P \-1 I-IT'-I- chassis Model DO230 Chassis Notch _ Side View Conduit: 60" (152 cm) -
Page 6: Installation Specifications
240 Vac circuit. • Dacor recommends installing the electrical junction box • This appliance is provided with electrical wiring in a flex- in one of the locations shown. - Page 7 Min. Cabinet Min. Cutout Min. Cutout unless otherwise stated. Number Width (N) Width (P) Height (R) Min. interior cabinet depth: 24" (61.0 cm) DO130 27 5/8" (70.2 cm) 28 ½" 30" (76.2 cm) (72.4 cm) DO230 49 1/8" (124.8 cm) I"...
-
Page 8: Installation Instructions
• Product literature • Oven racks, 3 for single ovens, 6 for double ovens • Mounting screws (wood, #6 X ¾, Dacor PN 83331) • Meat probe 4 for single ovens, 6 for double ovens Remove the Oven Door(s) Remove the door(s) to reduce weight and make the To Remove the Oven Door(s)"... -
Page 9: Electrical Connection
Electrical Connection IMPORTANT 'Provide slack in the conduit to allow the oven to slide WARNING fo_ard for servicingl If the electrical service provided does not meet the ,The electrical connection leads from the supplied Electrical Specifications (see page 4), do not pro- appliance conduit may bea smaller gage than the ceed with the installation. - Page 10 Connecting to a 3-Wire Electrical System Jumper any insulating materials as shown at below with with External Ground a length of No. 4 copper wire. Securely clamp the wire to bare metal at both ends. [_ WARNING Separate 10 AWG wire Min. •...
-
Page 11: Installing The Oven In The Cabinet
3. Locate the mounting holes in the trim on both sides of Installing the Oven in the Cabinet the oven. For single ovens there are 4 holes, 2 on each side. WARNING For double ovens there are 6 holes, 3 on each side. •... -
Page 12: Reinstalling The Oven Door(S)
See inside cover for location. Dacor is not responsible for the cost of correcting problems caused by a faulty installation. Insert door at 30 ° angle... -
Page 13: Installation Checklist
Installation Checklist WARNING To ensu[e propel installation; the installer must complete the checklist below to make sure that no part 0f the in- stallation has been overlooked: ........Is the oven mounted on a level platform? See page 5. Is the oven wired and grounded according to these instructions and in accordance with all applicable elec- trical codes? See pages 4 and 7 through 8. -
Page 14: Notes
c_acar... - Page 15 ® The Life of the Kitchen? American Made*Family Owned Dacor • Phone: (800)793-0093 • FAX: (626)403-3130 • www.Dacor.com...
Need help?
Do you have a question about the DO130 and is the answer not in the manual?
Questions and answers