
Related Manuals for Treasure Cove Professional 9700


Summary of Contents for Treasure Cove Professional 9700
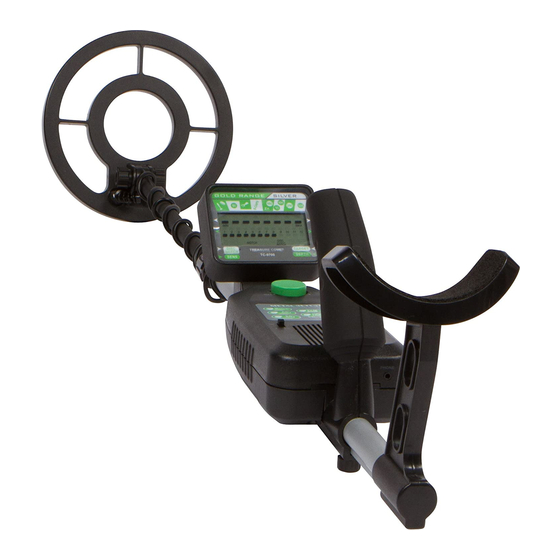
- Page 1 Treasure Cove Metal Detector rofessional 9700 OWNER’S MANUAL www.Treasure-Cove.com 805-658-2328...
-
Page 2: Main Features
MAIN FEATURES The detector has two distinct systems: 1. ALL METAL No-Motion Mode: In this setting, detected targets will cause the detector to sound off for as long as the target is under the searchcoil—motion is not required to detect a target. When operating in the ALL METAL Mode, adjust GND BAL(GROUND BALANCE) to ensure proper mineral elimination. -
Page 3: Installing Batteries
Unscrew the knob on the search coil and remove the knob connector. Insert the stem and align the holes on the search coil bracket and the stem. Push the connector through the holes and tighten the knob. Wind the search coil cable around the stem. Leave enough slack in the cable. -
Page 4: Using Headphones
Use only fresh alkaline batteries of required size. Do not mix the old and new batteries or different types of batteries. Follow these steps to install batteries. 1. Slide the POWER button to POWER, if the unit is powered on. 2. -
Page 5: Functions And Indications
phone Listening Safely To protect your hearing, set the volume to the lowest setting before you begin listening, adjust the volume to a comfortable level. Do not listen at extremely high volume levels. Extended high volume listening can lead to permanent hearing loss. Do not wear headphones while operating your detector near high-traffic areas. -
Page 6: Operation
PANEL WITH TOUCHPADS 1. MODE—lets you choose detection modes. 2. ADJ—to adjust sensitivity and the range of discrimination 3. ENT—to confirm accepting or rejecting the target being detecting in NOTCH mode. 4. SURF-ELIM: Applied in DISC, NOTCH, AUTO-NOTCH modes and is used to eliminate metallic trash present on the surface or at shallow depths. -
Page 7: Audio Target Identification
target. If the detector receives a strong signal, the arrow appears steadily. If the signal is weak, the arrow blinks or does not appear. Note: If an arrow points to a coin denomination, the detector might be detecting either a coin or another type of metal (such as jewelry, tokens, medals, or even junk metal) about same size and type as the coin. -
Page 8: Turning On The Detector
When the unit is in DISC, NOTCH, AUTO-NOTCH modes, its audio identification system automatically classifies metal objects into three categories with three different tones—low, medium and high. It makes it easier to identify the type of the target being detected. Three different tones to distinguish different items detected: Low tone for: bottle caps, nails, small gold ring and nickel (5¢) Medium tone for: pull-tabs, S-CAPS, zinc pennies or 1¢(post 1982) - Page 9 b. NOTCH-- to ignore the metal type you do not want, or to accept the one you want. Press MODE to NOTCH mode. LCD displays NOTCH on the screen. There is one line of bars below the icons. Press + or -, one of the arrows above the bar will blink.
- Page 10 get ALL METAL mode. LCD displays ALL METAL at the left lower part of the screen. Press GROUND TRAC several times to allow the unit to stabilize when first going into ALL METAL mode. Lower the searchcoil to about one inch (2.5cm) above the ground. Slowly sweep the searchcoil above the ground.
-
Page 11: Testing And Using The Detector
2. When adjusting GND BAL counterclockwise, be careful to turn it in small increments—This will assure that you achieve optimum condition for operation. If you turn the knob too far counterclockwise, you can turn it clockwise using same ground balancing procedure until a tone is being emitted and then cut it back counterclockwise slightly until a tone is no longer being emitted. - Page 12 5. In modes of DISC, NOTCH and AUTO-NOTCH, slowly sweep a sample of the material you want the detector to find (such as a gold ring or a coin) 4~5 inches (10~12cm) or more above the face of the searchcoil. When the detector detects any metal, it sounds a tone and an arrow appears below the target icon.
- Page 13 Searchcoil Sweeping Hints: Never sweep the searchcoil as if it were a pendulum. Raising the searchcoil while sweeping or at the end of a sweep will cause false readings. Correct Wrong Sweep slowly, hurrying will cause you to miss targets. It’s better you sweep the search coil from side to side in an arc line of 3 inches motion and keep the search coil parallel with the ground.
- Page 14 False signals can be caused by trashy ground, electrical interference, or large irregular piece of junk metal. False signals are usually broken or non-repeatable. Pinpointing The Target Accurately pinpointing a target makes digging it up easier. But it takes practice. We suggest you practice finding sample on your own property before you search other locations.
-
Page 15: Care And Maintenance
The angle of the target buried in the soil. The depth of the target. The level of oxidization of the target. The Size of the target. Electro-magnetic and electrical interference surrounding the target. If you detect patiently and correctly and practise more times, you’ll get satisfactory result. -
Page 16: Troubleshooting
TROUBLESHOOTING The following troubleshooting steps may assist you in case you’re having problems with your metal detector. YOUR DETECTOR IS EMITTING FASE SIGNALS WHEN YOU’RE IN THE FIELD Your SENSITIVITY may be set too high. Try cutting back the SENSITIVITY slightly until the false signal disappears. Remember, to swing your coil slowly.
Need help?
Do you have a question about the Professional 9700 and is the answer not in the manual?
Questions and answers