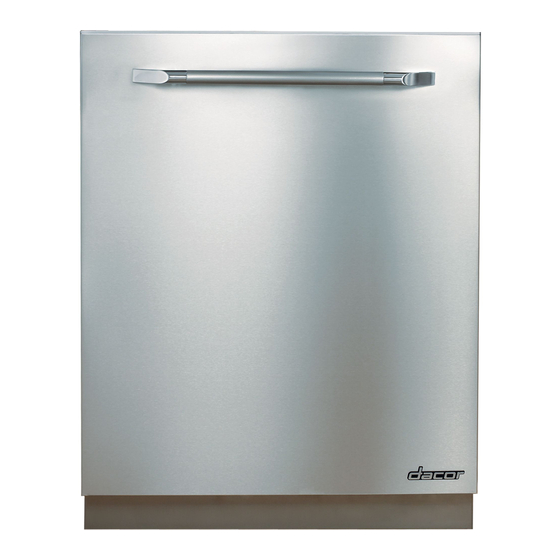
Dacor EDWH24S Installation Instructions Manual
24-inch built-in dishwasher
Hide thumbs
Also See for EDWH24S:
- Use and care manual (24 pages) ,
- Installation instructions manual (20 pages) ,
- Planning manual (3 pages)
Summary of Contents for Dacor EDWH24S
- Page 1 Installation Instructions 24-Inch Built-in Dishwasher Models: EDWH24S and IDWH24 Part No. 106842 Rev. B...
-
Page 2: Table Of Contents
If you have questions or problems with installation, The product data label is located on the right door contact your Dacor ® dealer or the Dacor Customer jamb. Open the door to expose it. Service Team. For repairs to Dacor appliances under warranty call the Dacor Distinctive Service line. -
Page 3: Important Safety Instructions
Hazards or Unsafe practices that COULD result in • Always contact the Dacor Customer Service severe personal injury or death.... Team about problems and conditions that you don't understand. See Customer Service Information. -
Page 4: General Safety Precautions
A qualified service technician • To prevent household mold and mildew shou!d perform all other service, Contact the damage, periodically check the inlet and drain nearest Dacor auth0rized serv!ce representative hoses for leaks. examination, repair or adjustment, _mCD_... -
Page 5: Product Dimensions
Product Dimensions Product tolerances: +1/16" (+1.6 mm) Style varies, model EDWH24S shown Depth with door open (126.4 cm) 49 3/4" D Handle depth •q ._ Depth withcdOOr closed Drain hose Depth dimensions allow for hose on back of unit Front ,, Side _-2"... -
Page 6: Electrical Specifications
10 or hot water supply (maximum 140°F, 60°C). Electrical Requirements However, Dacor recommends connection a cold water supply. If a cold water supply is Electrical Circuit 15 Amp. 120 Vac, 60 Hz. Requirements dedicated, grounded, circuit. - Page 7 If the partition is metal, the edges of the opening shall • Dacor does not advise the use of a knob or be covered with an edge protector. handle utilizing a single fastener. Instead use a handle with a larger D-style pull. Any handle Cutout tolerances: +1/16",-0,...
-
Page 8: Preparing The Drain
• The drain hose is Preparing the Drain equipped with a cone- shaped connector CAUTION the end that is ready to be cut to the desired drain connection size. Only Keep the factory installed high Io0P drain hose in a clamp (not provided) is required. -
Page 9: Verify The Package Contents
Verify the Package Contents • Remove all styrofoam and wrap from the plastic dishwasher. Be sure to remove the toe kick and toe kick insulation from the top of the dishwasher packaging. With the assistance of at least one person, remove the dishwasher from the shipping pallet. -
Page 10: Installation Preparation
Exhaust vent, _/_:-::::::::: ..do not block " _ Panel Installation: Install the Dacor trim kit (PN 106925) on the dishwasher according to the instructions accompanying Install the two (2) supplied 3/8" screws on the Center the panel on the door and secure the... -
Page 11: Installation Instructions
To make larger tension adjustments to the door Handle Installation (Model EDWH24S) springs, remove the back of the springs from the Install the door handle according to the handle dishwasher by turning them outwards. installation instructions. Move them one hole farther back or forward, then... - Page 12 Level the Dishwasher Open the door and pull the bottom rack out of the dishwasher. Check to make sure the dishwasher floor is level left to right using a level. Adjust the CAUTION front legs as necessary. A level unit is important to pr0per operati0 n.
-
Page 13: Installing The Unit In The Cabinet
If a nonmetallic cable is being used, install a Slowly and gently slide the unit into the UL-listed strain relief bushing on the back of the dishwasher opening. As you do this, have dishwasher. someone gently pull the drain hose, water supply line and power cable through the access hole(s) Connect the white wire on the cable to the "N"... -
Page 14: Verifying Operation
Verifying Operation drain hose. Pre-verification Check List Repeat the Wet Test Checklist. If the appliance still does not work, contact Dacor Confirm that the power cable is disconnected. Distinctive Service at (877) 337-3226. Do not Make sure all packing material has been attempt to repair the appliance yourself. -
Page 15: Final Leveling
Final Leveling Attaching the Anti-tip Brackets Check to make sure that adjacent drawers and cupboards can be opened when the dishwasher door is open. Reposition the dishwasher CAUTION necessary. Check that there is a 1/8" (3 mm) space between Make sure to anchor one anti:tiP bracket 0n each the top of the dishwasher door and the underside s de of the d shwasher. -
Page 16: Installing The Toe Kick
€ • Proper installation is the responsibility the homeowner. The importance of proper installation of your Dacor dishwasher cannot be overemphasized. Toe kick Has the unit been inspected for cosmetic damage? Loosen the brackets for the toe kick by moving... - Page 17 clmcar...
- Page 18 _mcar...
- Page 19 ItemNo.,8089592Rev.02 The LifeoftheKitchen? Dacor • 600 Anton Blvd. Suite 1000 Costa Mesa, CA 92626 • Phone: (800) 793-0093 • Fax: (626)403-3130 • www.Dacor.com...


Need help?
Do you have a question about the EDWH24S and is the answer not in the manual?
Questions and answers