Table of Contents
Advertisement
Quick Links
Advertisement
Table of Contents

Subscribe to Our Youtube Channel
Related Manuals for Atlona AT-HD44M-SR


Summary of Contents for Atlona AT-HD44M-SR
- Page 1 AtlonA 4x4 HDMI over CAT5 Matrix Switcher with IR Control AT-HD44M-SR User Manual...
-
Page 2: Table Of Contents
TABLE OF CONTENTS 1. Introduction ............2. Features ............3. Package Contents ............4. Technical Specifications and Package Content ..... 5. Panel Descriptions ............5.1. Front Panel ............5.2. Rear Panel ............7. Hardware Installation ............8. Operation and IR Control .......... -
Page 3: Introduction
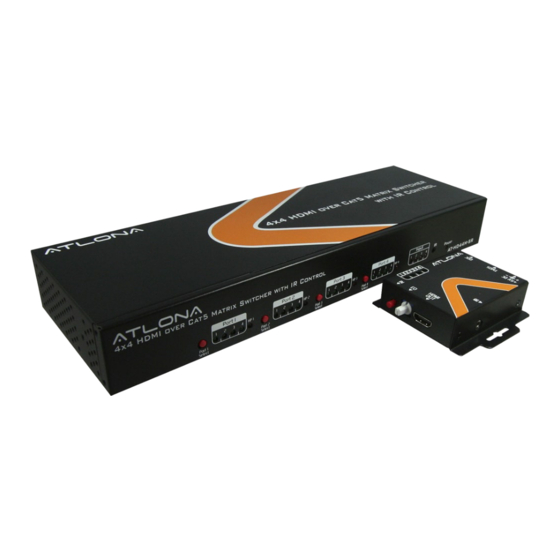
Introduction The AT-HD44M-SR 4x4 HDMI Matrix over CAT5 with IR Control Path provides the most flexible and cost effective solution in the market to route high definition video sources plus multi-channel (up to 7.1-channel) digital audio from any of the four HDMI sources to the remote displays at the same time. -
Page 4: Features
• Each display’s input source can be switched with IR remote control or push button through control line at remote receiver • Easy installation Technical Specifications and Package Content AT-HD44M-SR Package Content 1x AT-HD44M-S 4x AT-HD44M-R 1x IR emitting cable... -
Page 5: Panel Descriptions
Panel Descriptions Front Panel AtlonA 1. Power indicator 2. IR receiver 3. Input source Indicator 4. Connection status indicator for each output channel 5. Input source channels mapping LED for each output channel 6. Push button for selecting input channel Rear Panel 7. - Page 6 AT-HD44M-R 1. Push button: Select input source channel 2. Push button: Select input source channel 3. HDMI Output: Connect to HDTV 4. IR Extender: For IR receiver extension cable plug-in 6. 5V DC power jack 7. RJ-45 Input: TMDS 8. RJ-45 Input: DDC...
-
Page 7: Hardware Installation
Hardware Installation AT-HD44M-S as master 1. Connect all sources to HDMI Inputs on the 4x4 HDMI matrix master AT-HD44M-S 2. Connect each DDC output on the AT-HD44M-S to respective DDC input on the remote receiver AT-HD44M-R 3. Connect each TMDS output on the AT-HD44M-S to respective TMDS input on the remote receiver AT-HD44M-R 4. -
Page 8: Operation And Ir Control
Operation and IR Control Source Side Method A: Push Button Push the switch button on the front panel, the source will be sequentially changed. Method B: IR Remote Control a. Please press to enter IR control mode b. Decide which output port to be controlled by pressing F1 to F4 Note: If the setting is correct, the corresponding LED will flash. -
Page 9: Ir Codes
IR codes... -
Page 10: Rs-232 Serial Port Control
RS-232 Serial Port Control Scan: Pushing this button will trigger the automatic search over all the available COM ports (1-255). If the matrix is detected, the message window below will show up. Otherwise, an error message as following shows up to indicate there is no legal device found. - Page 11 Open: Open the COM port after scan to establish the connection between PC and the matrix.. Close: Release the COM port after scan. Quick Setup Buttons: Provide the fast setup between inputs and outputs of the matrix. “Default” button makes input 1, 2, 3, 4, 5 mapped to output 1, 2, 3, 4, 5 respectively. “Channel 1”...
- Page 12 Channel 2 Only Channel 3 Only Channel 4 Only Source site HDMI general machine control: Users can use the corresponding IR remote to control respective DVD player or any HDMI compliant devices including AT-HD44M-SR itself with IR control at any display site.
-
Page 13: Rs232 Commands
8 bits Parity: None (A)Set command: Command code Response Description DATA *CHECK SUM 0x07 0x4d 0x41 0x51 0x44 0xa8 0xaa SET AT-HD44M-SR DEVICE 0x05 *0x01~0xFE (B)Status commend: Command code Response Description DATA *CHECK GET STATUS *CHECK STATUS 0x04 0x4d 0x4f... -
Page 14: Safety
Use only accessories recommended by ATLONA to avoid fire, shock or other Do not modify the wall plug. hazards. Doing so will void the warranty and safety features. -
Page 15: Warranty
WARRANTY LIMITED ONE-YEAR WARRANTY ATLONA by Lenexpo Electronics warrants only to the initial purchaser of this product for a period of one year from the date of purchase from an Authorized ATLONA Reseller, the product will be free of electrical and mechanical defects that materially affect the products operation as described in this users manual.
Need help?
Do you have a question about the AT-HD44M-SR and is the answer not in the manual?
Questions and answers