Haier HUF138PA User Manual
Upright frost free freezer
Hide thumbs
Also See for HUF138PA:
- User manual (17 pages) ,
- User manual (48 pages) ,
- User manual (48 pages)
Table of Contents
Advertisement
Advertisement
Table of Contents

Related Manuals for Haier HUF138PA


Summary of Contents for Haier HUF138PA
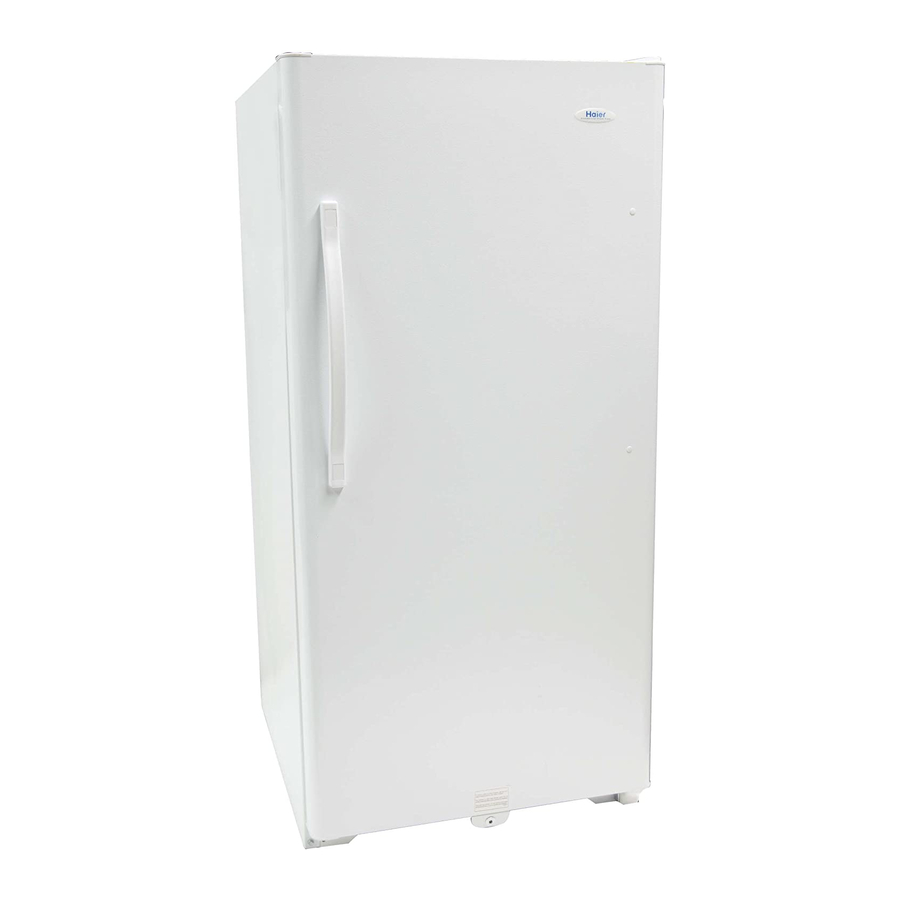
- Page 1 Upright Frost Free Freezer Congélateur Vertical Congelador Vertical User Manual Model HUF138PA • HUF168PA • HUF205PA Guide de l’Utilisateur HUF138PA • HUF168PA • HUF205PA Manual del Usuario Modelo HUF138PA • HUF168PA • HUF205PA Quality Innovation • Style •...
-
Page 2: Safety Precautions
This will reduce the possibility of danger to children. 7. When your freezer is in operation, do not touch the cold surfaces in the freezer compartment, particularly when hands are damp or wet. - Page 3 10. Unplug your freezer before cleaning or before making any repairs. Note: If for any reason this product requires service, we strongly recommend that a certified technician perform the service. 11. Do not operate your freezer in the presence of explosive fumes. SAVE THESE INSTRUCTIONS DANGER Risk of child entrapment.
-
Page 4: Table Of Contents
Table Of Contents PAGE Safety Precautions ...1-2 Unpacking ...4 Parts and Features ...5 Freezer Installation ...6 Electrical Connections ...7 Operating Your Freezer ...8-11 Normal Operating Sounds ...11 Proper Care and Cleaning ...12 Frost-Free ...13 Extended Non-Use and Moving...13 Troubleshooting Guide ...14 Warranty...15... -
Page 5: Unpacking
2. Inspect and remove any remaining packaging, tape and printed materials before turning ON the freezer. Note: Allow the freezer to stand in an upright position for at least 24 hours before turning on the power, if the freezer has been tilted for any reason. -
Page 6: Parts And Features
English Parts And Features 1. Interior Light 2. Cabinet Wire Shelves (quantities vary per model) 3. Temperature Control Dial 4. Storage Drawers (quantity varies by model) 5. Temperature Alarm Switch with Indicator Light 6. Power Indicator Light 7. Locking Plate 8. -
Page 7: Freezer Installation
• The freezer is designed for freestanding installation only. It should not be built-in. • Allow a minimum of 2 inch on each side and above the top of the freezer to ease installation and allow proper air circulation. • Be sure to install your freezer on a floor that is strong enough to support the unit when fully loaded. -
Page 8: Electrical Connections
English Electrical Connection Grounding Instructions For personal safety, this appliance must be properly grounded. In the event of an electrical short circuit, grounding reduces the risk of electric shock by providing an escape wire for the electrical current. This appliance is equipped with a cord containing a grounding wire with a grounding plug. -
Page 9: Operating Your Freezer
When turning ON your freezer, the temperature alarm system switch should be at the “O” position. Put it in the “-“ position once the freezer has been ON for a period of 24 hours. The temperature alarm is activated at 15.8˚F. Once activated, the built-in audible alarm system will signal a warning of high temperature to you. - Page 10 5. Install a new replacement light bulb by turning it clockwise. 6. Replace the light shade to its original position. 7. Plug in the freezer, to see if you have installed the light bulb correctly. 8. If the light bulb does not turn ON, repeat the steps above.
- Page 11 1. Fix the freezer door in place with strong adhesive tape. 2. Dismantle the hinge box cover on the top of the freezer door with a Phillips screwdriver and remove the 2 screws from the hinge. Take out the hinge by pulling up vertically.
-
Page 12: Normal Operating Sounds
English Installing the Handle ( 1. Use a flathead screwdriver to gently remove the plastic screw hole covers from the handle and the plastic hole plugs from the door. 2. Remove the door handle by unscrewing the upper and lower screws with a Phillips screwdriver. -
Page 13: Proper Care And Cleaning
• Carefully slide the freezer away from the wall slowly to avoid damaging the floor. • Wipe dust from the back of the freezer and the outside of the compressor com- partment with a clean dry cloth or use a vacuum cleaner with a brush attach- ment. -
Page 14: Frost-Free
Clean the freezer and door gaskets according to the Proper Care and Cleaning section. Prevent odors from forming by placing an open box of baking soda in the freezer and propping the door open to allow air to circulate inside. -
Page 15: Troubleshooting Guide
• Foods with strong odors should be tightly covered. • Check for spoiled food. • Interior may require cleaning. • Keep an open box of baking soda in the freezer to absorb odors and replace as needed. Foods are not sufficiently frozen. -
Page 16: Warranty
This warranty gives you specific legal rights, and you may have other rights, which vary, from state to state. Haier America New York, NY 10018... - Page 17 OBLIGATOIRES POUR BÉNÉFICIER DE LA COUVERTURE OFFERTE PAR LA GARANTIE. No Devuelva Este Producto al Establecimiento Compra. Si tiene problemas con este producto, por favor póngase en contacto con el "Centro Haier de Atención al Cliente" en el 1-877-337-3639. PARA EL SERVICIO DE GARANTÍA SE REQUIERE PRUEBA DE COMPRA, FECHADA, No. DE HUF138.168.205PA - 02...
Need help?
Do you have a question about the HUF138PA and is the answer not in the manual?
Questions and answers