Bissell ProHeat 2X 8920 Series Service Center Manual
Hide thumbs
Also See for ProHeat 2X 8920 Series:
- User manual (25 pages) ,
- User manual (25 pages) ,
- User manual (49 pages)

Related Manuals for Bissell ProHeat 2X 8920 Series


Summary of Contents for Bissell ProHeat 2X 8920 Series
- Page 1 Bissell ProHeat 2X™ Service Center Guide Series 8920, 9200, 9300, 9400 Service Center Guide Issued: September, 2005 © 2005 BISSELL Homecare, Inc. Page 1 of 22...
-
Page 2: Table Of Contents
Replacing the bridge rectifier Page 19 Replacing the micro switch Page 19 Wiring diagram - BISSELL ProHeat 2X™ Page 20 Wiring diagram - BISSELL ProHeat 2X™ Select Page 21 Plumbing diagram Page 22 Issued: September, 2005 © 2005 BISSELL Homecare, Inc. -
Page 3: Product Overview
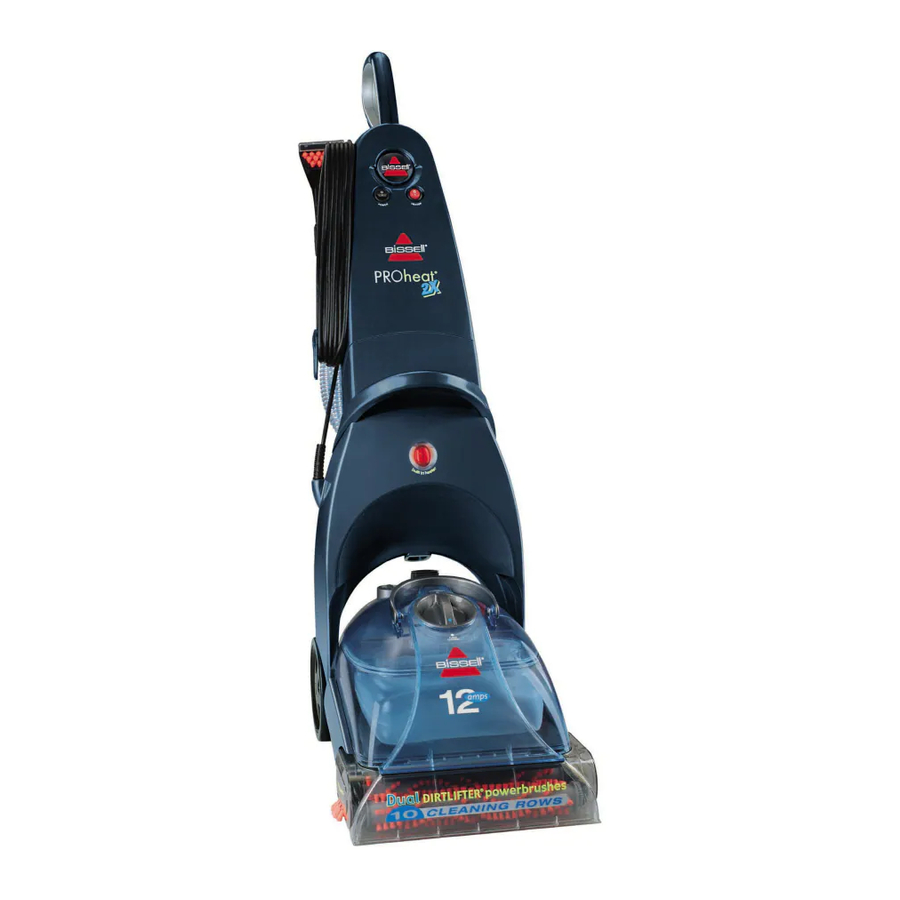
Bissell ProHeat 2X™ Service Center Guide PRODUCT OVERVIEW ProHeat 2X™ is the new revolutionary new cleaning system featuring: • Dual DirtLifter® PowerBrushes. • New SmartClean™ solution mixing. • Heated cleaning at the floor and through the attachment hose. Gets the deep... -
Page 4: Quick Reference Troubleshooting Chart
Bissell ProHeat 2X™ Service Center Guide Quick reference troubleshooting chart Problem Possible cause / Check for… • Low/No spray to floor and • Tank is warped and/or not sealing properly • pinched/clogged line upholstery hose • defective bridge rectifier • defective pump •... -
Page 5: Ul Recommended High Voltage Test
Bissell ProHeat 2X™ Service Center Guide UL RECOMMENDED HIGH VOLTAGE TEST In keeping with UL standards, a high voltage test should be performed on a vacuum or deep cleaner any time the unit is in for repair, particularly when the motor or other electrical components have been replaced. -
Page 6: Preliminary Diagnostic Checks
Bissell ProHeat 2X™ Service Center Guide PRELIMINARY DIAGNOSTIC CHECKS Check to make sure the unit is properly assembled. Check seals on the Clean Water/Recovery Tank, Formula tank, Rear Cover, and Nozzle. If necessary, re-seat or replace seals. Check valve action on Clean Water/Recovery Tank and Formula tank by depressing them with your finger. -
Page 7: Troubleshooting Low/No Spray Symptoms Pages
Bissell ProHeat 2X™ Service Center Guide TROUBLESHOOTING LOW/NO SPRAY SYMPTOMS With the SmartClean™ dial set to rinse insert the formula tank into the unit in place of the water tank in the front auto load receiver. Do not put the tank in the rear auto load receiver. -
Page 8: Troubleshooting Low Suction Symptoms
Bissell ProHeat 2X™ Service Center Guide TROUBLESHOOTING LOW/NO SPRAY SYMPTOMS (continued) Check lines for evidence of pinching or restricted flow. Straighten, un-pinch, or replace lines as necessary. Set air duct back in place and re-attach both tubes to it. Turn unit on. -
Page 9: Troubleshooting Brush Motor
Bissell ProHeat 2X™ Service Center Guide TROUBLESHOOTING BRUSH MOTOR WILL NOT TURN Refer to TAKING THE UNIT APART on Page 11 if you need to access the brush motor Remove the base cover and recline the unit. Check the voltage going to the brush motor by disconnecting the leads and reading the line voltage. - Page 10 Bissell ProHeat 2X™ Service Center Guide TROUBLESHOOTING - BRUSH MOTOR WILL NOT TURN (continued) If 0 voltage is read at the brush switch check the circuit board located in the upper handle. Check that connections are secure. If 110/120 volts AC goes into the board (red & white wires) and a reading other than 100 –...
- Page 11 Bissell ProHeat 2X™ Service Center Guide TAKING THE UNIT APART WARNING: To reduce the chance of electrical shock, unplug before servicing. Do not disassemble the unit until you have performed the troubleshooting steps and diagnostic checks in pages 5-7. Proper troubleshooting techniques and diagnosis of the problem may save a lot of time and frustration.
- Page 12 Bissell ProHeat 2X™ Service Center Guide TAKING THE UNIT APART (continued) Make sure to take note of how all tubes and wires are routed to, from and around components as you disassemble the unit. The red gasket may be stuck in the air duct after the duct is picked up. Remove it from the duct and replace it as shown in the picture on the right.
-
Page 13: Taking The Unit Apart
Bissell ProHeat 2X™ Service Center Guide TAKING THE UNIT APART (continued) Removing the access cover will give you access to nearly all parts that may require service. Brush Switch Bridge Rectifier Pump Solenoid Brush Motor Issued: September, 2005 © 2005 BISSELL Homecare, Inc. -
Page 14: Replacing The Pump
Bissell ProHeat 2X™ Service Center Guide REPLACING THE PUMP Make sure to take note of how all tubes and wires are routed to, from and around the pump. Disconnect all three pump wires connections. Disconnect "pump to heater" tube. Remove the two pump mounting screws located furthest to the front. -
Page 15: Replacing The Heater
Bissell ProHeat 2X™ Service Center Guide REPLACING THE SOLENOID VALVE IN THE BASE (continued) Yellow wire on top Clean water receiver was terminal left in place to show the White wire on bottom correct travel path of the terminal solution hose... -
Page 16: Replacing The Vacuum Motor Pages
Bissell ProHeat 2X™ Service Center Guide REPLACING THE VACUUM MOTOR Remove all wires. Lift up firmly to unseat the seal and remove motor. Motor is not held in place with screws. Make sure the seal is correctly installed on the new motor: Seal should not be covering the vent holes. -
Page 17: Replacing The Brush Motor Pages
Bissell ProHeat 2X™ Service Center Guide REPLACING THE BRUSH MOTOR Disconnect the wires from the motor. The black and white wires are connected with wire nuts. The green wire has a removable terminal. Remove the left end cap. Remove the e-clip, washer, and gear from the motor spindle. - Page 18 Bissell ProHeat 2X™ Service Center Guide REPLACING THE BRUSH MOTOR (continued) Route wires into notch when reassembling. REPLACING THE BRIDGE RECTIFIER The rectifier converts 110 volt line voltage to the approximately 12 volts DC that the pump motor operates on. There can be two symptoms caused by a bad rectifier. First, when the rectifier goes bad, the pump will not run.
-
Page 19: Replacing The Bridge Rectifier
Bissell ProHeat 2X™ Service Center Guide REPLACING THE BRIDGE RECTIFIER (continued) A quick check for distortion on the bridge rectifier can show if it is defective. REPLACING THE BRUSH MOTOR MICRO SWITCH There is one screw holding the micro switch in position Issued: September, 2005 ©... -
Page 20: Wiring Diagram - Bissell Proheat 2X
Bissell ProHeat 2X™ Service Center Guide WIRING DIAGRAM - BISSELL ProHeat 2X™ Issued: September, 2005 © 2005 BISSELL Homecare, Inc. Page 20 of 22... -
Page 21: Wiring Diagram - Bissell Proheat 2X™ Select
Bissell ProHeat 2X™ Service Center Guide WIRING DIAGRAM - BISSELL ProHeat 2X™ Select Issued: September, 2005 © 2005 BISSELL Homecare, Inc. Page 21 of 22... -
Page 22: Plumbing Diagram
Bissell ProHeat 2X™ Service Center Guide PLUMBING DIAGRAM Issued: September, 2005 © 2005 BISSELL Homecare, Inc. Page 22 of 22...
Need help?
Do you have a question about the ProHeat 2X 8920 Series and is the answer not in the manual?
Questions and answers