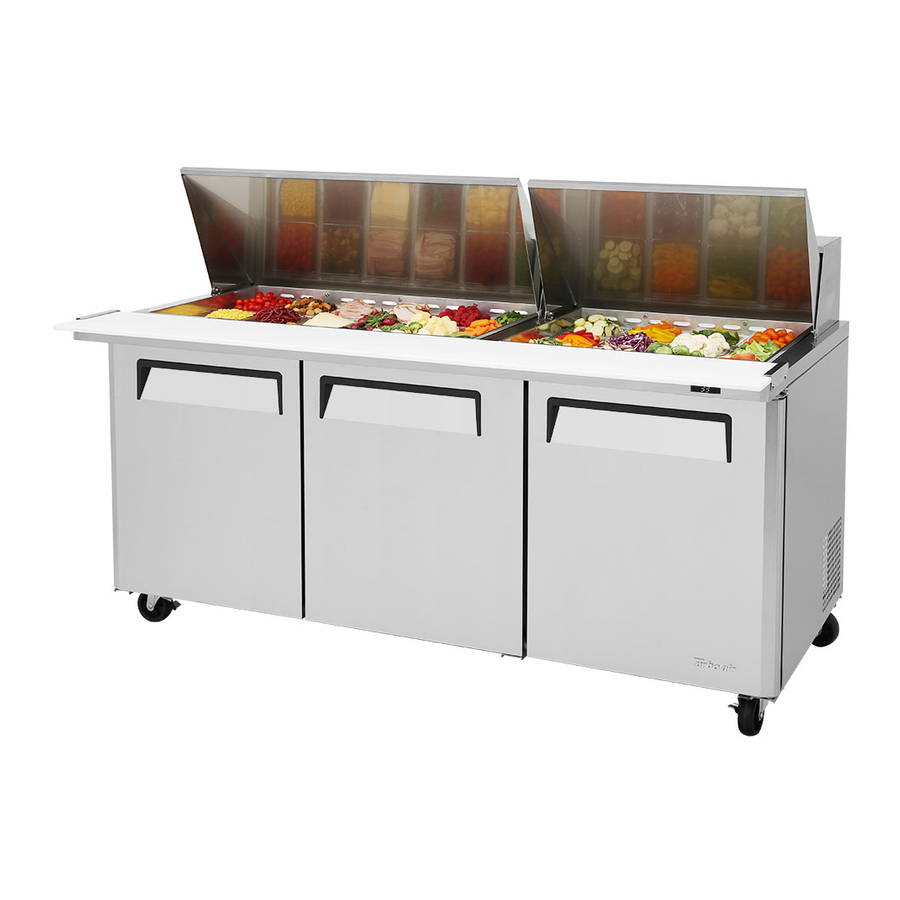
Turbo Air MST-28 Installation And Operation Manual

Turbo Air MST-28 Installation And Operation Manual

Sandwich salad unit refrigerator
Hide thumbs Also See for MST-28:

Advertisement

Turbo Air Speed up the Pace of Innovation
Sandwich Salad Unit
Refrigerator
Installation and Operation Manual
Please read this manual completely before attempting to install or operate this equipment!
REFRIGERATOR
MST-28
MST-36
MST-48
MST-60
MST-72
www.turboairinc.com
CAUTION!
PLEASE KEEP POWER
SWITCH ON BEFORE
OPERATING THIS EQUIPMENT

Advertisement

Table of Contents
loading
Need help?

Need help?

Do you have a question about the MST-28 and is the answer not in the manual?

Questions and answers

Summary of Contents for Turbo Air MST-28

  • Page 1 CAUTION! PLEASE KEEP POWER SWITCH ON BEFORE OPERATING THIS EQUIPMENT Turbo Air Speed up the Pace of Innovation Sandwich Salad Unit Refrigerator Installation and Operation Manual Please read this manual completely before attempting to install or operate this equipment! REFRIGERATOR...
  • Page 2: Table Of Contents

    9-12 BEFORE REQUESTIONG SERVICE STAINLESS STEEL EQUIPMENT CARE AND CLEANING 14-15 WARRANTY 16-18 SPECIFICATIONS SANDWICH / SALAD UNITS MODEL COMP H.P. V/Hz REFRIGERANT AMPS WEIGHT MST-28 115V/60Hz R-134A 3.3A 198lbs MST-36 115V/60Hz R-134A 6.6A 220lbs MST-48 115V/60Hz R-134A 6.5A 242lbs...
  • Page 3: Installation Of Caster

    INSTALLATION OF CASTERS 1) Screw the caster (in rear side) and the caster brakes (in front side) by using caster wrench. 2) Use the caster shims to level the cabinet, if necessary, by inserting them to stems of the casters.
  • Page 4: Installation Of Drain Pan

    1) In damp season, when the drain water overflow the drain pan, remove the drain pan and pour the water away. And then set the drain pan back up as below drawing please. (Model : MST-28, MST-28-12, MUR-28, MUF-28) MST-28, MST-28-12,...
  • Page 5: How To Clean The Pan Supporter

    HOW TO CLEAN THE PAN SUPPORTER MODEL MST-28, MST-48 MST-60, MST-72 MST-28-12, MST-48-18 MST-60-24, MST-72-30 1) Remove the Guide Pans and Pans. Then pull out the Pan Supporter. Clean the pan supporter and reinstall in place.
  • Page 6: Installation

    - Be sure that there is ample air space so that air can flow through the rear of the unit. - Turbo Air recommends that the rear of the unit be no less than 5 inches from the wall. 2. PLACE ON STRONG GROUND - Be sure the location chosen has a floor strong enough to support the total weight of the cabinet and contents.
  • Page 7 CLEANING Before cleaning, turn unit off at power switch. 1. CLEANING THE INTERIOR AND EXTERIOR - The interior and exterior of the unit can be cleaned using warm water with soap. - Do not use an abrasive cleaner because it will scratch the surface. 2.
  • Page 8: Basic Operation

    BASIC OPERATION REFRIGERATORS 1. The controller(thermostat) is located at the right inside of the unit. 2. The factory setting for the control is ‘Normal’ 3. Set toward ‘Cool’ for higher temperature and ‘Cold’ for lower temperature. 4. The thermostat controls compressor’s on/off by sensing inside temperature. •...
  • Page 9: Doors Reversible Instruction

    Doors Reversible Instruction (For MST-28 only) .MAIN COMPONENTS INSTRUCTION 1.DOOR DOOR 2..TOP HINGE/BOTTOM HINGE BOTTOM HINGE TOP HINGE 3.SPRING BAR SPRING BAR 4.DOOR BUSHING 3 mm DOOR BUSHING 5 mm DOOR BUSHING...
  • Page 10 (For MST-28 only) 5.M5 BOLT/M6 BOLT 6.UNIT COVER CAP UNIT COVER CAP . CHANGE REVERSIBLE DOOR MST-28 -711 S MUR -28 MUF -28 ) 1.Unscrew the top hinge 2.Take apart top hinge from unit. 4.Unscrew the screws located on right of 3.Lift the door, then remove it.
  • Page 11 Doors Reversible Instruction (For MST-28 only) 3.Screw the screws located on left 4.Take apart door dushing from the of bottom hinge. right bottom side of door . 5.Remove door bushing from right- 6.Pull out spring bar from the right top side of door.
  • Page 12 Doors Reversible Instruction (For MST-28 only) 10.Assemble the door bushing 9.Put spring bar into the left (3mm) in the left-top position of of door. door. 11.Install the door bushing 12.After installing the (5mm) in the left bottom side of door,screw the top hinge(follow door.
  • Page 13: Before Requestiong Service

    BEFORE REQUESTING SERVICE SYMPTOMS CAUSES SOLUTIONS Refrigerator(Freezer) • The setting temperature is too • Turn the temperature dial to a is freezing(melting) low(high) to maintain food warmer(colder) setting. food. freshness. The unit does not • There is a power connection •...
  • Page 14: Stainless Steel Equipment Care And Cleaning

    STAINLESS STEEL EQUIPMENT CARE AND CLEANING CAUTION : Do not use any steel wool, abrasive or chlorine based products to clean stainless steel surfaces. Stainless Steel Opponents There are three basic things which can break down your stainless steel’s passivity layer and allow corrosion to rear its ugly head.
  • Page 15 4. Water Treatment To reduce deposits, soften the hard water when possible. Installation of certain filters can remove corrosive and distasteful elements. Salts in a properly maintained water softener can be to your advantage. Contact a treatment specialist if you are not sure of the proper water treatment.
  • Page 16 TWO YEAR WARRANTY Turbo air warrants to the original purchaser of every new Turbo air refrigerated unit, the cabinet and all parts thereof, to be free from defects in material or workmanship, under normal use and service, for a period of two (2) year from the date of original installation or 27 months after shipment date from Turbo air , whichever occurs first.
  • Page 17 3. ALTERATION, NEGLECT, ABUSE, MISUSE, ACCIDENT, DAMAGE DURING TRANSIT OR INSTALLATION, FIRE, FLOOD, ACTS OF GOD. TURBO AIR is not responsible for the repair or replacement of any parts that Turbo Air determines have been subjected after the date of manufacture to alteration, neglect, abuse, misuse, accident, damage during transit or installation, fire, flood, or an Act of God.
  • Page 18: Warranty

    (2) year from the date of original installation or 27 months after shipment date from Turbo Air, whichever occurs first. Any part, covered under this warranty, that are by Turbo Air to have been defective within two (2) year of original installation or twenty seven (27) months after shipment date from manufacturer, whichever occurs first, is limited to the repair or replacement, including labor charges, of defective parts or assemblies.

Table of Contents