Sign In
Upload
Download
Table of Contents
Contents
Add to my manuals
Delete from my manuals
Share
URL of this page:
HTML Link:
Bookmark this page
Add
Manual will be automatically added to "My Manuals"
Print this page
×
Bookmark added
×
Added to my manuals
Manuals
Brands
Lantronix Manuals
Server
ETS16PR
Installation manual
Lantronix ETS16PR Installation Manual
Multiport device servers
Hide thumbs
Also See for ETS16PR
:
Reference manual
(312 pages)
1
2
3
Table Of Contents
4
5
6
7
8
9
10
11
12
13
14
15
16
17
18
19
20
21
22
23
24
25
26
27
28
29
30
31
32
33
34
35
36
37
38
39
40
41
42
43
44
45
46
47
48
49
50
51
52
53
54
55
56
57
58
59
60
61
62
63
64
65
66
67
68
page
of
68
Go
/
68
Contents
Table of Contents
Troubleshooting
Bookmarks
Table of Contents
Copyright and Trademark
Disclaimer and Revisions
Table of Contents
1 : Introduction
Supported Serial Protocols
Rs-232
Rs-423
How to Use this Manual
2 :Installation
ETSP Product Descriptions
ETSPS Front Panels
ETS8PS/ETS16PS Leds
ETS8PS Back Panel
ETS16PS Back Panel
Installing the ETSP
ETSPR Product Descriptions
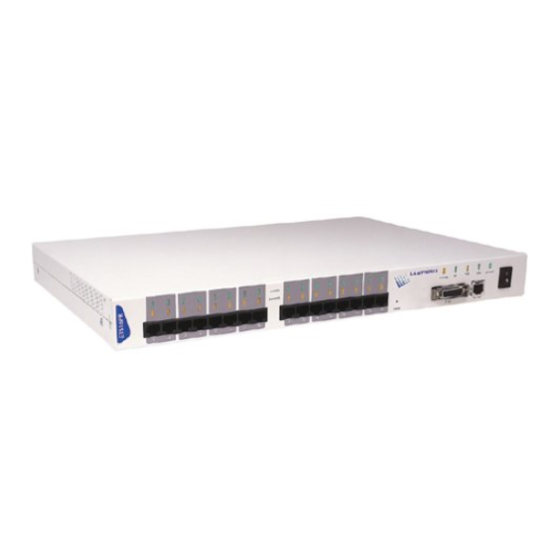
ETS16PR Front Panel
ETS32PR Front Panel
ETSPR Leds
Installing the ETSPR
3 : Getting Started
Configuration Methods
Ezwebcon
Using a Web Browser (ETSPR Models)
Incoming Logins
Console Terminal
TCP/IP Configuration
Using Ezwebcon
Using a Directed Ping Packet
Using a BOOTP, DHCP, or RARP Reply
Using the Command Line Interface
Services
Was the Installation Successful
4 : Using the ETS
Console Server Example
Define the Menus
Enable Menu Mode
Configure Switches
Using Menus
Serial Tunnel Example
TCP Configuration
UDP Configuration
Multi-Port Serial Tunnel Configuration
Comm Port Redirector
5 : Printing on the ETS
LPR Printing
LPR on Windows NT 3.5.1 (and Later)
LPR on Windows 95/98
LPR on UNIX Hosts
LPR on AIX Hosts
LPR on HP Hosts
LPR on SCO UNIX Hosts
RTEL Functionality
Unix Host Troubleshooting
6 : Netware Configuration
NDPS Printing
NDS Print Queues
Obtain an NDS License
Configure Your ETS
Netware Administrator Quick Setup Print Queues
PCONSOLE Print Queues
Netware Host Troubleshooting
7 : LAT Configuration
Printing Directly to a Port
LAT Host Troubleshooting
8 : Appletalk Configuration
Bitronics
Macintosh Services
Appletalk Zones
Appletalk Host Troubleshooting
9 : DLC Configuration for LAN Manager
DLC Configuration
ETS Configuration
Host Configuration
A: Contact Information
B: Troubleshooting
Power-Up Troubleshooting
DHCP Troubleshooting
BOOTP Troubleshooting
RARP Troubleshooting
Entering Commands at the Boot Prompt
C: Pinouts
Ethernet Connector
RJ45 Serial Connectors
RJ45 to DB25
RJ45 to DB9
D: Updating Software
Choosing the Right Software File
Obtaining Software
Via the Web
Via FTP
Reloading Software
Reloading Sequence
Tcp/Ip
Netware
Mop
Troubleshooting Flash ROM Updates
E: Specifications
Power Information
Power Requirements
Power Supply Cord
Environmental Limitations
Temperature
Altitude
Relative Humidity
F: Frequently-Used Commands
Conventions
Server Commands
Port Commands
Protocol Commands
G: Compliance and Warranty Information
Declaration of Conformity
Warranty
Advertisement
Quick Links
1
Configuration Methods
2
Ezwebcon
3
Using a Web Browser (Etspr Models)
4
Console Terminal
5
Tcp/Ip Configuration
Download this manual
See also:
Reference Manual
ETS Installation Guide
For ETS8PS, ETS16PS, ETS16PR, and ETS32PR
Multiport Device Servers
Part Number 900-401
Revision A April 2005
Table of
Contents
Previous
Page
Next
Page
1
2
3
4
5
Advertisement
Table of Contents
Troubleshooting
Unix Host Troubleshooting
36
NetWare Host Troubleshooting
39
7: LAT Configuration
42
AppleTalk Host Troubleshooting
45
B: Troubleshooting
48
DHCP Troubleshooting
49
RARP Troubleshooting
50
Troubleshooting Flash ROM Updates
59
Need help?
Do you have a question about the ETS16PR and is the answer not in the manual?
Ask a question
Questions and answers
Related Manuals for Lantronix ETS16PR
Server Lantronix ETS Reference Manual
Multiport device servers (312 pages)
Server Lantronix ETS8PS Installation Manual
Multiport device servers (68 pages)
Server Lantronix Data Center-Grade Evolution Device Server EDS32PR User Manual
Eds device servers (158 pages)
Server Lantronix EDS32PR User Manual
Eds device servers/terminal servers (163 pages)
Server Lantronix EDS32PR User Manual
Eds device servers/terminal servers (175 pages)
Server Lantronix EDS32PR User Manual
Eds device servers and terminal servers (163 pages)
Server Lantronix EDS4100 User Manual
4 port device server (198 pages)
Server Lantronix EDS4100 Reference Manual
Eds device servers (68 pages)
Server Lantronix EDS1100 Command Reference Manual
Device server (152 pages)
Server Lantronix EDS2100 User Manual
Device server (149 pages)
Server Lantronix EDS-MD EDS-MD4 User Manual
Device servers (98 pages)
Server Lantronix EDS-MD4 Command Reference Manual
Device server (338 pages)
Server Lantronix EDS8PS Quick Start Manual
(12 pages)
Server Lantronix EDS-MD Series User Manual
Medical device server (111 pages)
Server Lantronix EDS5000 Series User Manual
Device server (162 pages)
Server Lantronix EDS5008 User Manual
Device server (162 pages)
This manual is also suitable for:
Ets16ps
Ets32pr
Ets8ps
Table of Contents
Print
Rename the bookmark
Delete bookmark?
Delete from my manuals?
Login
Sign In
OR
Sign in with Facebook
Sign in with Google
Upload manual
Upload from disk
Upload from URL


Need help?
Do you have a question about the ETS16PR and is the answer not in the manual?
Questions and answers