Sign In
Upload
Download
Table of Contents
Contents
Add to my manuals
Delete from my manuals
Share
URL of this page:
HTML Link:
Bookmark this page
Add
Manual will be automatically added to "My Manuals"
Print this page
×
Bookmark added
×
Added to my manuals
Manuals
Brands
Velodyne Manuals
Subwoofer
Wi-Q10BV
User manual
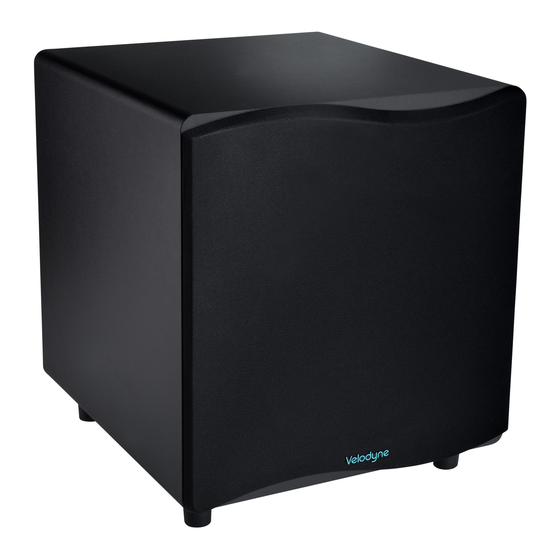
Velodyne Wi-Q10BV User Manual
Remote controlled home theater subwoofers
Hide thumbs
1
2
3
4
Table Of Contents
5
6
7
8
9
10
11
12
13
14
15
16
17
18
19
20
21
22
23
24
25
26
27
28
29
page
of
29
Go
/
29
Contents
Table of Contents
Bookmarks
Table of Contents
Table of Contents
Congratulations
Product Features
Setup
Step 1: Unpack Box
Step 2: Set up Wiconnect System Transmitter
Step 3: Mount Wiconnect System Transmitter to Wall (Optional)
Step 4: Set Audio Receiver Options
Audio Receiver Option #1
Audio Receiver Option #2
Audio Receiver Option #3
Step 5: Place/Connect Subwoofer
Subwoofer Placement
Connect Subwoofer
Step 6: Run Auto-EQ
Step 7: Set the Phase
Subwoofer Controls/Connections/Features
Front Panel
Rear Panel
Low-Pass Crossover - 40 to 135 Hz
Subwoofer Direct
Receiver/Processor Subwoofer Outputs
Alternate Connections
Line-Level Connections
Speaker-Level Connections
Remote Control
Restoring Defaults
Maintain
Check/Replace Fuse
Protect Subwoofer from Damage
Clean
Troubleshoot
Protection Circuitry
Service
Specifications
Regulatory Information
Legal Notice
For Your Records
Advertisement
Quick Links
1
Step 2: Set up Wiconnect System Transmitter
2
Check/Replace Fuse
3
Protection Circuitry
4
Specifications
Download this manual
User's Manual
Remote Controlled
Home Theater Subwoofers
Wi-Q10BV / Wi-Q10BVE
Wi-Q12BV / Wi-Q12BVE
Table of
Contents
Previous
Page
Next
Page
1
2
3
4
5
Advertisement
Table of Contents
Need help?
Do you have a question about the Wi-Q10BV and is the answer not in the manual?
Ask a question
Questions and answers
Related Manuals for Velodyne Wi-Q10BV
Subwoofer VELODYNE WIC-10 Datasheet
(2 pages)
Subwoofer VELODYNE WIC-10 - DETAIL SHEET Manual
(1 page)
Subwoofer VELODYNE WIC-10 - REV B Manual
(23 pages)
Subwoofer Velodyne WiC-10 User Manual
Wireless subwoofer (20 pages)
Subwoofer Velodyne WiConnect User Manual
Wireless subwoofer (24 pages)
Velodyne WiConnect System Manual
(article)
Subwoofer Velodyne Wi-Q12BV User Manual
Remote controlled home theater subwoofers (29 pages)
Subwoofer Velodyne Wi-Q12BVE User Manual
Remote controlled home theater subwoofers (29 pages)
Subwoofer Velodyne WiConnect-10 Specifications
High quality, low-distortion wireless subwoofer (2 pages)
Subwoofer Velodyne VELODYNE SUBCONTRACTOR (SC) SERIES SC-602 User Manual
Subcontractor series subwoofers and amplifier (24 pages)
Subwoofer Velodyne CT-100 Owner's Manual
Audio/video subwoofer system (13 pages)
Velodyne CHT-8, CHT-10, CHT-12 - Subwoofer System Manual
(article)
Velodyne CT-100, CT-120 - Audio/Video Subwoofer System Manual
(article)
Subwoofer Velodyne MicroVee User Manual
Velodyne microvee: user guide (18 pages)
Subwoofer Velodyne DPS-10 User Manual
Audio/video subwoofer system (15 pages)
Subwoofer Velodyne SPL-800i User Manual
Audio/video subwoofer system (20 pages)
This manual is also suitable for:
Wi-q10bve
Wi-q12bv
Wi-q12bve
Table of Contents
Print
Rename the bookmark
Delete bookmark?
Delete from my manuals?
Login
Sign In
OR
Sign in with Facebook
Sign in with Google
Upload manual
Upload from disk
Upload from URL


Need help?
Do you have a question about the Wi-Q10BV and is the answer not in the manual?
Questions and answers