
Related Manuals for Caple Wi3114


Summary of Contents for Caple Wi3114
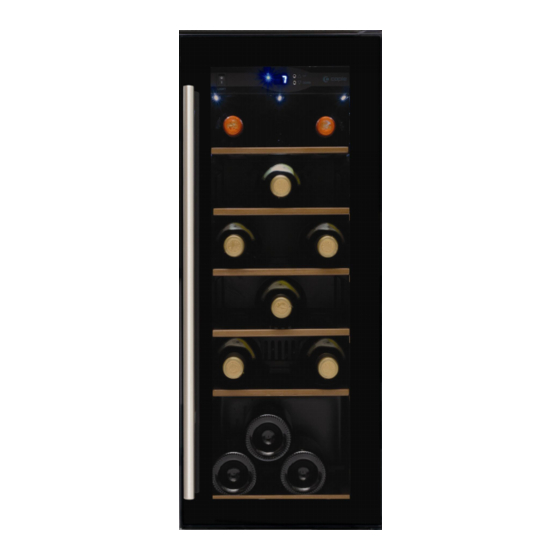
- Page 1 Instruction manual for Wine Cabinet Wi3114 Slot-in Contact Caple on 0844 800 3830 or for spares www.caple.co.uk...
-
Page 2: Important Warnings And Advice
Thank you for buying your new CAPLE Wine Cabinet. To ensure that you get the best results from your new purchase, we strongly suggest that you read this instruction manual thoroughly before use. This manual contains installation advice, usage instructions and other important facts about your CAPLE Wine Cabinet. -
Page 3: Installation Instructions
INSTALLATION INSTRUCTIONS BEFORE TURNING THE WINE CABINET ON ENSURE IT IS PERFECTLY LEVEL. This will minimise any vibrations. Your cabinet is equipped with 4 adjustable feet. However, we recommend that you tighten the back feet to the maximum and then use the front feet to level the cabinet. IMPORTANT: STAND THE WINE CABINET VETICALLY AND WAIT 12 HOURS BEFORE SWITCHING IT ON FOR THE FIRST TIME. - Page 4 OPERATING INSTRUCTIONS The wine cabinet should be placed where the ambient temperature is between 5-35 deg centigrade (41-95 degrees Fahrenheit). If the ambient temperature is above or below this range, the performance of the unit may be affected. For example, placing your unit in extreme cold or hot conditions may cause interior temperatures to fluctuate and the range of 5-18 ºC (41-65 degrees Fahrenheit) may not be reached.
- Page 5 DOOR REVERSAL WE RECOMMEND THAT SOMEONE ASSISTS YOU DURING THIS PROCESS. TOOLS REQUIRED: PHILIPS SCREWDRIVER. (A BOTTOM LEFT HAND HINGE IS SUPPLIED WITH EACH CABINET.) Fig.A Fig.B Fig.D Fig.C Fig.E • Bottom hinge (Right) • Screws • Door axis • Door •...
- Page 6 Remove 3 screws• of right upper Hinge, then remove right upper•& Right lower hinges•; (See fig.C) Use the screws which you removed From right side hinges to fix left upper & bottom hinges•• (See Fig.D & Fig.E) Rotate door at 180 degrees then assemble the door as per the reverse way of removal Install the bar handle Remove the door gasket on the drilling holes side to install the handle.
-
Page 7: Humidity Maintenance System
DEFROSTING/CONDENSATION Your wine cabinet is designed with an “Auto-cycle” defrost system. When the RUN cycle is OFF, the refrigerated surface of the wine cabinet (interior rear wall) defrosts automatically. The defrost water is channeled into a drain pan which is located at the back of the wine cabinet next to the compressor from where it evaporates. - Page 8 Most power failures are corrected within a few hours and should not affect the temperature of your appliance if you minimise the number of times the door is opened. If the power is going to be off for a longer period of time, you need to take action to protect the contents. Vacation Time Short vacations: Leave the wine cabinet operating during vacations of less than three weeks.
-
Page 9: Troubleshooting Guide
TROUBLE SHOOTING GUIDE You can solve many common wine cabinet problems easily, saving you the cost of a possible service call. Try the suggestions below to see if you can solve the problem before calling the service engineer. PROBLEM POSSIBLE CAUSE The wine cabinet does not operate. -
Page 10: Recommended Temperature Settings
RECOMMENDED TEMPERATURE SETTINGS For keeping ALL TYPES OF WINES c to 14 Champagne NV, Sparkling Champagne Vintage Dry White Semillon, Sauvignon Blanc Dry White Gewurstraminer, Riesling Dry White Chardonnay Vintage chardonnay Sweet White Sauternes Monbazillac, Late Harvest ice wine Sweet whites vintage Sauternes Beaujolais Red Pinot Noir Vintage Pinot Noir red...
Need help?
Do you have a question about the Wi3114 and is the answer not in the manual?
Questions and answers