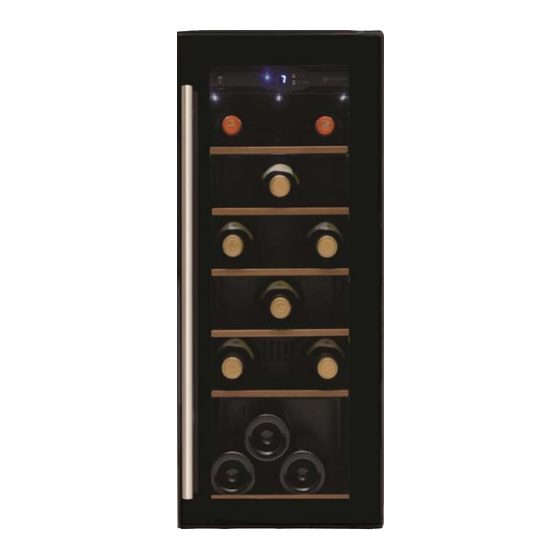
Summary of Contents for Caple WI3116
- Page 1 Instruction manual for slot-in wine cabinet Model code: WI3116 Contact Caple on 0844 800 3830 or for spare parts www.4caple.co.uk...
-
Page 2: Important Safety Instructions
WARNING To prevent damaging the door gasket, make sure to have the door all the way opened when pulling shelves out of the rail compartment. The appliance must be positioned so that the plug is accessible. Release the electric cord, move your cabinet to its final location. Do not move your Cabinet while loaded with wine, you might distort the body. -
Page 3: Installation Instructions
• under any circumstances cut or remove the third (ground) prong from the power cord. Any questions concerning power and/or grounding should be directed toward a certified electrician or an authorised Caple service centre. Attention Store wine in sealed bottles;... - Page 4 OPERATING YOUR WINE CABINET AND SETTING THE TEMPERATURE CONTROL Please use the cabinet under ambient temperatures between 5-32 ℃ , if the ambient temperature is higher than or lower than this, it will cause the temperature to fluctuate in the cabinet, maybe preventing it from reaching 3-18 ℃...
- Page 5 Note If the unit is unplugged, power lost or turned off, you must wait 3 to 5 minutes before • restarting the unit. If you attempt to restart before this time delay, the Wine cabinet will not start. • When you use the Wine cabinet for the first time or restart the Wine cabinet after having been shut off for a long time, there could be a few degrees variance between the temperature you select and the one indicated on the LED readout.
- Page 6 1. Remove 2 screws ②, then pull door④ as per arrowhead direction, You will remove the door. Please remove bottom hinge(Right) ① as well for the assembly. (Fig.A & Fig.B) 2.Remove 3 Lock screws⑥ of Top hinge (Right) ⑤, then remove the top hinge (Right)⑤...
- Page 7 Install the bar handle Remove the door gasket on the drilling holes side to install the handle. (see below drawing) Front Back Fitting a kitchen plinth This model is recessed to fit a kitchen plinth. A H75mm vent slot is required in the plinth to ensure air is able to ventilate correctly.
-
Page 8: Care And Maintenance
Installation dimensions CARE AND MAINTENANCE Cleaning your wine cabinet Turn off the power, unplug the appliance, and remove all items including shelves and rack. • Wash the inside surfaces with a warm water and baking soda solution. The solution should be about •... -
Page 9: Troubleshooting Guide
Energy saving tips The Wine cabinet should be located in the coolest area of the room, away from heat producing • appliances, and out of the direct sunlight. PROBLEMS WITH YOUR WINE CABINET? You can solve many common Wine cabinet problems easily, saving you the cost of a possible service call. Try the suggestions below to see if you can solve the problem before calling the servicer. -
Page 10: Humidity Maintenance System
DEFROSTING/CONDENSATION Your wine cellar is designed with an “Auto-cycle” defrost system. When the RUN cycle is OFF, the refrigerated surface of the wine cellar (interior rear wall) defrosts automatically. The defrost water is channeled into a drain pan which is located at the back of the wine cellar next to the compressor from where it evaporates. HUMIDITY MAINTENANCE SYSTEM The wine cellar is equipped with a system for maintaining the correct level of humidity.


Need help?
Do you have a question about the WI3116 and is the answer not in the manual?
Questions and answers