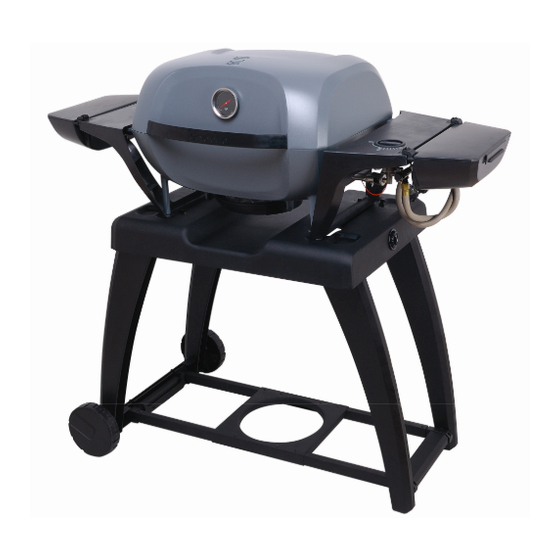
Summary of Contents for Everdure E2GOSTAND
- Page 1 ASSEMBLY, OPERATION & MAINTENANCE INSTRUCTIONS FOR EVERDURE E2GO TROLLEY STANDS Models Included: E2GOSTAND THE EVOLUTION OF PORTABLE OUTDOOR COOKING...
- Page 2 THE EVOLUTION OF PORTABLE OUTDOOR COOKING...
-
Page 3: Table Of Contents
OPERATION AND MAINTENANCE INSTRUCTIONS FOR EVERDURE E2GO TROLLEY STAND FOR USE WITH E2GLPC-09B & E2GLPC-09G OUTDOOR PORTABLE BARBECUES CONTENTS SECTION PAGE NO. Important Safety Instructions Cleaning & Storage Trolley Assembly Trolley & Barbecue Assembly Collapsing The Trolley Maintenance Barbecue Accessories... -
Page 4: Important Safety Instructions
Do not use or store this appliance in areas of high salt content (a marine environment) or an area with caustic fumes or liquids (such as a domestic pool), as these chemicals can cause the appliance materials to deteriorate (and void the warranty). Regular cleaning and covering with an Everdure barbecue cover can help can help to reduce this. DO NOT... -
Page 5: Trolley Assembly
TROLLEY ASSEMBLY The trolley stand comes semi-assembled in a single package, and a number of components need fitting to their correct position. Only a medium size Philips screwdriver and adjustable spanner are needed. The parts are listed below. PARTS REQUIRED ITEM FIGURE NAME AND QTY... - Page 6 2. Take the axle and thread on one wheel and one wheel spacer (wide end towards the wheel). Note some models have the spacer built into the wheel. Thread the axle fully through the right leg assembly from the front and thread the second wheel spacer and wheel on.
-
Page 7: Trolley & Barbecue Assembly
TROLLEY & BARBECUE ASSEMBLY Knob in the “free to move” position. The trolley locking knobs are at each side of the trolley. When the knob is vertical (see diagram), the locking hooks are free to move inwards and outwards (see second diagram). Push each of the locking knobs (at either side of the trolley, with the knob positioned vertically) fully in and turn clockwise to lock the hooks in the open position. -
Page 8: Collapsing The Trolley
COLLAPSING THE TROLLEY The trolley can be collapsed down in size for easier storage or for transporting the barbecue. STEP A: Remove the barbecue and undo the handle lock. After removing the barbecue (take care that it is correctly supported so no damage can be done to the hose), go to the left hand side of the trolley. - Page 9 COLLAPSING THE TROLLEY – 5 EASY STEPS FOR CONVERSION The castor must be fitted before collapsing the trolley. Do not use the trolley in the collapsed form over rough ground, as damage to the trolley may occur. Take care to restrain the handle at all times.
-
Page 10: Maintenance
Accessories such as a weatherproof cover and BBQ rotisserie are readily available items. Visit www.everdure.com for regular product updates. WARRANTY IMPORTANT Please keep your receipt, as this must be presented if making a claim under the terms of the Everdure warranty. www.everdure.com All Service and Assembly Enquiries:... - Page 11 THE EVOLUTION OF PORTABLE OUTDOOR COOKING...
- Page 12 A division of Shriro Australia Pty Ltd 23-27 Chaplin Drive Lane Cove NSW 2066 1300 766 066 www.everdure.com IM Ref: E2GS10/2009/06 THE EVOLUTION OF PORTABLE OUTDOOR COOKING F O R O U T D O O R U S E O N L Y...


Need help?
Do you have a question about the E2GOSTAND and is the answer not in the manual?
Questions and answers