
Related Manuals for GE Side-by-Side Built-In Refrigerators


Summary of Contents for GE Side-by-Side Built-In Refrigerators
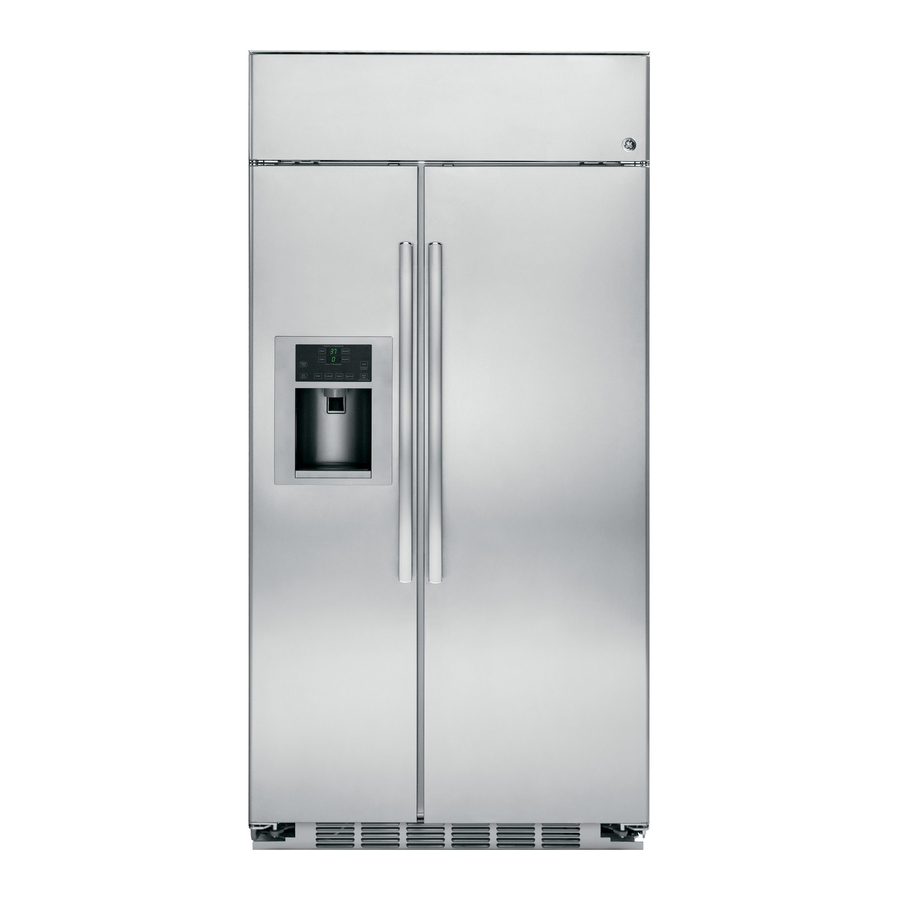
- Page 1 49-60559-2 224D1893P005 08-08 JR monogram.com Owner’s Manual Side-by-Side 36″ , 42″ , 48″ Built-In Refrigerators...
-
Page 2: Table Of Contents
Consumer Services Contents Important Phone Numbers ....29 Model and Serial Numbers ....3 Problem Solver . -
Page 3: Consumer Information
Model Number Serial Number Use these numbers in any correspondence or service calls concerning your refrigerator. It lists causes of minor operating problems that you can correct yourself. For customers in Canada: FIRST, contact the people who serviced your appliance. -
Page 4: Read And Save These Instructions
• Use this appliance only for its intended purpose as described in this Owner’s Manual. • This refrigerator must be properly installed in accordance with the Installation Instructions before it is used. • Do not allow children to climb, stand or hang on the shelves in the refrigerator. -
Page 5: Importantes Instructions De Sécurité
LISEZ ET CONSERVEZ CES INSTRUCTIONS w AVERTISSEMENT : vous utilisez le réfrigérateur, observez toujours certaines précautions de base, notamment : • N’utilisez le réfrigérateur que pour son usage prévu, comme décrit dans le présent manuel. • Installez le réfrigérateur conformément aux directives d’installation avant de l’utiliser. -
Page 6: How To Connect Electricity
IMPORTANT SAFETY INSTRUCTIONS DO NOT USE AN ADAPTER PLUG TO CONNECT THE REFRIGERATOR TO A 2-PRONG OUTLET. DO NOT USE AN EXTENSION CORD WITH THIS APPLIANCE. Never unplug an appliance by pulling on the power cord. -
Page 7: Raccordement Électrique
RACCORDEMENT ÉLECTRIQUE Ne coupez ni retirez en aucun cas la troisième broche (mise à la terre) de la fiche du cordon d’alimentation. Pour votre sécurité, cet appareil doit être correctement mis à la terre. Le cordon d’alimentation de cet appareil est muni d’une fiche à... -
Page 8: Door Alarm
To change the temperature settings, press point for fresh food and freezer separately. Allow 24 hours for the refrigerator to reach the temperature you have set. Fresh Food NOTE: Setting the controls to OFF stops cooling, but does not shut off electrical power to the refrigerator. -
Page 9: Water Filter Cartridge
The water filter cartridge is located in the top Water filter machine compartment of the refrigerator. cartridge To Replace the Filter: The filter cartridge is designed to filter 300 gallons of water (lasting approximately 12 months). There is a replacement indicator light for the water filter cartridge on the temperature control panel. -
Page 10: Ice And Water Dispenser
The spill shelf is not self-draining. To reduce water spotting, the shelf and its grille should be cleaned regularly. If no water is dispensed when the refrigerator is first installed, there may be air in the water line system. Press the dispenser cradle for at least two minutes to remove trapped air from the water line and to fill the water system. -
Page 11: Ice Storage Bin
Ice storage To remove: Lift up the access door to reach the icemaker. Set the icemaker power switch to the OFF position. With the access door closed, support the storage bin at the bottom while slightly lifting. Pull bin straight out. To replace: Slide the bin back until the tab on the bin locks into the slot on the shelf. -
Page 12: Automatic Icemaker
If the refrigerator is operated before the water connection is made to the icemaker, set the power switch to OFF. When the refrigerator has been connected to the water supply, set the power switch to ON. -
Page 13: Climate Control Drawer
The drawer is tightly sealed to prevent the drawer’s temperature from causing temperature fluctuations in the rest of the refrigerator. SELECT TEMP—Use this feature to store items at their optimum temperatures. The CITRUS setting will maintain a drawer temperature of 39–47°F by cycling a small heater off and on as needed. -
Page 14: Control Lock
NOTE: Results may vary depending on packaging, starting temperature and other food traits. Climate Control chart Citrus Setting (39–47°F) • Oranges, Lemons, Limes, Pineapple, Cantaloupe • Beans, Cucumbers, Tomatoes, Peppers, Eggplant, Squash Produce Setting (31–38°F) • Strawberries, Raspberries, Kiwifruit, Pears, Cherries, Blackberries, Grapes, Plums, Nectarines, Apples •... -
Page 15: Storage Pans
Use the Sealed Deli Pan for the convenient Sealed storage of lunch meats and cheese, hors deli pan d’oeuvres, spreads and snacks. The pan and shelf to which it is attached can be adjusted to any height. The top pan is designed to provide constant high Sealed humidity levels. -
Page 16: Drop-Down Shelf And Lighted Drawer Shelf
To replace shelf: 1. Carefully set the shelf onto the side rails, leaving the plug exposed. 2. Plug the shelf into the refrigerator. 3. Carefully slide the shelf into place. 4. Insert the water tank cover top first so that it goes up behind the gasket hanging down from the vegetable drawer shelf. -
Page 17: Shelves And Bins
To remove shelves: Tilt shelf up at front, then lift it up and out of tracks on rear wall of refrigerator. Door bins All door bins, except for the deep gallon door bin, are adjustable using one of 2 tabs on each end of the bin. -
Page 18: Shelves And Bins
The Sabbath Mode feature can be set to override typical reactions to actions in your refrigerator. While in the Sabbath Mode, your refrigerator will still operate normally. However, the refrigerator will not respond to your actions. While in the Sabbath Mode, you may notice the fan running when the door is opened;... -
Page 19: Care And Cleaning
Thoroughly rinse and wipe dry. Care and Cleaning Built-In Refrigerators Do not wipe the refrigerator with a soiled dish cloth or wet towel. These may leave a residue that can damage the finish. Do not use scouring pads, powdered cleaners, bleach or cleaners containing bleach because these products can scratch and damage the finish. -
Page 20: Light Bulb Replacement
Power to the lamps can be turned off at the Master Light switch located behind the grille panel at the top of the refrigerator. There is a switch for the freezer and a switch for the fresh food compartment. -
Page 21: Master Light Switch
Master Light switches The switches are located behind the grille panel at the top of the refrigerator. Lift up the panel to access the switches. NOTE: Before replacing the bulbs, review Halogen bulb the light bulb information and WARNING. -
Page 22: Preparing For Vacation
For long vacations or absences, remove food Preparing and shut off power to the refrigerator at the fuse for vacation box or circuit breaker. Clean the interior (see Cleaning Inside). Leave doors open. Care and Cleaning Built-In Refrigerators For shorter vacations, remove perishable foods and leave controls at regular settings. - Page 23 • Temperature controls set at the coldest setting. See Temperature Controls. • Refrigerator is so quiet, that most of the time you will hear low or no operating noise. • Normal fan air flow—one fan blows cold air through the fresh food and freezer compartments—another fan cools...
- Page 24 • Unsealed packages in freezer compartment may be transmitting odor/taste to ice. • Keep open box of baking soda in refrigerator; replace every 3 months. • Poor-tasting incoming water. Replace water filter. • Icemaker power switch is in the OFF position.
- Page 25 • Light bulb needs replacing. See Care and Cleaning. • Master Light switch is in the OFF position. • The refrigerator is equipped with a safety feature that turns off the refrigerator lights when the doors have been opened for an extended period.
- Page 26 PROBLEM Questions? Use this WATER DISPENSER DOES NOT WORK problem solver! ICE DISPENSER DOES NOT WORK WATER SPURTING FROM DISPENSER NO WATER OR ICE PRODUCTION CUBED ICE WAS SELECTED BUT CRUSHED ICE WAS DISPENSED FOOD IS NOT THAWING/CHILLING IN CLIMATE CONTROL DRAWER SELECT TEMP FEATURE ON...
-
Page 27: Data Sheet
This system has been tested according to NSF/ANSI 42/53 for reduction of the substances listed below. The concentration of the indicated substances in water entering the system was reduced to a concentration less than or equal to the permissible limit for water leaving the system, as specified in NSF/ANSI 42/53.* (100% safety factors built in for unmetered usage) USEPA Influent... - Page 28 Trademark/Model Designation Manufacturer: General Electric Company The water treatment device(s) listed on this certificate have met the testing requirements pursuant to Section 116830 of the Health and Safety Code for the following health related contaminants: Microbiological Contaminants and Turbidity Cysts Turbidity Organic Contaminants Alachlor...
-
Page 29: Consumer Services
With the purchase of your new Monogram appliance, receive the assurance that if you ever need information or assistance from GE, we will be there. All you have to do is call! GE Answer Whatever your question about any Monogram major appliance, GE Answer Center Center information service is available to help. - Page 30 Notes Built-In Refrigerators...
- Page 31 Notes Built-In Refrigerators...
-
Page 32: Warranty
For two years from date of original purchase, we will provide, free of charge, parts and service labor in COVERED your home to repair or replace any part of the refrigerator that fails because of a manufacturing defect. LIMITED FIVE-YEAR WARRANTY...
Need help?
Do you have a question about the Side-by-Side Built-In Refrigerators and is the answer not in the manual?
Questions and answers