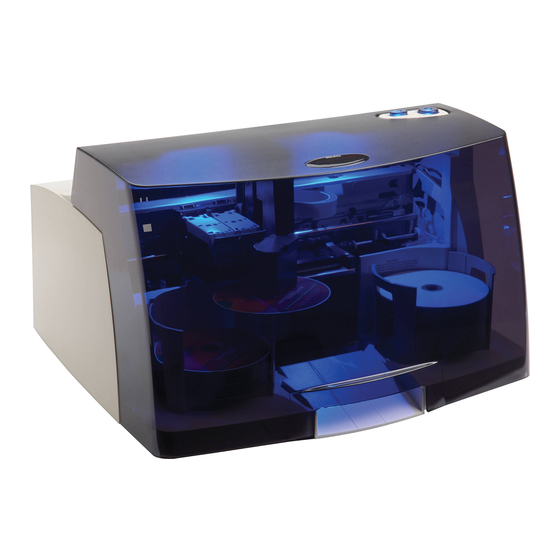
Primera Bravo II Calibration Instructions
Hide thumbs
Also See for Bravo II:
- User manual (72 pages) ,
- Operator's manual (2 pages) ,
- Connection manual (2 pages)
Advertisement
Bravo II Calibration Instructions
(For use with Bravo 2 Utility)
A. Installing the Utility
1. Double click on the file downloaded from the website. A setup program will launch.
2. Follow through the setup, click next at each step to accept defaults for file installation.
(Recommended)
3. After installing this program, the folder it created with program listed should automatically
open. You will need to click on the program name Bravo 2 Firmware Updater to run the
software. If the folder does not automatically open after installation, then you will need to open
the program by clicking on the 'Start' button, then go up to the Programs menu, next go to the
Production Tool Group, then select Bravo 2 Firmware Updater.
B. Using the Utility
Once the program opens, click the 'GET STATUS' button. You should see information related
your Bravo appear in the window below
Advertisement
Table of Contents

Related Manuals for Primera Bravo II


Summary of Contents for Primera Bravo II
- Page 1 Bravo II Calibration Instructions (For use with Bravo 2 Utility) A. Installing the Utility 1. Double click on the file downloaded from the website. A setup program will launch. 2. Follow through the setup, click next at each step to accept defaults for file installation.
- Page 2 For any picking issues, first, try restoring factory defaults. This is done by clicking the RESTORE FACTORY button. All values set by the testing technicians before the unit was shipped will be restored. Test the Bravo at this point. 70% of picking issues are resolved after restoring the factory defaults.
- Page 3 E. Adjust Picking left to Right If the CD is getting pushed to the left or right when the arm is attempting to pick for any one location, adjust with the following instructions: Adjust the pick position left and right for the respective location by changing the values (with numbers in increments no larger than 2 at each adjustment attempt - i.e.
- Page 4 adjustments. Loosen these two screws. The other two screws are located on the bottom of the machine near the back. Remove these two screws. This should free up the drive so it slides forward and backward in the slots up front. Once adjusted properly, tighten the front screws back up.
Need help?
Do you have a question about the Bravo II and is the answer not in the manual?
Questions and answers