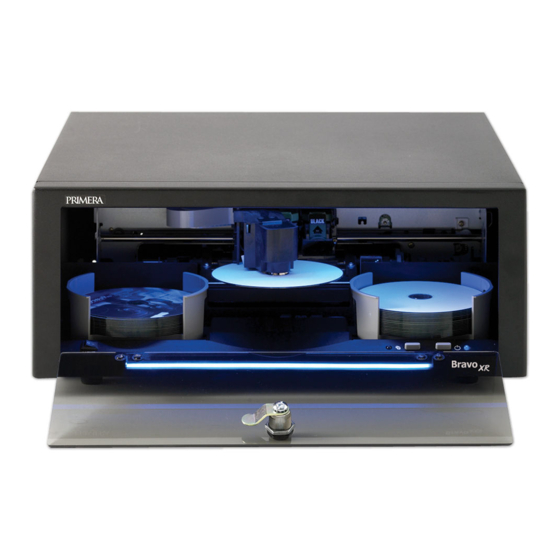
Primera XR Quick Start Manual
Automated optical disc duplication & printing system
Hide thumbs
Also See for XR:
- User manual (69 pages) ,
- Installation instructions (2 pages) ,
- Operator's manual (2 pages)
Advertisement
7
Connecting the USB 2.0 Cable
Connect the
Publisher to your
computer with
the beige USB
2.0 Cable.
If you are using Windows
If you are using Windows, after a few moments
a found new hardware wizard will appear.
Select "Install the software automatically" and
click Next. Make sure that you have your
installation disc in a drive on your computer.
You may see a notice like the one shown below
stating that the device has not passed Windows
Logo Testing. Click Continue Anyway to
continue installing the printer driver for
your Publisher.
8
Publishing a Disc
Congratulations, you are now ready to start Publishing discs!
•
For Instructions on copying a disc using a PC refer to section 3 in the User's Manual.
•
For Instructions on copying a disc using a Macintosh refer to section 4 in the User's Manual.
•
For help with problems publishing discs using a PC or Macintosh please visit Primera's online
Knowledgebase at www.primera.com/knowledgebase.html
If you are using a MAC
If you are using a MAC you may be required to Add
the printer via the Printer Setup Utility.
1.
Open the Printer Setup Utility located in the
Applications - Utilities folder.
2.
Click Add. Select the Disc Publisher XR from the
list of available printers. Click Add again.
P/N 510931-100605
Automated Optical Disc
Duplication & Printing System
© 2005 All rights reserved.
Advertisement
Table of Contents

Related Manuals for Primera XR


Summary of Contents for Primera XR
- Page 1 • For Instructions on copying a disc using a Macintosh refer to section 4 in the User’s Manual. • For help with problems publishing discs using a PC or Macintosh please visit Primera's online Knowledgebase at www.primera.com/knowledgebase.html Automated Optical Disc Duplication &...
- Page 2 Unpack Your Bravo The following items are contained inside the box: • Bravo Disc Publisher XR • Gray Plastic Input and Output Bins (Located in the Cardboard Insert) • Switching Power Supply with Power Cord • One Three-Color (CMY) Ink Cartridge •...
Need help?
Do you have a question about the XR and is the answer not in the manual?
Questions and answers