Table of Contents
Advertisement
Quick Links
Quick Reference Guide
Unpacking the Printer
Together with the printer the following items are included in the
shipment box:
Ribbon Cartridge
o
Power Cable
o
CD-ROM with printer
o
documentation and
drivers
Quick Reference Guide
o
Always keep the packing material in a safe place as you must
repack the printer into it, when you need to move it.
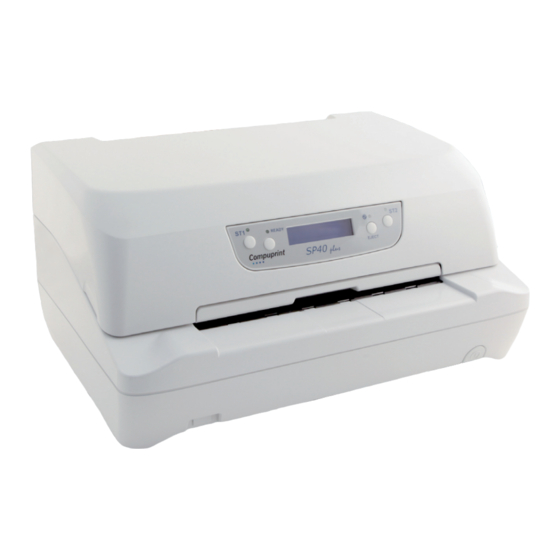
Parts of the Printer
1
3
1) Printer cover
2) Power-on key
3) Paper Stand
4) Operator Panel (no LCD)
9
10
9) Upper Mechanical Frame
10) Print Head
Printer Installation
Consider the following points when you choose the location for your
printer:
The distance between the printer and the host computer must not
exceed the length of the interface cable;
The location must be sturdy, horizontal and stable;
Your printer must not be exposed to direct sunlight, extreme heat, cold,
dust or humidity;
Choosing a Suitable Location
When printing on standard paper formats,
the paper comes out partially on the rear
side of the printer. Make sure that behind
the printer there is sufficient clearance to
correctly move the paper.
Always use a grounded outlet
Installing the Ribbon Cartridge
In order to avoid damaging the print head or mechanical
gearings, this printer accepts only original Compuprint ribbon
cartridges. Therefore, if you install a not original cartridge, the
printer may not work.
MAN10241-01
4
6
5
2
5) Power Cable connection
6) Serial I/F
7) USB I/F
8) Parallel I/F
11
11) Printing Area
Open the printer cover
1) Remove the cartridge from its bag and
Unhook the green ribbon mask from the
cartridge pins.
2) Open the upper mechanical frame. Locate the open green lever in
the left side of the printer. UNLOCK the green lever with the left
hand towards the rear of the printer in the open position. Then rise
up the lever to its maximum position in order to completely open the
head assembly.
Check for the "click" which means the correct
open lever position, showed in the inset
picture.The printer is now ready to install the
ribbon cartridge.
7
8
3) Turn the tension knob in the direction of the
arrow to tighten the ribbon.
4) Insert the upper cartridge pins onto the corresponding grooves on
both sides of the upper mechanical frame. Then push the lower
cartridge pins into the corresponding lower grooves on both sides of
the upper mechanical frame until it clicks into place.
5) Insert the green plastic ribbon mask onto the print head. Pay
attention to match the two pins (2) on both sides of the green ribbon
mask with the grooves (1) on both sides of the print head. Push the
green ribbon mask up until it clicks into place.
6) Turn the tension knob in the
direction of the arrow to tighten
the ribbon
Carefully pull down the green lever following the step 3 in reverse
order in order to securely close the Upper Mechanical Frame. If you do
not LOCK the Upper Mechanical Frame, the printer does not print
correctly. Close the printer cover.
The printer detects the amount of printed characters and shows the
following attention messages to the operator :
RIBBON NEAR TO END
remaining characters to be printed are less than 500.000
RIBBON EXAUSTED
maximum printable characters have been reached and a new ribbon
must be installed.
1
Remark
This
message
appears
when
This
message
appears
when
the
the
Advertisement
Table of Contents

Subscribe to Our Youtube Channel
Related Manuals for Compuprint SP40plus


Summary of Contents for Compuprint SP40plus
-
Page 1: Quick Reference Guide
The printer detects the amount of printed characters and shows the In order to avoid damaging the print head or mechanical following attention messages to the operator : gearings, this printer accepts only original Compuprint ribbon RIBBON NEAR TO END This... - Page 2 Power-off and Power-on the printer. the paper. It the problem remains contact the service. Detailed Informations on the Printer Configuration not reported on this Quick Reference Guide are in the User Manual which can be downloaded in the company web site: www.compuprint.com MAN10241-01...
Need help?
Do you have a question about the SP40plus and is the answer not in the manual?
Questions and answers