Table of Contents
Advertisement
Quick Links
Download this manual
See also:
User Manual
Advertisement
Table of Contents

Related Manuals for Minicom 0SU51068


Summary of Contents for Minicom 0SU51068
- Page 1 Smart IP Access Quick Installation Guide 1111 W. 35th Street, Chicago, IL 60609 USA www.tripplite.com/support Copyright ©2012 Tripp Lite. All rights reserved.
-
Page 2: System Components
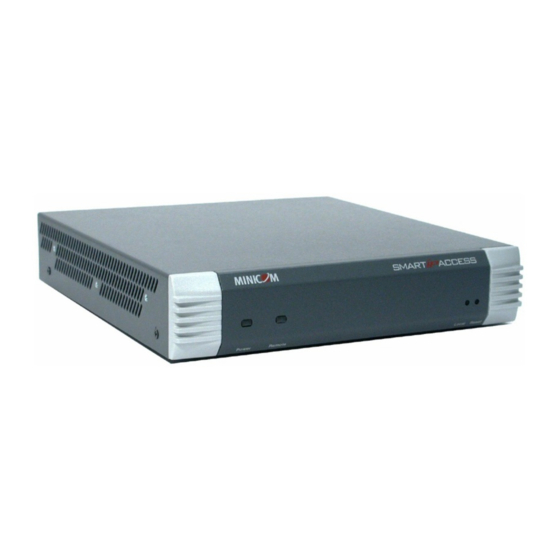
SMART IP ACCESS 1. Introduction The Smart IP Access extends your KVM (keyboard, video, mouse) from any computer or server over TCP/IP via LAN, WAN or Internet connection. Now you can control, monitor and manage your servers from wherever you are, inside or outside the organization. -
Page 3: Pre-Installation Guidelines
QUICK INSTALLATION GUIDE The table below lists the LEDs, buttons and functions. LED/Button Function Power Power Indicator Remote Illuminates when remote session is active Local When pressed, Smart IP Access disconnects the Client computer’s link to the Target Server, and the Local Mouse and Keyboard become operational. -
Page 4: Client Computer Operating System
SMART IP ACCESS 5. Client computer operating system Windows NT4.0, 2000, XP or 2003 Server, with IE 6.0 or higher. The support of 128 bit encryption is required if a secured connection is selected. 6. Connecting the system Connect the Target Server / KVM switch to the Smart IP Access as follows: 1. -
Page 5: Initial Settings
QUICK INSTALLATION GUIDE 7. Initial Settings The following sections provide instructions for setting the IP address for the Smart IP Access unit. 8. Default IP address Smart IP Access has two available Ethernet Adapters, LAN 1 and LAN 2: LAN 1 - By default, LAN 1 boots with an automatically assigned IP address if a DHCP (Dynamic Host Configuration Protocol) server exists. -
Page 6: Ssl Certificate Notes
SMART IP ACCESS 3. Type the Administrator user name and password. By default, the user name is: admin and the password is access (both lower case). 4. Press Enter. The Web interface appears. See Figure 5. 5. Bookmark the page for easy reference. Figure 5 Smart IP Access Web interface SSL Certificate notes Upon first connection to Smart IP Access’s https configuration web page, 2... -
Page 7: Calibrating Mouse Pointers
QUICK INSTALLATION GUIDE 10. Starting a remote session At a Client computer open Internet Explorer (6.0 and above) and type the Smart IP Access’s IP address. https://IP address. The Login box appears. Type your username and password and press Enter. By default, the user name is: admin and the password is access, (both lower case). - Page 8 SMART IP ACCESS Manual mice synchronization If the mouse settings on the Target Server were ever changed, or when the Operating system on the Target Server is, Windows XP / 2003 Server / Vista, Linux, Novell, SCO UNIX or SUN Solaris you must synchronize the mouse pointers manually.
Need help?
Do you have a question about the 0SU51068 and is the answer not in the manual?
Questions and answers