Table of Contents
Advertisement
Quick Links
Advertisement
Table of Contents

Related Manuals for GE KTC-CBH24


Summary of Contents for GE KTC-CBH24
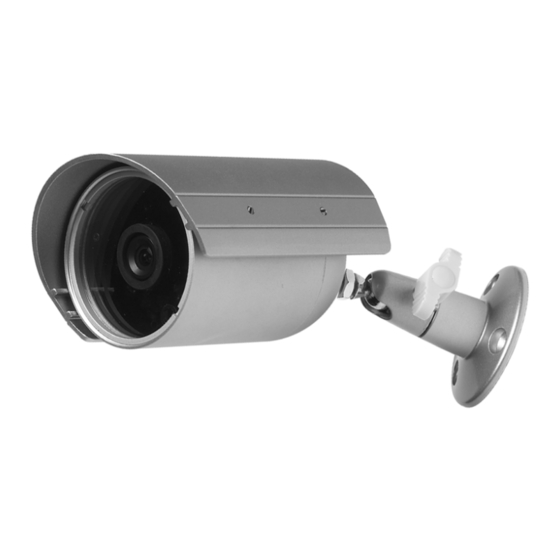
- Page 1 KTC-CBS24/CBH24 Bullet Camera...
- Page 2 © 2003 GE Interlogix, Video Systems Group All Rights Reserved. Any GE Interlogix, Video Systems Group software supplied with GE Interlogix, Video Systems Group products is proprietary and furnished under license and can be used or copied only in accordance with the terms of such license.
-
Page 3: Before You Begin
Customer Support For assistance in installing, operating, maintaining, and troubleshooting this product, refer to this document and any other documentation provided. If you still have questions, contact GE Interlogix, Video Systems Group Technical Support: GE Interlogix, Video Systems Group Call: 800-469-1676 Fax: 541-752-9096 Note: You should be at the equipment, ready with details before calling Technical Support. - Page 4 Introduction NTRODUCTION The standard- or high-resolution Bullet Camera includes a lens, a housing, a bracket, mounting fasteners, power and video cables, and a 24 VAC power supply. To install the unit, see Figure 1 and Figure 2 and perform the following. LED illuminators Camera lens Figure 1.
- Page 5 Bullet Camera User Manual NSTALLING THE You can mount the camera on a vertical surface (Figure 3), and below (Figure 4) or above (Figure 5) a horizontal surface. Figure 3. Mounting on a vertical surface Figure 4. Mounting below a horizontal surface Figure 5.
- Page 6 Installing the Bracket and Camera HOOSING AN NSTALLATION Consider the field of view for the camera and the range of the LED illuminators when you select an installation location. • The LED illuminators are effective in nighttime conditions to approximately 33 feet (10.1 m). •...
- Page 7 Bullet Camera User Manual Attach the mounting plate to the mounting surface as shown in Figure 7. Reinstall the top of the bracket onto the mounting plate and tighten the wing nut as shown in Figure 8. Figure 7. Attaching the mounting plate to the mounting surface / September 2003 1043349A...
- Page 8 Installing the Bracket and Camera TTACHING THE See Figure 9 and perform the following. Figure 9. Attaching the camera to the bracket Loosen the wing nut to free the ball and socket bolt. Slide the camera’s upper or lower screw hole onto the bolt. Twist the ball and socket bolt into the camera screw hole.
-
Page 9: Adjusting The Camera Angle
Bullet Camera User Manual DJUSTING THE See Figure 10 and perform the following. Figure 10. Adjusting the camera angle Loosen the wing nut. Swivel the camera on the ball and socket bolt to achieve the proper angle. Tighten the wing nut to secure the camera in position. / September 2003 1043349A Installing the Bracket and Camera... - Page 10 Installing the Bracket and Camera NSTALLING THE Install the sunshield to protect the camera from rain and to minimize heat build-up from sun exposure. To install the sunshield, see Figure 11 and perform the following. Note: For interior installations, the sunshield might not be necessary. Figure 11.
-
Page 11: Cable Connections
Bullet Camera User Manual AKING ABLE See Figure 12 and perform the following. To camera Camera setting controls cover Figure 12. Cable connections Connect the camera’s cable receptacle to the cable plug. Connect the video out connector to the video input on the monitor. Connect the power in connector to the 24 VAC power supply. -
Page 12: Adjusting Camera Settings
Installing the Bracket and Camera DJUSTING AMERA To adjust backlight compensation and vertical phase, on the 24 VAC power supply open the camera setting controls cover (see Figure 12). ACKLIGHT OMPENSATION Backlight compensation controls iris gain and white balance simultaneously. If you have objects in the foreground that appear silhouetted in front of a brighter background, set backlight... - Page 16 Mfg. # 98230006...
Need help?
Do you have a question about the KTC-CBH24 and is the answer not in the manual?
Questions and answers