
Related Manuals for Fuel Fitness FT94


Summary of Contents for Fuel Fitness FT94
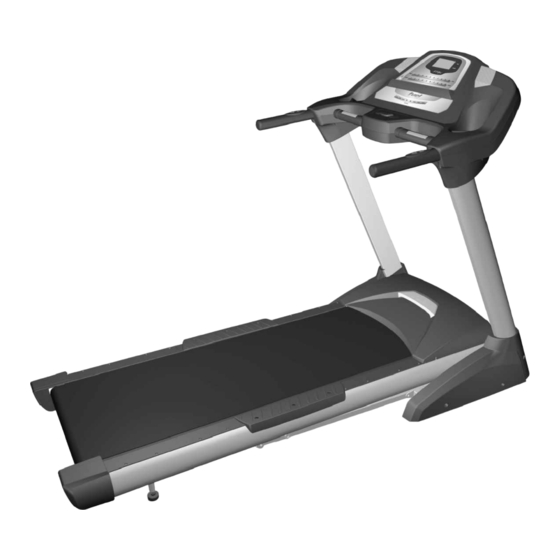
- Page 1 FT94 OWNER’S MANUAL PLEASE CAREFULLY READ THIS ENTIRE MANUAL BEFORE OPERATING YOUR NEW TREADMILL!
-
Page 2: Table Of Contents
Table of Contents Product Registration ...2 Important Safety Instructions Important Electrical Information Important Operation Instructions Assembly instructions Folding Instructions Operation of Your New Treadmill Programmable Features General Maintenance. Service Checklist - Diagnosis Guide Manufacturer s Limited Warranty FT94... -
Page 3: Product Registration
Please record the Serial Number of this fitness product in the space provided below. Serial Number_______________________________________ REGISTER YOUR PURCHASE The self-addressed product registration card must be completed in full and returned to FUEL, or to register online go to: www.fuelfitnessusa.com FT94 / 2008 ver.B FT94... -
Page 4: Important Safety Instructions
Wear proper shoes. High heels, dress shoes, sandals or bare feet are not suitable for use on your treadmill. Quality athletic shoes are recommended to avoid leg fatigue. Remove tether cord after use to prevent unauthorized treadmill operation. SAVE THESE INSTRUCTIONS - THINK SAFETY! FT94... -
Page 5: Important Electrical Information
Whenever the adapter is used, it must be held in place by a metal screw. Adapter Grounded Outlet Tab of Grounding Metal Screw Screw Grounding Pin Grounded Outlet Box FT94... -
Page 6: Important Operation Instructions
Be familiar with its function and limitations. The treadmill will stop, depending on speed, with a one to two step coast anytime the magnet is pulled off the console. Use the red Stop / Pause switch in normal operation. FT94... -
Page 7: Assembly Instructions
Assembly Instructions (FT94) !!ATTENTION: IMPORTANT UNPACKING INSTRUCTIONS. PLEASE READ BEFORE UNPACKING YOUR FOLDING TREADMILL!! Serious injury could occur if this folding treadmill is not unpacked properly. There is a Velcro strap installed around the treadmill base that prevents the treadmill from unfolding accidentally during shipping. - Page 8 Curved Washer (8pcs) Phillips Head Screw (6pcs) 3.5x12 m/m 5/16 x15m/m Self Tapping Screw (4pcs) Button Head Socket Bolt (14pcs) #93.Lubricant (1pc) #102 Safety Key (1pc) M6 Allen Wrench (1pc) #97. Combination M5 Allen Wrench & Phillips Head Screw Driver(1 pc) FT94...
- Page 9 Socket Bolts (94) and four 5/16" x 19 x 1.5T Curved Washers (95) - on the bolts for the side of the tubes - using the M5 Allen Wrench (97). Be careful not to pinch the computer cable while installing the right Upright tube. FT94...
- Page 10 Install the Console Assembly (39) into the Upright tubes (4,5) with the six 5/16 x15mm Button Head Socket Bolts (94) and four 5/16" x 19 x 1.5T Curved Washers (95) using the M5 Allen Wrench (97). The two bolts in the front do not require washers. FT94...
- Page 11 Install the Left and Right Handrail Covers (41, 40) onto the Console Assembly (39) with the four 3.5x12mm Self Tapping Screws (90). Step 8 Install the Frame Base Caps (44,43) onto the Frame Base with six M5x10mm Phillips Head Screws (96). Please Ensure All Screws are tightened After All Components Assembly Complete. -10- FT94...
-
Page 12: Folding Instructions
Hold the treadmill running board with your left hand. Pull the locking knob with your right hand and slowly lower the treadmill running board. FOLDING Ensure the incline angle of the treadmill is at its lowest position. Lift the treadmill running board up until locking knob pops into the hole in the telescoping tube. -11- FT94... -
Page 13: Operation Of Your New Treadmill
Operation of Your Treadmill Getting familiar with the control panel FT94 Console Initial Display: When the power is turned on, the main display will light up showing all characters. The console will be performing an internal test to make sure the console is operational. The display will then scroll through three numbers, the first showing the current software version, second is how many hours the treadmill has been in use and third is how many virtual miles the treadmill has gone. - Page 14 STEP 2: Press the START button to begin belt movement after a three second count down. Use the FAST/SLOW keys to adjust the desired speed (on console) at any time during training. Using the UP/DOWN keys to adjust the Incline at any time during training. To -13- FT94...
- Page 15 Use the up and down keys to set the time then press Start or Enter to program the Distance or Calories. If you set multiple parameters, the first one to reach zero ends the program. -14- FT94...
-
Page 16: To Select A Program
TV or computer audio signal. ERROR MESSAGE: 1. LS: Treadmill doesn t receive the speed signal for 8 seconds. 2. E1: Memory of console malfunction or CPU accessing problem. 3. Err: Incline position error. -15- FT94... -
Page 17: Programmable Features
Programmable Features Speed Incline -16- FT94... -
Page 18: General Maintenance
Allen bolts an equal amount. This adjustment should be made by turning both bolts clockwise by no more than a 1/4 turn at a time. DO NOT OVERTIGHTEN Over tightening will cause belt damage and premature bearing failure. -17- FT94... - Page 19 Adjustments will become less of a maintenance concern as the belt is used. Proper belt tracking is an owner responsibility common with all treadmills. ATTENTION: DAMAGE TO THE RUNNING BELT RESULTING FROM IMPROPER TRACKING / TENSION ADJUSTMENTS IS NOT COVERED UNDER THE FUEL WARRANTY. -18- FT94...
- Page 20 Now the deck is lubricated and you should walk, not run, on the treadmill immediately for at least 5 minutes to ensure the lubricant is evenly distributed. If you purchase a Lube-N-Walk kit, follow the instructions that come with it to apply the lubrication. -19- FT94...
-
Page 21: Service Checklist - Diagnosis Guide
Treadmill trips on board 15 amp circuit High belt/deck friction. See General Maintenance Computer shuts off when console is touched (on a cold day) while walking/running Treadmill is not grounded. Static electricity is crashing the computer. Refer to Grounding Instructions on page 4. -20- FT94... -
Page 22: Manufacturer S Limited Warranty
Manufacturer’s Limited Warranty Effective January 1, 2007 TREADMILL WARRANTY FUEL warrants parts for the FT94 treadmill for a period of time listed below from the date of retail sale, as determined by sale receipt or in the absence of a receipt eighteen (18) months from the original factory shipping date.
Need help?
Do you have a question about the FT94 and is the answer not in the manual?
Questions and answers