Table of Contents
Advertisement
Advertisement
Table of Contents

Related Manuals for CDA WC140


Summary of Contents for CDA WC140
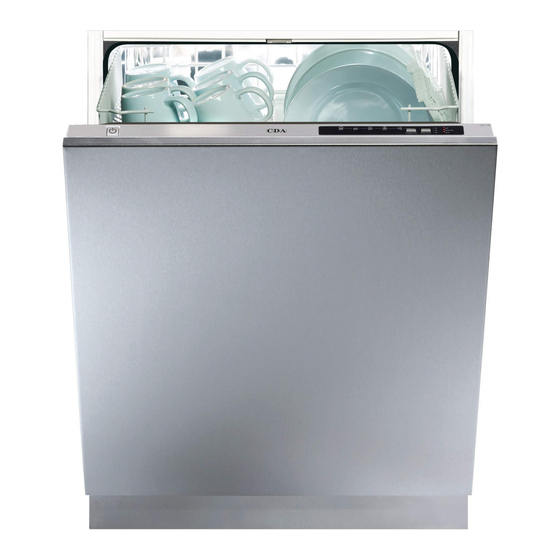
- Page 1 WC140 Integrated Dishwasher Manual for Installation, Use and Maintenance Passionate about style Customer Care Department • The Group Ltd. • Harby Road • Langar • Nottinghamshire • NG13 9HY T : 01949 862 012 F : 01949 862 003 E : service@cda.eu W : www.cda.eu...
- Page 2 Important rtant Group Ltd cannot be held responsible for injuries or losses caused by incorrect use or installation of this The CDA Group Ltd cannot be held responsible for injuries or losses caused by incorrect use or installation of this Please note that CDA reserve the right to invalidate the guarantee supplied with this product following incorrect product.
-
Page 3: Before First Use
Recommendations Recomendations • To reduce energy and water consumption, remove all dirt residues from the dishes prior to loading the dishw• • To reduce energy and water consumption, remove all dirt residues from the dishes prior to loading the dishwasher. •... -
Page 4: Starting A Programme
Starting a programme • Press the Power button. • Press the Programme Selection button until the required programme light is illuminated. • If required, press the Delay Timer button. • Once the power is switched on, the end of Programme Indicator light will switch on. •... - Page 5 1. Push the latch as shown in figure 1. 2. Add the required amount of detergent. The main detergent compartment “b” (figure 2) has lines to allow for specific amounts of detergent. These are marked at either 15 cm or 25 cm , to be used depending on how dirty the dishes are.
-
Page 6: Softener Adjustment
Testing strip The washing effectiveness of your machine depends on the softness of the tap water. For this reason, your machine is equipped with a system that reduces the hardness in mains water supply. The washing effectiveness will increase when the system is correctly set. To find out the water hardness level of water in your area, contact your local water board or determine water hardness level by using the test strip(if available). -
Page 7: Rinse Aid
nse Aid Rinse Aid Rinse Aid Rinse Aid fill the rinse aid compartment To fill the rinse aid compartment To fill the rinse aid compartment Open the rinse aid compartment by turning and removing the cap as To fill the rinse aid compartment 1. -
Page 8: Dishwasher Baskets
Dishwasher Baskets To adjust the height of the upper basket: 1. Open the basket retaining clips, as shown in figure 7, but turning them to the side. 2. Remove the upper basket, and relocate the alternate set of wheels on the runner, as shown in figure 8, pushing the basket back into place. -
Page 9: Standard Loading And Test Data
Standard loading and Test Data Capacity • Upper and lower baskets: 12 place settings. • The upper basket should be adjusted to high position. • Cups should be placed on to the dish rack pins. Detergent / Rinse aid • 5 + 25 cm , in accordance with EN50242-DIN 44990 IEC 436 (international norms) / Rinse aid dosage adjustment: 4. -
Page 10: Programme Listing
Programme Listing Programme Intensive Normal Economic Quick Prewash names and 65°C (P1) 55°C (P2) 50°C (P3) 40°c (P4) No Heat (P5) temperatures Pre-wash to soups, sauces, soups, sauces, coffee, milk, coffee, milk, rinse and loosen Type of pasta, eggs, pilaf, pasta, eggs, pilaf, tea, cold meats, tea, cold meats,... -
Page 11: Care And Maintenance
Unplug your machine and turn off its ta gramme that runs at high temperature, and start the machine. In case of insufficiency, use ime may accumulate in the machine's washing section. In case of such Do not use hard materials when cleani ecial cleansing material available in the market. -
Page 12: Failure Codes And Troubleshooting
Failure Codes and Troubleshooting Your dishwasher control panel is equipped with a diagnostic display to help in the event of a problem with the appliance. Error Code Error description Advice Intensive Normal Quick Prewash Make sure the water inlet tap is fully open Close the water tap, separate the Inadequate water... - Page 13 Failure Code and Troubleshooting Problem Possible cause Check the plug, fuse and circuit breakers of the mains supply The water tap is turned off The programme will not start The dishwasher door is not fully closed The water inlet filter or the machine filters are blocked The water drain hose is blocked or kinked.
-
Page 14: Electrical Information
Electrical information Warning! This appliance must be earthed. The mains lead of this appliance has been fitted with a BS 1363A 13 amp fused plug. To change a fuse in this type of plug, follow the steps below: 1. Remove the fuse cover and fuse. 2. -
Page 15: Installation
Installation • Do not install this appliance if it is damaged in any way. Installing a damaged appliance may invalidate the warranty. • The water supply tap should be located in an adjacent cupboard so that it can be accessed after installation. •... - Page 16 To contact our Customer Care Department, or for Service, please contact us on the details below. Passionate about style Customer Care Department • The Group Ltd. • Harby Road • Langar • Nottinghamshire • NG13 9HY T : 01949 862 012 F : 01949 862 003 E : service@cda.eu W : www.cda.eu...
- Page 17 The amount of offset, Y, depends on the height of the fascia door and can be calculated as: - WC140: X-723mm WC350, WC360: X-725mm For example, if you have a 731mm tall fascia door and are fitting a door to a WC140, then Y = 731 – 723 = 8mm MT 11/06/09...
Need help?
Do you have a question about the WC140 and is the answer not in the manual?
Questions and answers