Bowflex Xceed Assembly Manual
Assembly manual
Hide thumbs
Also See for Xceed:
- Owner's manual (84 pages) ,
- Assembly manual (20 pages) ,
- Owner's manual (68 pages)

Related Manuals for Bowflex Xceed


Summary of Contents for Bowflex Xceed
- Page 1 The Bowflex Xceed ™ Home Gym Assembly Manual ��������������� P/N 001-6907 Rev. B (08/22/06) Costco_BFX_Xceed_AM_RevB 082206.indd 1 8/23/2006 3:29:53 PM...
-
Page 2: Table Of Contents
fitness and your purchase of the Bowflex Xceed™ home gym. Before assembling your Bowflex Xceed™ home gym please read the Assembly Manual and follow the Important Safety Precautions. For information on how to use your Bowflex Xceed™ home gym refer to the Bowflex Xceed™ Owner’s Manual. -
Page 3: Specifications / Approvals
410 lbs. (186 kg.) User Weight Limit 300 lbs. (136 kg) Regulatory Approvals: Meets: EN957-1 Class H EN957-2 Class H Meets: ASTM F2276-05 ���� �������� ���� �������� ASTM F2216-05 �� Bowflex Xceed Assembly Manual ™ Costco_BFX_Xceed_AM_RevB 082206.indd 3 8/23/2006 3:29:54 PM... -
Page 4: Important Safety Precautions
For your safety, perform all assembly steps in the sequence given. Improper assembly can lead to injury. Some components can be heavy or awkward to handle. Get help if necessary. Bowflex Xceed Assembly Manual ™ Costco_BFX_Xceed_AM_RevB 082206.indd 4 8/23/2006 3:29:55 PM... -
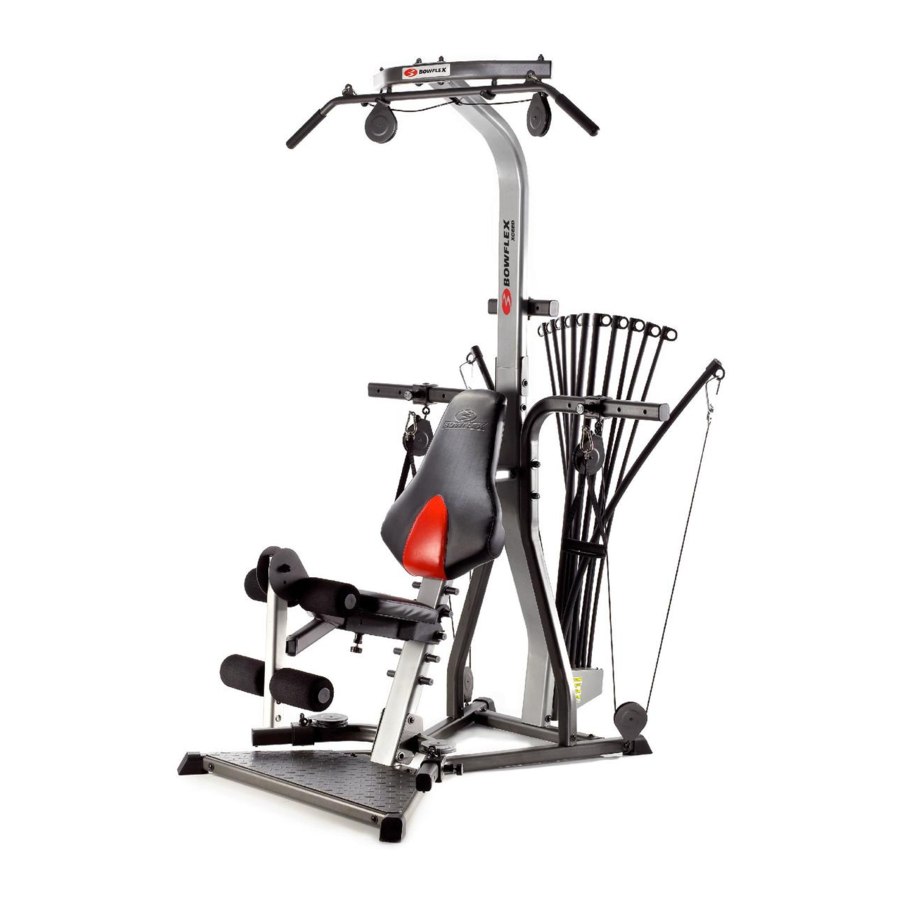
Page 5: Getting To Know Your Machine
Basic Assembly Principles Please take the time to read all assembly Here are a few basic tips that will make your instructions before attempting to assemble your assembly of the Bowflex Xceed home gym quick ™ Bowflex Xceed home gym. Select where you are and easy. -
Page 6: Parts Reference Guide
���� ����� Leg Extension Attachment ������ ����� The Leg Extension Attachment ��� ��������� has the parts shown here. �������� ���� ��� ������ ��� ���� ���� ������� ���� ����� ���� ��� Bowflex Xceed Assembly Manual ™ Costco_BFX_Xceed_AM_RevB 082206.indd 6 8/23/2006 3:29:57 PM... - Page 7 Lock Knob Leg Extension 2 Chrome 4 Foam Rollers " 2 Snap Hooks 4 End Caps (3/4 Backbone Tubes (3/4") & 2 Cables NOTE: Specifications Subject to Change Without Notice Bowflex Xceed Assembly Manual ™ Costco_BFX_Xceed_AM_RevB 082206.indd 7 8/23/2006 3:30:07 PM...
-
Page 8: Hardware Guide
Bowflex Xceed Assembly Manual ™ Costco_BFX_Xceed_AM_RevB 082206.indd 8 8/23/2006 3:30:16 PM... -
Page 9: Assembly Guide
Firmly slide Rod Box into Lower Lat Tower Frame. Fasten the Rod Box to the Lower Lat Tower Frame with screws and washers as shown. Tighten screws until snug. Bowflex Xceed Assembly Manual ™ Costco_BFX_Xceed_AM_RevB 082206.indd 9 8/23/2006 3:30:17 PM... - Page 10 Slide the top of the Seat Support Rail onto the Lower Lat Tower Assembly connector as shown. Secure using screws and washers as shown. Finger tighten screws at this time. Bowflex Xceed Assembly Manual ™ Costco_BFX_Xceed_AM_RevB 082206.indd 10 8/23/2006 3:30:19 PM...
- Page 11 Slide Left and Right Pulley Arms onto the connectors on the base frame as shown. Secure Pulley Arms to Base Frame using screws and washers as shown. Finger tighten screws at this time. Bowflex Xceed Assembly Manual ™ Costco_BFX_Xceed_AM_RevB 082206.indd 11 8/23/2006 3:30:23 PM...
- Page 12 Install a Slider Pulley onto each Pulley Arm as shown. Choose any of the four holes to secure. Install a cap screw into the underside of each Pulley Arm, as shown. Bowflex Xceed Assembly Manual ™ Costco_BFX_Xceed_AM_RevB 082206.indd 12 8/23/2006 3:30:26 PM...
- Page 13 A rubber mallet may be needed to secure the end caps. NOTE: The Leg Extension may be adjusted during workout to best suit your height and personal preferences. Bowflex Xceed Assembly Manual ™ Costco_BFX_Xceed_AM_RevB 082206.indd 13 8/23/2006 3:30:28 PM...
- Page 14 Tip seat front up and slide hooks onto pins. Rotate seat down and back to use. Note: Use lower pins until the seat back is installed. Reverse procedure to remove seat. Bowflex Xceed Assembly Manual ™ Costco_BFX_Xceed_AM_RevB 082206.indd 14 8/23/2006 3:30:29 PM...
- Page 15 Align the two holes on the Lat Cross Bar with Button Head Screws those on the Upper Lat Tower as shown. 14-2 Secure using washers and screws as shown. Bowflex Xceed Assembly Manual ™ Costco_BFX_Xceed_AM_RevB 082206.indd 15 8/23/2006 3:30:32 PM...
- Page 16 Lower Lat Tower Step 16 Tighten Hardware 16-1 Carefully go over the entire Bowflex Xceed™ home gym and tighten all hardware before proceeding to the next step. Pay close attention to the hardware installed in Steps 1, 3, 4, and 6.
- Page 17 Assembly Guide Step 17 Connect Cables Parts: Completed Bowflex Xceed™ home gym Tool: Scissors or other cutting tool 17-1 Remove the wrapping from around the coiled cable and pulley attached to the Right and Left Frame Rails. 17-2 Remove the wrapping from around the coiled cable and pulley attached to the left and right side of the lat tower.
- Page 18 Important Contact Numbers If you need assistance, please have both the serial number of your machine and the date of purchase available when you contact the appropriate Nautilus office listed below. OFFICES IN THE UNITED STATES: INTERNATIONAL OFFICES: E-mail: customerservice@nautilus.com For technical assistance and a list of distributors in your area, please call or fax one of the following numbers.
- Page 19 Costco_BFX_Xceed_AM_RevB 082206.indd 19 8/23/2006 3:30:42 PM...
- Page 20 Nautilus, Inc. World Headquarters, 16400 S.E. Nautilus Drive, Vancouver, Washington USA 98683 1-800-NAUTILUS (1-800-628-8458) Bowflex, Bowflex Xceed, Power Rod and the Bowflex logo are either registered trademarks or trademarks of Nautilus, Inc. All other trademarks are trademarks of their respective companies.
Need help?
Do you have a question about the Xceed and is the answer not in the manual?
Questions and answers