Table of Contents
Advertisement
Quick Links
Advertisement
Table of Contents

Subscribe to Our Youtube Channel
Summary of Contents for Zanussi ZSF2450
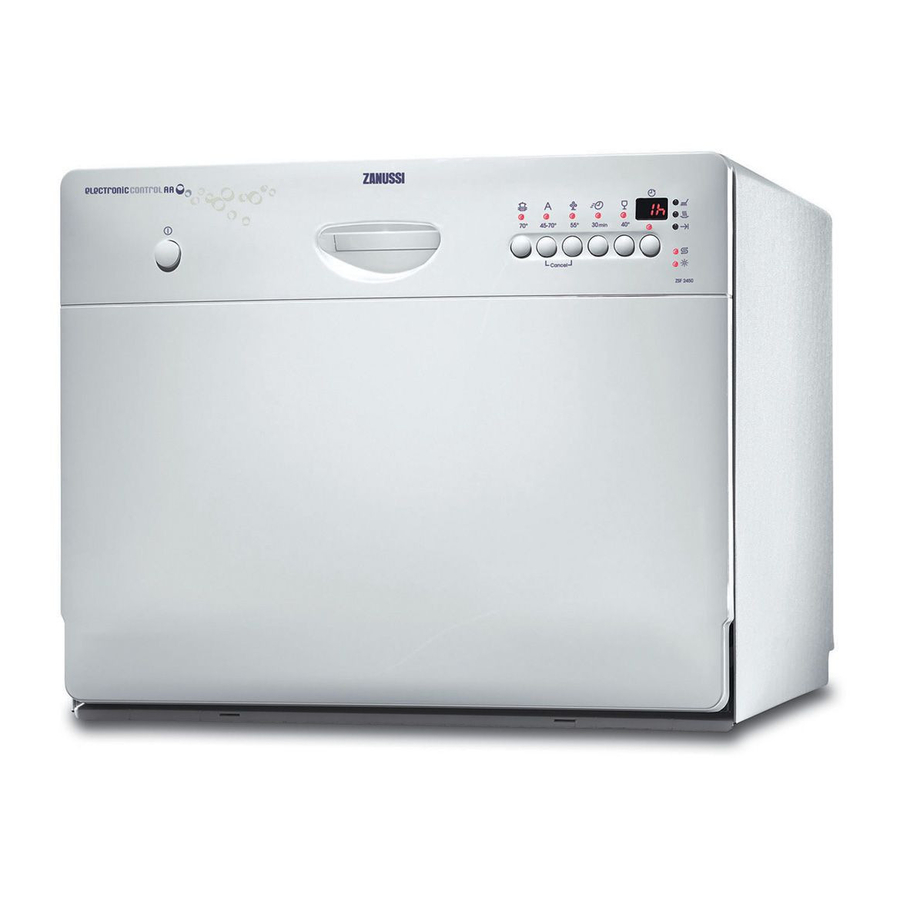
- Page 1 User manual Dishwasher ZSF2450...
-
Page 2: Table Of Contents
Contents Safety information _ _ _ _ _ _ _ _ _ _ _ _ _ _ _ _ 2 Setting and starting a washing programme _ _ _ _ 10 Control panel _ _ _ _ _ _ _ _ _ _ _ _ _ _ _ _ _ _ _ 3 Care and cleaning _ _ _ _ _ _ _ _ _ _ _ _ _ _ _ _ 11 Washing programmes _ _ _ _ _ _ _ _ _ _ _ _ _ _ _ 4 What to do if…... -
Page 3: Control Panel
• Do not change the specifications or modify this prod- Contact your local Service Force Centre. uct. Risk of injury and damage to the appliance. • Do not drill into the sides of the appliance to prevent • Do not use the appliance: damage to hydraulic and electrical components. -
Page 4: Washing Programmes
Indicator lights The indicator light comes on when the washing pro- gramme is completed. The indicator light comes on when it is necessary to fill the salt container. Refer to the chapter 'Use of dishwasher salt'. The salt indicator light can stay on for some hours, but it does not have an unwanted effect on the operation of the appliance. -
Page 5: Use Of The Appliance
Degree of Programme Type of load Programme description soil Prewash Mixed nor- Crockery, cut- Main wash up to 45°C or 70°C mal and light lery, pots and 1 or 2 intermediate rinses soil pans Final rinse Drying Prewash Main wash up to 55°C Crockery and Normal soil 1 intermediate rinse... -
Page 6: Setting The Water Softener
1. Make a check if the water softener level is correct for 6. Fill the detergent dispenser with the correct quantity the water hardness in your area. If necessary set the of detergent. water softener. 7. Start the washing programme. 2. -
Page 7: Use Of Rinse Aid
It is normal that water overflows from the salt con- tainer when you fill it with salt. Make sure that there is no grain of salt outer of the salt compartment. Salt which stays on the tank for a while drills the tank. It is recommended to start a wash- ing programme immediately after you fill the salt con- tainer. -
Page 8: Loading Cutlery And Dishes
Adjusting the dosage of rinse aid Caution! Do not fill the rinse aid dispenser with other products (e.g. dishwasher cleaning agent, The rinse aid dial is set at liquid detergent). There is a risk of damage to the the factory at position 1. appliance. -
Page 9: Use Of Detergent
Use the cutlery basket for: Use the cutlery grid. If the dimensions of the cutlery • forks and spoons with prevent use of the cutlery the handles down. grid, remove it. • knives with the handles Use of detergent Only use detergents (powder, liquid or tablet) that are applicable for dishwashers. -
Page 10: Setting And Starting A Washing Programme
• rinse aid 2. Set the rinse aid dosage to position 2. • other cleaning agents. Do these steps to use the detergent powder again: Do these steps to use detergent tablets: 1. Fill the salt container and the rinse aid dispenser. 1. -
Page 11: Care And Cleaning
– The countdown of the delay start starts. • The appliance stops automatically. – The countdown of the delay start decreases with • The display shows 0. steps of 1 hour. • The end-of-programme indicator light comes on. – When the countdown is completed, the washing 1. -
Page 12: What To Do If
Fully clean the filters be- low running water. External cleaning Clean the external surfaces of the appliance and control panel with a damp soft cloth. Only use neutral detergents. Do not use abrasive products, scouring pads or solvents (acetone, trichloroethylene etc...). Frost precautions Caution! Do not install the appliance where the temperature is below 0 °C. - Page 13 Fault code and malfunction Possible cause and solution • digital display shows • The water tap is blocked or furred with limescale. Clean the water tap. The dishwasher does not fill with water • The water tap is closed. Open the water tap. •...
-
Page 14: Technical Data
The cleaning results are not satisfactory Limescales particles on the dishes • The salt container is empty. • The water softener is adjusted on a wrong level. • The salt container cap is not closed correctly. The dishes are wet and dull •... -
Page 15: Installation
Installation Adjusting the level of the appliance Warning! Make sure that mains plug is disconnected from the mains socket during Make sure that the appliance is level to close and seal the installation. door correctly. If the level of the appliance is correct, the door does not catch on the sides of the cabinet. -
Page 16: Electrical Connection
Drain hose 1. Attach the plastic curve supplied at the end of the hose. The appliance has water safety system to prevent Put the water drain hose in the sink. water damage. If there is a malfunction, the drain pump automatically starts to drain the remaining water 2. - Page 20 To buy accessories, consumables and spare parts at our online shop please visit: www.zanussi-electrolux.co.uk www.zanussi.com...


Need help?
Do you have a question about the ZSF2450 and is the answer not in the manual?
Questions and answers