Table of Contents
Advertisement
Advertisement
Table of Contents

Summary of Contents for Zanussi ZSF2450
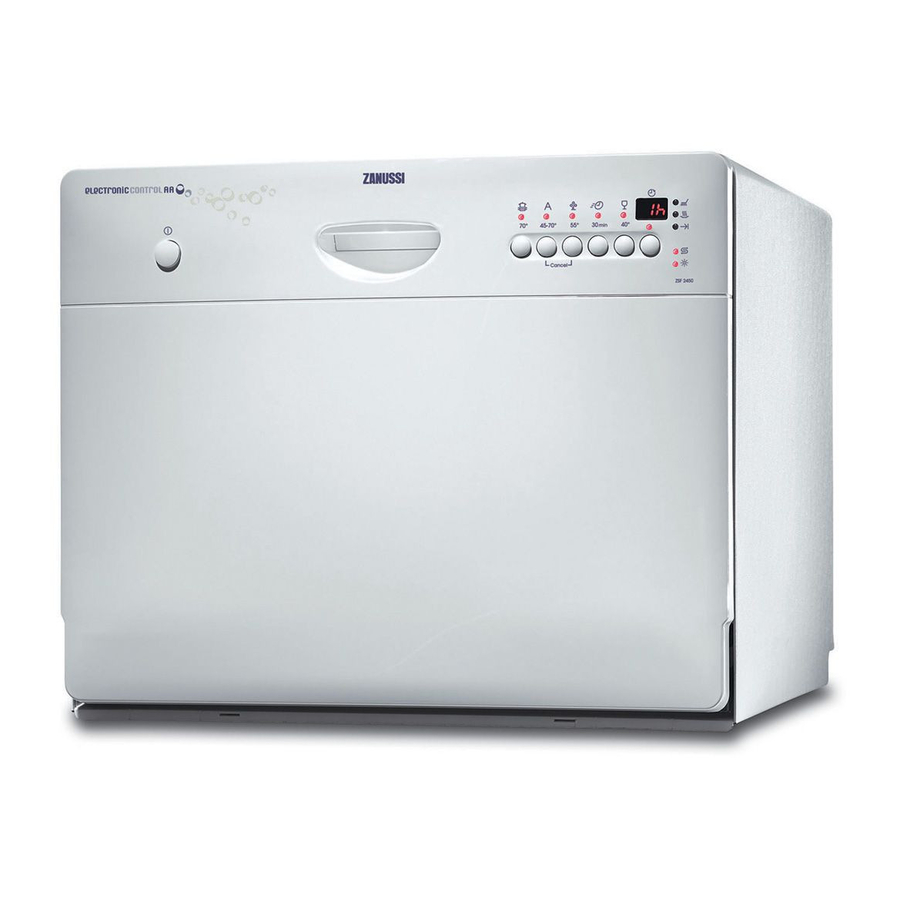
- Page 1 User manual Dishwasher ZSF2450...
-
Page 2: Table Of Contents
Contents Safety information _ _ _ _ _ _ _ _ _ _ _ _ _ _ 2 Control panel _ _ _ _ _ _ _ _ _ _ _ _ _ _ _ _ _ 3 Washing programmes _ _ _ _ _ _ _ _ _ _ _ _ _ 4 Use of the appliance _ _ _ _ _ _ _ _ _ _ _ _ _ 6 Setting the water softener _ _ _ _ _ _ _ _ _ _ 6 Use of dishwasher salt _ _ _ _ _ _ _ _ _ _ _ _ _ 7... -
Page 3: Control Panel
Installation • Make sure that the appliance is not damaged because of transport. Do not connect a dam- aged appliance. If necessary, contact the sup- plier. • Remove all packaging before first use. • A qualified and competent person must do the electrical installation. -
Page 4: Function Buttons
1) The indicator light is off when a washing programme operates. Delay start button Use the delay start button to delay the start of the washing programme with an interval between 1 and 19 hours. Refer to the chapter 'Setting and starting a washing programme'. -
Page 5: Consumption Values
Washing programmes Degree of Programme Heavy soil Mixed nor- Normal or 1) During the 'Auto' washing programme the level of soiling on the dishes is determined by how cloudy the water is. The programme duration, water and energy consumption levels can vary; this depends upon if the appliance is fully or partially loaded and if the dishes are lightly or heavily soiled. -
Page 6: Use Of The Appliance
Programme Programme duration 1) The digital display shows the programme duration. The pressure and temperature of the water, Use of the appliance Refer to the following instructions for each step of procedure: 1. Make a check if the water softener level is correct for the water hardness in your area. -
Page 7: Use Of Dishwasher Salt
3. Press and hold function buttons B and C until the indicator lights of function buttons A, B and C start to flash. 4. Release function buttons B and C. 5. Press function button A. – The indicator lights for function buttons B and C go off. -
Page 8: Loading Cutlery And Dishes
Loading cutlery and dishes Helpful hints and tips Caution! Only use the appliance for household utensils that are applicable for dishwashers. Do not use the appliance to clean objects that can absorb water (sponges, household cloths, etc.). • Before you load cutlery and dishes, do these steps: –... -
Page 9: Use Of Detergent
Primary basket Arrange the deep dishes and large lids around the edge of the basket. Arrange the items to let water touch all surfaces. Arrange items on and below the cup racks. For longer items fold the cup racks up. Cutlery basket Warning! Do not put long-bladed knives in a vertical position to prevent injury. -
Page 10: Setting And Starting A Washing Programme
Use of detergent tablets Put the detergent tablet in the detergent dis- penser (A). Detergent tablets contain: • detergent • rinse aid • other cleaning agents. Do these steps to use detergent tablets: 1. Make sure that the detergent tablets are ap- plicable for your water hardness. -
Page 11: Care And Cleaning
2. Set a new washing programme . Fill the detergent dispenser with detergent be- fore you set a new washing programme. Interrupting a washing programme Open the door. • The programme stops. Close the door. • The programme continues from the point of interruption. - Page 12 Remove the filters A and B from the bottom of the appliance. Fully clean the filters below running water. Put the filters back. Turn the microfilter clockwise to lock it. Cleaning the spray arm Regularly examine the spray arm. Remove re- maining food from the holes in the spray arm.
-
Page 13: What To Do If
What to do if… The appliance does not start or stops during op- eration. If there is a fault, first try to find a solution to the problem yourself. If you cannot find a solution to Fault code and malfunction •... -
Page 14: Technical Data
The dishes are not clean Limescales particles on the dishes The dishes are wet and dull There are streaks, milky spots or a bluish coating on glasses and dishes Dry water drop signs on glasses and dishes Technical data Dimensions Electrical connection - Voltage - Overall power - Fuse Water supply pressure... -
Page 15: Installation
household waste disposal service or the shop where you purchased the product. The packaging materials are environmentally friendly and can be recycled. The plastic compo- nents are identified by markings, e.g. >PE<, >PS<, etc. Discard the packaging materials in the appli- cable container at the community waste disposal facilities. -
Page 16: Electrical Connection
If the water inlet hose is too short, replace the water inlet hose with an applicable, longer high- pressure hose. Do not connect an extension hose. To suit the installation, it is possible to turn the end of the hose that is connected to the dish- washer. - Page 20 To buy accessories, consumables and spare parts at our online shop please visit: www.zanussi-electrolux.co.uk www.zanussi.com...


Need help?
Do you have a question about the ZSF2450 and is the answer not in the manual?
Questions and answers