Advertisement
Quick Links
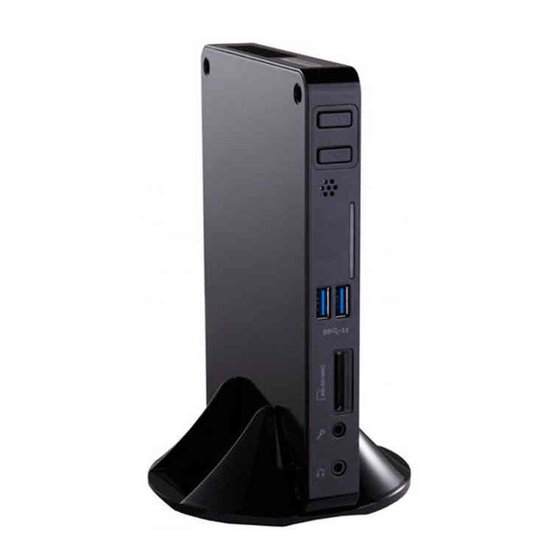
Components
1. HDD
5. Memory
2. HDD Bracket
6. Screw cover
3. Mini PCIe Half Card Support
7. Magnet Rubber Foot
4. Mini PCIe add-on Card
8. Seatbase
1
Open the case
1. Unscrew four screws (A) on the top
2. Put an Opening Tool between the
cover.
cover and case then move it to the
other side to remove the top cover.
A
4
Install Hard Disk Drive (HDD)
1. Insert the HDD into the HDD bracket
2. Fasten them with three screws (B).
slantwise first, then press it down.
A
B
6
Connection of NanoPC
Please refer to the diagram to connect devices to NanoPC.
7
Placement of NanoPC
1. On tabletop
P/N:3A251KH00-000-G
5
9. VESA Mount
13. Screw(A, B, C, D)
10. DVI to VGA Adapter(Optional)
A.
M2.43X4.85 mm
11. Power Cord
B.
M2.92X2.85 mm
12. Power Adapter
C.
M2.42X2.85 mm
D.
M3.90X9.70 mm
14. USB Flash Disk(With Driver, Utility, User's Manual and Easy Guide in it)
2
Install memory
1. Plug the pin side of the memory
module into the socket slantwise.
B
3. Install HDD into the socket on the
motherboad gently.
A
B
USB Keyboard
USB Mouse
Display
HD TV
LAN
Speaker device
Power adapter
2. In Seatbase
6
8
10
11
7
9
12
(9x): To fasten HDD Bracket and Case
(3x): To fasten HDD to HDD Bracket
(1x): To fasten Mini PCIe add-on Card to Mini PCIe Half
Card Support
(4x): To fasten VESA Mount to display
3
2. Press it down firmly.
1. Fasten Mini PCIe add-on Card to
Mini PCle Half Card Support.
5
Install the case
1. Install the top cover.
4. Fasten the HDD bracket with four
screws (A).
3. On display back
3.1. Use four screws to fasten the VESA Mount
onto the display back.
Tools Needed
13
A
B
C
D
14
1. ESD Wrist Strap
2. ESD Gloves
3. Opening Tool
Install Mini PCIe add-on Card
2. Plug the pin side of the Mini PCIe
add-on Card into the socket
slantwise, then press it down gently.
A
B
USB devices
Microphone
Headphone
3.2. Fit the NanoPC into the VESA Mount with power
button locating at the top for easy touch.
All images are for reference only, please refer to the physical NanoPC for detail.
3. Fasten it with one screw (A).
2. Fasten the top cover with four screws
(A) . Stick the screw cover on the four
screw holes.
A
B
USB Flash Disk
Memory card
SD/MMC/MS
B
A
Advertisement

Subscribe to Our Youtube Channel
Related Manuals for Foxconn nT-i1250


Summary of Contents for Foxconn nT-i1250
- Page 1 Tools Needed Components 1. HDD 5. Memory 9. VESA Mount 13. Screw(A, B, C, D) 1. ESD Wrist Strap 2. HDD Bracket 6. Screw cover 10. DVI to VGA Adapter(Optional) M2.43X4.85 mm (9x): To fasten HDD Bracket and Case 2. ESD Gloves 3.
- Page 2 简体中文 繁體中文 Français Türkçe 1> 打开机壳 1> 打開機殼 1. 将上盖的四颗螺丝(A)拧开。 1. 將上蓋的四顆螺絲(A)擰開。 2. 将开盒器插入机壳与上盖之间,然后将其划向另一侧打开上盖 。 2. 將開盒器插入機殼與上蓋之間,然後將其劃向另一側打開上蓋。 2> 安裝記憶體 2> 安装内存 1. 將記憶體傾斜的插入插槽內。 1. 将内存条倾斜的插入内存插槽内。 2. 向下按压内存条,使其固定。 2. 向下按壓記憶體,使其固定。 3> 安裝Mini PCIe 附加卡 3> 安装Mini PCIe 附加卡 1. 將Mini PCIe 附加卡固定於Mini PCle 半卡支架上。 Mini PCIe Mini PCle 半卡支架上。...
Need help?
Do you have a question about the nT-i1250 and is the answer not in the manual?
Questions and answers