Table of Contents
Advertisement
Quick Links
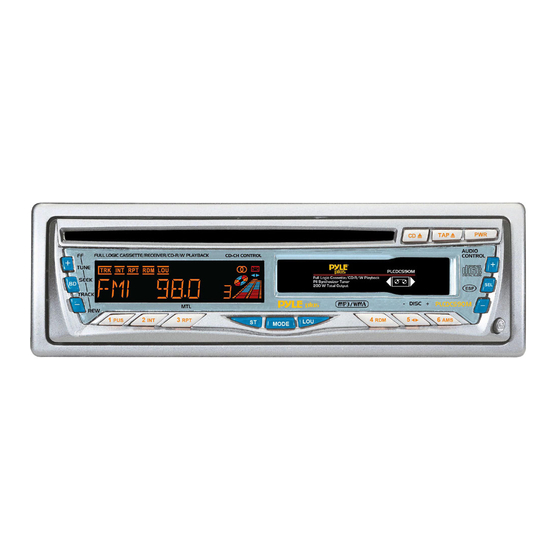
PLCDCS90M
OWNER'S MANUAL
PWR
TAP
CD
AUDIO
FU LL L OGIC CASS ETT E/RECEIVER/CD-R /W PLAY BACK
CD-CH CONTR OL
CONT ROL
+
+
C O M PAC T
D IG IT AL A U DI O
DIS C-
BD
SEL
-
-
-
+
PLCDCS90 M
DISC
MT L
1
2
5
6
3
4
PUS
INT
ST
LOU
AMS
RPT
MODE
RDM
200WATTS
THEFT DETERRENT DETACHABLE SYSTEM
CAR AUDIO CASSETTE, CD, MP3, WMA PLAYER
WITH ELECTRONIC ANTI-SHOCK FUNCTION
AND CD CHANGER CONTROL
AM/FM-STEREO DIGITAL PLL TUNING RADIO
www.pyleaudio.com
Advertisement
Table of Contents

Related Manuals for Pyle PLCDCS90M


Summary of Contents for Pyle PLCDCS90M
- Page 1 PLCDCS90M OWNER'S MANUAL AUDIO FU LL L OGIC CASS ETT E/RECEIVER/CD-R /W PLAY BACK CD-CH CONTR OL CONT ROL C O M PAC T D IG IT AL A U DI O DIS C- PLCDCS90 M DISC MT L MODE...
-
Page 2: About This Manual
Congratulation! Congratulations on your purchase of this CASSETTE/ CD/ MP3/WMA car stereo Receiver. Selecting fine audio equipment is only the start of your musical enjoyment. Now it is time to consider how to maximize the enjoyment you will get from knowing how to work your new car stereo receiver. -
Page 3: Location And Function Of Controls
LOCATION AND FUNCTION OF CONTROLS AUDIO FULL L OGIC CASS ETT E/RECEIVE R/CD-R/W PLAY BACK CD-CH CONT ROL CONT ROL C O MP AC T D IG IT AL A U DI O DIS C- S EL PLCDCS90 M DISC MT L MODE 1. -
Page 4: General Controls
General Controls: 1. Power On/Off You can turn this unit ON by pressing any button on the front panel (except the RELEASE button, EJECT key), or inserting a disc into disc slot; you can see the WELCOME on the LCD will display at the same time. Press the power(PWR) button to turn power off;... - Page 5 DOWN(-) button to adjust the EQ mode as follows: <-->EQ OFF <--> POP <-->ROCK<-->CLAS<-->FLAT<-->. CLK FORMAT--- 24H will be displayed by default if the frequency area switches to EUROPE. 12H will be display by default if the frequency area switches to america. The symbol AM means ante meridiem and PM means post meridiem.
-
Page 6: Tuner Controls
LED indicator will be flashing all the time till the front panel be refixed into the main body. Tuner Controls: 1. To select a radio band In radio mode, Press the BAND button repeatedly to select a radio broadcasting band you would like to hear. - Page 7 3. To Fast Forward or Review In disc playback mode, press and hold the FF + or REW - button to access your desired location on the disc. Releasing them starts playback at the location. 4 .To Select the Next or Previous Folder In playback of disc with MP3 or WMA format, press the 5 or 6 button to move the next and previous folder.
-
Page 8: Cd Changer Controls
mode. Press the volume UP(+) or DOWN(-) button to select and enter any number from 0 to 9 on the units place digit. Press SEL button confirm the entered number and the character on the tens digit will be flashing. Press the volume UP(+) or DOWN(-) button to select and enter any number from 0 to 9 on the tens digit. - Page 9 4. To Preview Track In CDC playback mode, press the INT button to play the first 10 seconds of each track. Press it again to stop preview and play the current track being previewed. 5. To Repeat Playback In CDC playback mode, press the RPT button short to play the current track repeatedly. Press it again to cancel the RPT mode.
-
Page 10: Wiring Diagram
WIRING DIAGRAM BLUE AUTO ANT Note: 1.Make sure use a speaker with 4 ohm load impedance. 2.Do not make the auto antenna wire and ground touch each other. When you want to play the CD changer, plug the CD changer DIN into the socket of the back of the car audio unit. -
Page 11: Installation
Step 3: Connect SUBWOOFER Line out (Yellow) and RCA Line Out (R- Red/ L-White). Step 4: Connect Back up (Yellow) and Acc wire (Red) INSTALLATION CAUTION: Any changes or modifications in construction of this device which are not expressly approved by the party responsible for compliance could void the user's authority to operate the equipment. -
Page 12: Precautions And Maintenance
PRECAUTIONS AND MAINTENANCE 1.This unit is designed for negative ground operation only. 2.Do not use speakers of impedance less than 4 ohms. Do not allow the speaker wires to be shorted together when the unit is switched on as this may overload or burn out the power output IC. -
Page 13: Care For Using Cd's
CARE FOR USING CD'S: About CD-R/CD-R/W discs: In addition to commercially-recorded audio CD's, this unit can play CD-R and CD-R/W discs. In come cases, particularly when recorded on older CD burners, some CD-R and CD-R/W discs may not play. Also, whenever you are recording a CD for playback in this receiver, it is recommended that you record at 24x or slower speed for CD-R and 4x or slower for CD-R/W to achieve higher signal quality and better playback performance. -
Page 14: Troubleshooting
TROUBLE SHOOTING Before using the check list please make all the connections first. If you still have questions after going through the checklist, please consult your local customer service representative. -
Page 15: Fm Tuner Section
SPECIFICATION GENERAL Power Supply the Main Unit: DC 12 Volts. Negative Ground Maximum Output Power: 4 x 50W ( Measure at DC 14.4 V ) Current Consumption: 10 A MAX. Unit Dimension: 178(W) X 167(D) X 50(H) mm FM TUNER SECTION Frequency Range:87.5MHz - 107.9MHz Usable Sensitivity: 10dB Frequency Response(+/- 3dB): 50Hz - 12.5KHz... - Page 16 Wow and flutter: Under measurable limits Channel separation(1 KHz): 50dB Design and Specifications are subject to change without notification.
Need help?
Do you have a question about the PLCDCS90M and is the answer not in the manual?
Questions and answers