Garmin GPS 72 Quick Start Manual
Personal navigator
Hide thumbs
Also See for GPS 72:
- Owner's manual & reference manual (68 pages) ,
- Owner's manual (67 pages) ,
- Specification sheet (2 pages)
Advertisement
Table of Contents
- 1 Quick Start
- 2 Unit Overview
- 3 Battery Installation
- 4 Installing the Batteries
- 5 Installing the Lanyard
- 6 Interface Keys
- 7 Using the Simulator
- 8 Activating the Simulator Mode
- 9 Using the Interface Keys
- 10 Entering Data
- 11 Marking a Waypoint
- 12 Basic Navigation
- 13 Initializing the GPS Receiver
- 14 Starting to Navigate
- Download this manual
Advertisement
Table of Contents

Related Manuals for Garmin GPS 72


Summary of Contents for Garmin GPS 72
- Page 1 GPS 72 Personal Navigator quick start guide...
-
Page 2: Quick Start
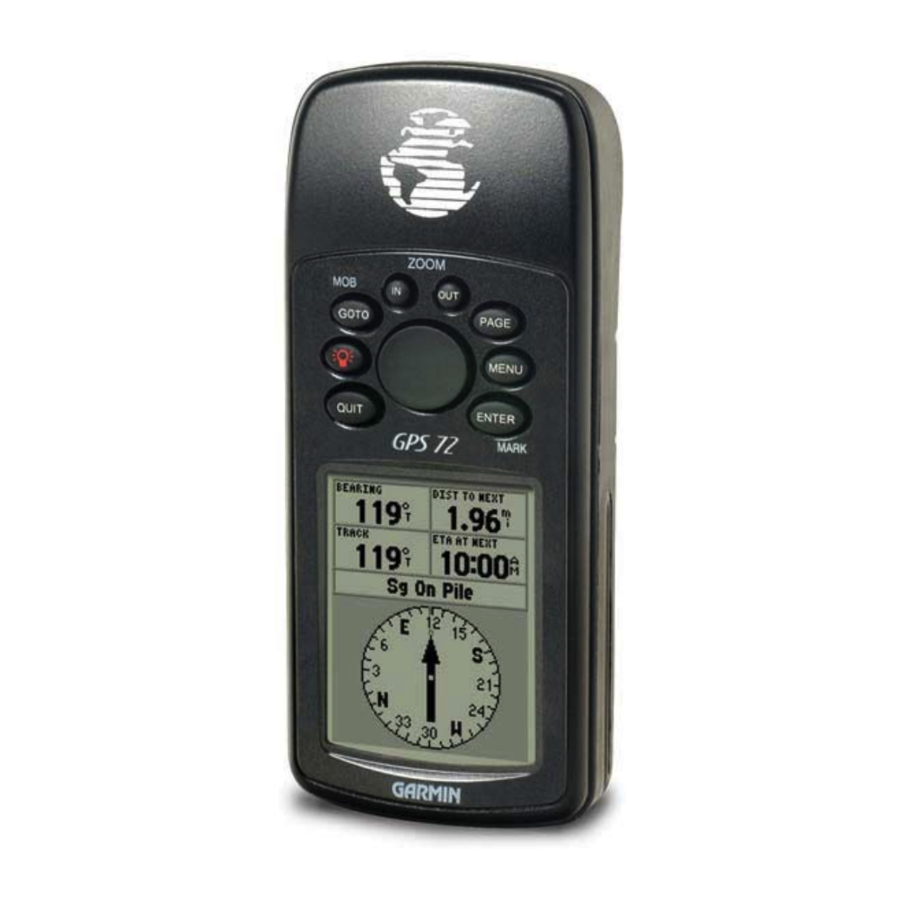
Internal Antenna Interface keys 120 x 160 Four Level Gray, Backlight Display ZOOM MARK Quick Start Unit Overview Battery Compartment External Data/Auxilary Power Port... -
Page 3: Battery Installation
Quick Start Battery Installation Remove the batteries from your GPS 72 if you don’t expect to use it for several months. Be sure to observe the proper polarity when inserting the batteries. Follow the battery manufacturer’s instructions on the proper care and handling of the batteries. -
Page 4: Installing The Lanyard
Quick Start Installing the Lanyard To install the Lanyard: 1. Place the loop of the Lanyard through the slot opening at the bottom of the GPS 72. 2. Route the strap through the loop and pull tight. -
Page 5: Interface Keys
The QUIT key will end an operation in progress and display the previous page. The ENTER/MARK key is used to activate a data fi eld or confi rm a selection. If the ENTER/MARK key is pressed and held, the GPS 72 will store the current location and display the Mark Waypoint page. - Page 6 This exercise will provide you with basic operational knowledge, and help develop the skills that will allow you to navigate the pages and menus of your GPS 72 with confi dence. As we progress through the Quick Start Guide, you will often be directed to press a key or highlight a fi...
-
Page 7: Using The Simulator
The Simulator Mode is great for practicing with the unit while inside and satellite signals are not available. While the GPS 72 is in Simulator Mode, the GPS receiver is turned off (this will help conserve battery power) and the unit cannot be used for actual navigation. -
Page 8: Using The Interface Keys
The Interface keys are your link with the GPS 72. Let’ s take a few minutes to explore the use of each key while learning how to use the unit. With the GPS Information Page displayed, press the PAGE key several times. Notice that each time you press the PAGE key, the next main page will be displayed. -
Page 9: Entering Data
Waypoints can be used for direct navigation or to build a Route. Creating or “Marking” a waypoint with the GPS 72 is easy. The unit has to be turned on, and receiving at least three satellites (or simulating navigation) to mark a waypoint. - Page 10 1. Using the ROCKER key, highlight the ‘OK’ Button and press the ENTER key. These are the same steps that you will use to enter names, change numbers and select options in all of the GPS 72 fi elds. Here are a couple of tips: •...
-
Page 11: Basic Navigation
Quick Start Basic Navigation Bearing and Distance from Pointer to current GPS location. Map Pointer... - Page 12 For a GPS to navigate, it has to be moving. Fortunately you can simulate movement in the GPS 72. Press the PAGE key until the Compass Page is displayed. At the top of the Compass Page there are two data fi elds, ‘Speed’...
-
Page 13: Initializing The Gps Receiver
Before the GPS 72 can be used for navigation, the receiver has to be initialized. The receiver only needs to be initialized the very fi rst time that the GPS 72 is used. Take the unit outside where it will have an unobstructed view of the sky and turn it on. - Page 14 5. Press the PAGE key until the Map Page is displayed. Begin walking, hold the GPS 72 in front of you with the top of the unit pointed toward the sky. As you move you will begin to see a bread crumb trail on the map. Walk for at least two minutes in one direction and then make either a right or left turn.
- Page 15 Pointer reacts. When you near your destination a message will be displayed alerting you that you have arrived. Congratulations, you should have enough basic knowledge of your GPS 72 to begin navi- gating on your own. Be safe, remember that while the GPS is very reliable you should always...
Need help?
Do you have a question about the GPS 72 and is the answer not in the manual?
Questions and answers