Oki MPS3537mc Setup Manual
Mps4242/mps3537/es7480/es7470/es7460/mc780/mc770/mc760 for
Hide thumbs
Also See for MPS3537mc:
- Setup manual (9 pages) ,
- Specifications (4 pages) ,
- User manual (380 pages)
Advertisement
Quick Links
GD-1340
for MC760/MC770/MC780/ES7460/ES7470/ES7480/MPS3537/MPS4242
SET-UP GUIDE
Warnings Points
• The unpacking and setup procedure shall be done by a qualified service technician.
• Be sure to unplug the power cable of the equipment before installing and setting up the product.
• Disconnect the ground wire after unplugging the power cable. In addition, be sure to connect the ground wire
before plugging the power cable.
Cautionary Points
• Install the equipment near an outlet. Be sure to wire the power cable securely so as to unplug it easily and not
to trip over it.
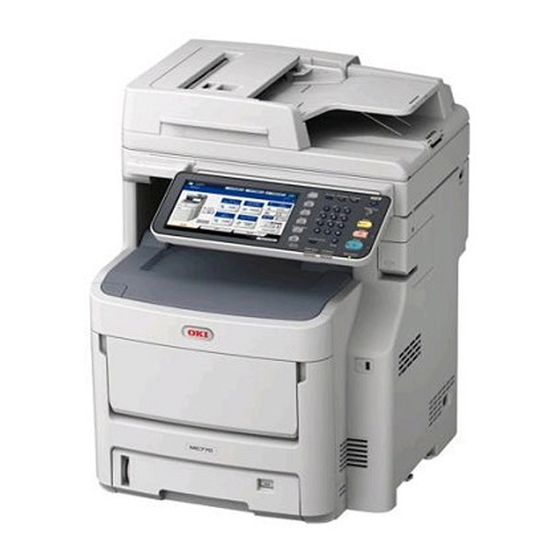
• According to the equipment model, these illustrations may differ.
• The covers of this equipment have been designed so as not to be easily removed. Therefore, when using
tools, be sure not to put your face and hands in the direction in which force will be applied; otherwise this could
result in injury. In addition, pay attention not to deform parts by using too much force.
• When unpacking and setting up the product, be sure to wear gloves to avoid injury.
Accessories
„
„
A
B
E
D
1 / 11
H
J
a
GD-1340
Advertisement

Related Manuals for Oki MPS3537mc


Summary of Contents for Oki MPS3537mc
- Page 1 GD-1340 for MC760/MC770/MC780/ES7460/ES7470/ES7480/MPS3537/MPS4242 SET-UP GUIDE Warnings Points • The unpacking and setup procedure shall be done by a qualified service technician. • Be sure to unplug the power cable of the equipment before installing and setting up the product. • Disconnect the ground wire after unplugging the power cable. In addition, be sure to connect the ground wire before plugging the power cable.
- Page 2 Setup „ „ 1. Take out the FAX unit and the accessories. 2. Take off the covers. • For JPD: 3 covers • Other than JPD: 2 covers 3. Take off the cover. * You must wear gloves for this procedure. 1) Remove [b] and [e].
- Page 3 4) Remove [b]. 5) Remove [e]. 6) Open the covers in the order of (A) and (B). 7) Close [G]. GD-1340 3 / 11...
- Page 4 8) Release the latches (A) of the cover. • A: 2 * As shown in the figure, insert a flathead screwdriver into the groove and push it in the direction of the arrow to release the latches. When using tools, be sure not to put your face and hands in the direction in which force will be applied;...
- Page 5 11) Closer [F]. 12) Take off the upper side of the cover, release the latch (E) and then take off the cover. • E: 1 place 4. Loosen the screws and take off the cover. • Screws: 15 places GD-1340 5 / 11...
- Page 6 5. Connect the connectors of [D] and [B] to the board. 6. Place [A] into the attaching position and secure it with [a]. • a: 4 When installing [A], be careful not to catch the rear side cables. 7. Connect the cable of [A] to the board. GD-1340 6 / 11...
- Page 7 8. Connect the connectors of [D] and [B] to [A]. 9. Attach the cover and tighten the screws. • Screws: 15 places 10. Insert its latch (E) and then the parts indicated by the arrows as shown in the figure. Perform this operation with care to avoid injury.
- Page 8 12. Open [F]. 13. Insert the latch (D) of the cover. 14. Close the covers in the order of (A) and (B). 15. Push the locking button to open [G]. 16. Attach [b]. • b: 1 GD-1340 8 / 11...
- Page 9 17. Attach [b] and [e]. • b: 1 • e: 1 18. Attach [e]. • e: 1 19. Close in the order of [G] and [F]. 20. Connect [E]. 21. Connect the cable from the telephone. GD-1340 9 / 11...
- Page 10 22. Attach the label [H]. • H: 1 23. Select the corresponding label [J] according to the destination and applicable model and attach it. • J: 1 24. The operation is now completed. Setting Destination „ „ 1. Destination (1) Plug the power cable. (2) Turn the power ON by means of the main power switch while pressing [0] and [8] simultaneously.
-
Page 11: Initializing Memory
Initializing Memory „ „ 2. Memory Initialization (1) Press the [ON/OFF] button while pressing [1] and [*]. (2) [100] → [START] button (3) When “ARE YOU SURE?” appears, press the [INITIALIZE] button. (4) After the display has changed from “TESTMODE 100” to “TEST MODE CL”, shut down the equipment by pressing the [ON/OFF] button until a sound is audible.
Need help?
Do you have a question about the MPS3537mc and is the answer not in the manual?
Questions and answers