Sign In
Upload
Download
Table of Contents
Contents
Add to my manuals
Delete from my manuals
Share
URL of this page:
HTML Link:
Bookmark this page
Add
Manual will be automatically added to "My Manuals"
Print this page
×
Bookmark added
×
Added to my manuals
Manuals
Brands
Haier Manuals
Washer
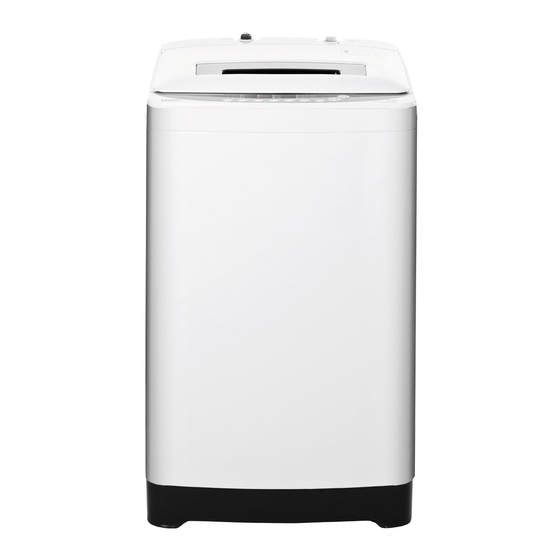
HWMP55-918
User manual
Haier HWMP55-918 User Manual
Haier washing machine user manual
Hide thumbs
Also See for HWMP55-918
:
User manual
(20 pages)
1
Table Of Contents
2
3
4
5
6
7
8
9
10
11
12
13
14
15
16
17
18
19
20
page
of
20
Go
/
20
Contents
Table of Contents
Bookmarks
Table of Contents
Table of Contents
Product Overview
Safety Precautions
Safety Precautions
Installation and Adjustment
Installation of Drainage Hose
Installation of Water Inlet Hose
Before Washing
Loading Your Laundry
Detergent Usage Guide
Operation & Wash Cycles
Operation & Wash Cycles
Maintenance
Trouble-Shooting
Packing List
Specifications
Advertisement
Quick Links
1
Product Overview
2
Detergent Usage Guide
3
Operation & Wash Cycles
4
Maintenance
5
Trouble-Shooting
Download this manual
Automatic Washing Machine User manual
This manual is for
HWMP55-918
HWMP65-918
Please read this manual
carefully before using.
Retain for future
reference.
Table of
Contents
Previous
Page
Next
Page
1
2
3
4
5
Advertisement
Table of Contents
Need help?
Do you have a question about the HWMP55-918 and is the answer not in the manual?
Ask a question
Questions and answers
Related Manuals for Haier HWMP55-918
Washer haier HWMP55-918 User Manual
Fully automatic washing machine (20 pages)
Washer Haier HWMP50F User Manual
Haier automatic washing machine user's manual (16 pages)
Washer Haier HWMP60TLF User Manual
Fuzzy logic automatic washing machine (19 pages)
Washer Haier HWMP95TL User Manual
Top-loading washing machine (17 pages)
Washer Haier HWMP95TL Use & Care Manual
Top-loading washing machine (16 pages)
Washer Haier HWMP65-918 User Manual
Haier washing machine user manual (20 pages)
Washer Haier HWMP60-118 User Manual
Automatic washing machine (10 pages)
Washer Haier HWMP70-118 User Manual
Automatic washing machine (10 pages)
Washer Haier HWMP95TLU Use & Care Manual
(16 pages)
Washer Haier HWMP75-918 User Manual
Automatic washing machine (20 pages)
Washer Haier HWM150-287S User Manual
Twin-tub washing machine (20 pages)
Washer Haier HWM50TLF Use And Care Manual
Haier washing machine owner manual (21 pages)
Washer Haier HWM110-187S دليل االستخدام
User manual (15 pages)
Washer Haier HWM70-918NZP User Manual
Fully automatic washing machine (16 pages)
Washer Haier HWM80-187S Service Manual
Twin-tub (20 pages)
Washer haier HWM70-12688NZP User Manual
Automatic washing machine (9 pages)
This manual is also suitable for:
Hwmp65-918
Table of Contents
Save PDF
Print
Rename the bookmark
Delete bookmark?
Delete from my manuals?
Login
Sign In
OR
Sign in with Facebook
Sign in with Google
Upload manual
Upload from disk
Upload from URL


Need help?
Do you have a question about the HWMP55-918 and is the answer not in the manual?
Questions and answers