Sign In
Upload
Download
Table of Contents
Contents
Add to my manuals
Delete from my manuals
Share
URL of this page:
HTML Link:
Bookmark this page
Add
Manual will be automatically added to "My Manuals"
Print this page
×
Bookmark added
×
Added to my manuals
Manuals
Brands
Brother Manuals
Printer
P-touch 9700PC
User manual
Brother P-touch 9700PC User Manual
Hide thumbs
1
2
3
4
5
6
Table Of Contents
7
8
9
10
11
12
13
14
15
16
17
18
19
20
21
22
23
24
25
26
27
28
29
30
31
32
33
34
35
36
37
38
39
40
41
42
43
44
45
46
47
48
page
of
48
Go
/
48
Contents
Table of Contents
Troubleshooting
Bookmarks
Table of Contents
Compilation and Publication Notice
Trademarks and Copyrights
Safety Precautions
General Precautions
Table of Contents
Unpacking the Printer
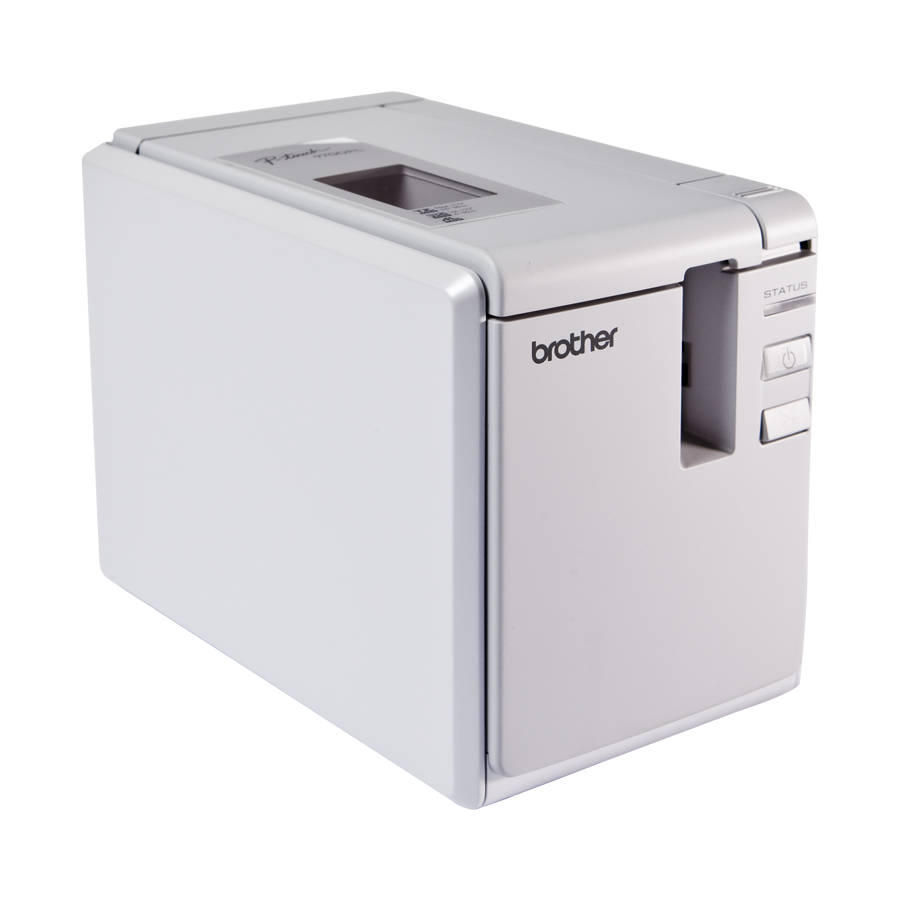
General Description
LED Lamps
Getting Ready to Use Your Printer
Connecting the Printer
Connecting to the Power Source
Connecting to a Computer
Using the Interface Cables
Usb Cable
Installing the Tape Cassette
Authorised Tape
Installing the Software for PT-9700PC
When Using Microsoft ® Windows
Installing the Software for PT-9800PCN
When Using Microsoft ® Windows
For Network Interface Cable Users
For Shared Network Printer Users
Configuration Utility
Uninstalling the Software
When Using Microsoft ® Windows
Advanced Function
Printing at a Higher Speed or at a Higher Resolution
Distributed Printing
BTP (Bar Code Template Print) Function
Preset Template Printing
Bar Code Printing
Using P-Touch Editor Lite LAN (PT-9800PCN and Windows ® Only)
Printing the Printer Settings
Serial Interface Settings (Windows ® Only)
Setting the Computer Baud Rate
Setting the Printer Baud Rate
Maintenance
Cleaning
Troubleshooting
Q & a
Product Specifications
Appendix
General Procedure for the BTP (Bar Code Template Print) Function
List of Bar Codes for Specifying Settings
Begin Printing
Index
Advertisement
Quick Links
1
Connecting to a Computer
2
Installing the Software for Pt-9700Pc
3
Printing the Printer Settings
4
Troubleshooting
Download this manual
97OOPC 98OOPCN
User's Guide
S TA TU S
S TA TU S
If you encounter any problems with your product, visit our Web site:
http://solutions.brother.com/
Table of
Contents
Previous
Page
Next
Page
1
2
3
4
5
Advertisement
Table of Contents
Need help?
Do you have a question about the P-touch 9700PC and is the answer not in the manual?
Ask a question
Questions and answers
Related Manuals for Brother P-touch 9700PC
Label Maker Brother 97OOPC User Manual
(165 pages)
Label Maker Brother P-TOUCH PT-97OOPC User Manual
(118 pages)
Label Maker Brother P-Touch PT-9700PC User Manual
Electronic labeling system (118 pages)
Label Maker Brother P-touch PT-9800PCN Template Manual
(104 pages)
Label Maker Brother PT-9700PC User Manual
P-touch (60 pages)
Label Maker Brother PT-9700PC Manual
(8 pages)
Printer Brother PT-9700PC Technical Specifications
Desktop barcode and label printers (4 pages)
Printer Brother P-touch 9800PCN User Manual
(48 pages)
Printer Brother P-Touch 3600 User Manual
Brother p-touch user's guide (1 page)
Printer Brother P-Touch 9600 User Manual
Laser printer (93 pages)
Printer Brother DSMobile 920DW Quick Start Manual
(2 pages)
Printer Brother 9300 Instruction Manual
(21 pages)
Printer Brother DCP-T230 Quick Setup Manual
(4 pages)
Printer Brother DCP-T230 Online User's Manual
(240 pages)
Printer Brother 1240 Service Manual
Brother laser printer service manual hl-1030, 1240, 1250, 1270n (243 pages)
Printer Brother DCP-T530DW Online User's Manual
(484 pages)
This manual is also suitable for:
P-touch 9800pcn
P-touch pt-9700pc
P-touch pt-9800pcn
97oopc
98oopcn
Table of Contents
Save PDF
Print
Rename the bookmark
Delete bookmark?
Delete from my manuals?
Login
Sign In
OR
Sign in with Facebook
Sign in with Google
Upload manual
Upload from disk
Upload from URL


Need help?
Do you have a question about the P-touch 9700PC and is the answer not in the manual?
Questions and answers