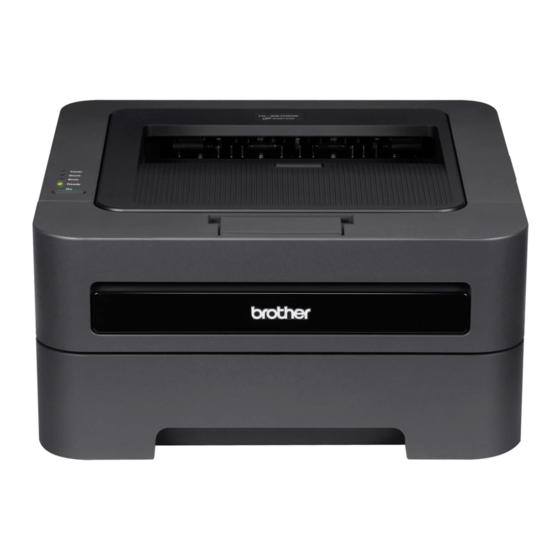
Brother HL-2270DW Installation Manual
How do i configure the wireless printer using wi-fi protected setup or aoss and install the printer driver in windows?
Hide thumbs
Also See for HL-2270DW:
- Network user's manual (47 pages) ,
- Quick setup manual (36 pages) ,
- Faq & troubleshooting (6 pages)
Advertisement
Quick Links
How do I configure the wireless printer using Wi-Fi Protected Setup or AOSS and
install the printer driver in Windows?
1. Confirm your WLAN access point/router has the Wi-Fi
Protected Setup or AOSS™ symbol as shown below.
NOTE
If your WLAN access point/router supports Wi-Fi Protected
Setup (PIN Method) and you want to configure your machine
using the PIN (Personal Identification Number) Method, See
Using the PIN Method of Wi-Fi Protected Setup in the Network
User's Guide.
2. Place the Brother machine within range of your Wi-Fi
Protected Setup or AOSS™ access point/router. The range
may differ depending on your environment. Refer to the
instructions provided with your access point/router.
STEP I: Configure the Wireless Network Card
1. Insert the Brother Driver and Utilities CD into your PC.
2. Select the HL-2270DW.
3. Select Language: English.
4. Click Install Printer Driver (U.S.A./Canada/Latin America).
5. Read the License Agreement: Click Yes if you agree.
6. Select Wireless Network Connection. Click Next.
Advertisement

Summary of Contents for Brother HL-2270DW
- Page 1 5. Read the License Agreement: Click Yes if you agree. STEP I: Configure the Wireless Network Card 1. Insert the Brother Driver and Utilities CD into your PC. 2. Select the HL-2270DW. 6. Select Wireless Network Connection. Click Next.
- Page 2 7. Select Brother Peer-To-Peer Network Printer. Click Next. 10. Press the wireless setup button located at the back of the machine for less than 2 seconds as shown in the illustration below. Note: Use a pointy object such as a ballpoint pen to press the button.
- Page 3 15. Click Next. NOTE: If the following screen appears, click OK to search again. Check the box after you confirm that you have completed the wireless settings, and then click Next. 23. Select the printer from the list and click Next. Wireless setup is now complete.
- Page 4 25. Online Registration. Click Next to continue. 27. Select the option you would prefer for receiving firmware update notices and click OK. 26. Click the checkbox next to Enable the Network Repair Tool and click Finish. The installation is now complete.
- Page 5 Reconfirm the SSID and security information (Network Key). If your router uses WEP encryption, enter the key used as the TS-01 first WEP key. Your Brother machine supports the use of the The wireless setting is not activated, turn the wireless setting to first WEP key only.


Need help?
Do you have a question about the HL-2270DW and is the answer not in the manual?
Questions and answers