Table of Contents
Advertisement
Advertisement
Table of Contents

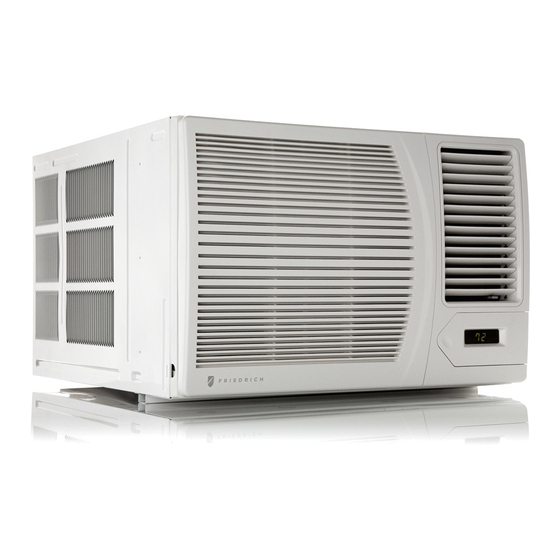
Summary of Contents for Friedrich CP15F10A
- Page 1 CP15F10A...
-
Page 3: Table Of Contents
Window Installation (on some models) ...7 Through-the-Wall Cabinet Installation ...9 Complete Installation ... 10 Air Conditioner Use ... 11 Starting Your Air Conditioner—Digital Control ...12 Remote Control Operation ... 13 Normal Sounds... 13 Air Conditioner Care... 14 Cleaning the Air Filter ... -
Page 4: General Instructions
General Instructions This Installation and Operation Manual has been designed to insure maximum satisfaction in the performance of your unit. For years of trouble-free service, please follow the installation instructions closely. We cannot overemphasize the importance of proper installation. We have added new information to the basic instructions to help you achieve success. WARNING Refrigeration system under high pressure. -
Page 5: Installation Requirements
pan-head Phillips screws(2) -
Page 6: Electrical Requirements
D. 4" minimum to Ground wire must be connected to ground screw located in lower right corner of air conditioner when air conditioner is in cabinet. The electrical ratings for your air conditioner are listed on the model and serial number (nameplate) label. The model and serial number label is located behind the front panel on the flange below the control panel area. -
Page 7: Recommended Grounding Method
NOTE: Your unit’s device may differ from the ones shown. A. Reset button B. Test button This room air conditioner is equipped with a power supply cord required by UL. This power supply cord contains state-of-t he-art electronics that sense leakage current. If the cord is crushed, the electronics detect leakage current and pow er will be disconnected in a fraction of a second. -
Page 9: Window Installation (On Some Models)
NOTES: Handle air conditioner carefully and gently. ■ ■ Be sure your air conditioner cabinet does not fall out of the opening during installation or removal. The place where the power cord exits the air conditioner ■ should be no more than 4 ft (122 cm) from a grounded 3 prong power outlet. -
Page 12: Complete Installation
4. Use a level to check that cabinet is level side to side. li d b i t 5. Check that air conditioner cabinet is tilted to the outside so that 6. Reuse the insulation to seal opening between cabinet and 7. -
Page 13: Air Conditioner Use
and 2-#9.5X 3/8”pan-head Phillips screws, attach front of panel to chassis. -
Page 14: Starting Your Air Conditioner-Digital Control
Timer Delay To set the Timer for a 1- to 24-hour delay until the air conditioner turns off (the air conditioner must be On): 1. Press TIMER. Indicator light will flash. 2. Press the plus or minus button to change the delay time from 1 to 24 hours. -
Page 15: Remote Control Operation
1º until it reaches 60°F (15.5°C). To set Timer for a 1- to 24-hour delay before air conditioner is turned off (air conditioner must be On): 1. Press TIMER. Indicator light on air conditioner control panel will flash. -
Page 16: Normal Sounds
Your new air conditioner is designed to give you many years of dependable service. This section tells you how to clean and care for your air conditioner properly. Call your local authorized dealer for an annual checkup. Remember… the cost of this service call is your responsibility. -
Page 17: Assistance Or Service
For service assistance or to locate factory-authorized parts, call our Customer Service Center at 1-800-541-6645, or your nearest authorized service center. You also can visit the "Dealer Locator" at www.friedrich.com to locate your nearest authorized Friedrich Service Center. ■ There is excessive heat or moisture (open container cooking, showers, etc.) in the room. -
Page 18: Warranty
LIMITED WARRANTY ANY PART: If any part supplied by FRIEDRICH fails because of a defect in workmanship or material within twelve months from date of original purchase, FRIEDRICH will repair the product at no charge, provided room air conditioner is reasonably accessible for service. - Page 20 1-800-541-6645 66129903813...


Need help?
Do you have a question about the CP15F10A and is the answer not in the manual?
Questions and answers