Table of Contents
Advertisement
Quick Links
Advertisement
Table of Contents

Related Manuals for ADDER AdderLink X-USBPRO


Summary of Contents for ADDER AdderLink X-USBPRO
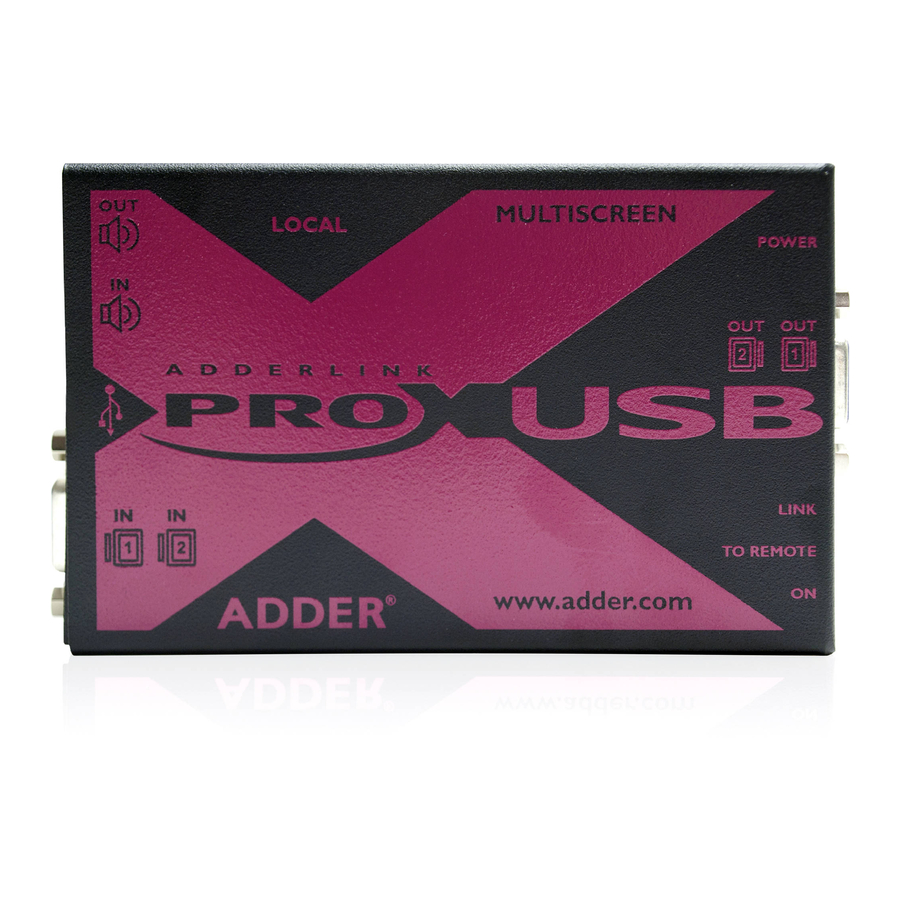
- Page 1 AdderLink X-USBPRO Analog video and USB extenders contents...
-
Page 2: Table Of Contents
Contents Welcome Operation Introduction .................2 General use ................16 Supplied items ................3 Dual user arbitration ..............16 Optional items ................4 Peripheral operation ..............16 Installation Further information Connections .................5 Getting assistance ..............17 Mounting ..................5 Troubleshooting ................17 Connections at the local module ...........6 Warranty ..................18 Local module power connection ........8 Safety information ..............18 Connections at the remote module ........9... -
Page 3: Introduction
Welcome Introduction Thank you for choosing the AdderLink X-USBPRO Using the Adder X-USBPRO extenders does not The USB connections are seamless allowing four full or X-USBPRO-MS2 extenders which provide a mean that you need to compromise on functionality speed USB 2.0 devices to be used simultaneously very effective way to put distance between your in any way. -
Page 4: Supplied Items
(for remote module) Audio lead (3.5mm jacks) CD-ROM AdderLink X-USBPRO-MS2 dual video extender modules The MS2 variant package includes all of the above ancillary items plus: Power adapter and country- specific power lead (for MS2 local module) -
Page 5: Optional Items
Optional items Power adapter and country- specific power lead for local module (if USB powering not possible) Part number: PSU-IEC-5VDC-2.5A Rack mount plate for X-USBPRO module Rack mount chassis (useable for the local or remote modules) Part number: X-RMK-CHASSIS Part number: X-RMK-FASCIA Rack mount plate for X-USBPRO-MS2 module (useable for the local or remote modules) Part number: X-RMK-FASCIA-DUAL... -
Page 6: Installation
Installation Connections Mounting Installation of the X-USBPRO modules is straightforward with minimal The X-USBPRO modules offer two main mounting methods: configuration requirements in most cases. • Supplied four self-adhesive rubber feet • Connections at the local module • Optional rack mount brackets - see below •... -
Page 7: Connections At The Local Module
Connections at the local module 1 Where possible ensure that power is disconnected from the computer 3 Use the supplied USB cable to system to be connected. link the USB socket of the local module to a vacant USB socket 2 Use the supplied video lead to on the computer. - Page 8 5 Connect a category 5, 5e, 6, 7 or 7a link cable (up to 300 metres in length) 6 Optionally connect a local video display to the video out feed-through to the ‘TO REMOTE’ socket on the local module. connector on the local module. To local Link to remote video display...
-
Page 9: Local Module Power Connection
• The X-USBPRO local module is designed to derive its power from the host computer via the USB connection. If this is not possible, then use an optional Adder power adapter (part number: PSU-IEC-5VDC-2.5A), available from your Adder stockist • The X-USBPRO-MS2 local module always requires the use of a power adapter and hence two power adapters are supplied with all X-DVIPRO-MS2 units. -
Page 10: Connections At The Remote Module
Connections at the remote module 1 Place the remote module adjacent to the user location. 3 Attach the lead from the video display to the video 2 Attach the leads of up to four out socket on the remote USB devices (two of which are module. - Page 11 4 Attach the connector of the 5 Optionally attach the lead from category 5, 5e, 6, 7 or 7a link your stereo speakers to the cable (up to 300 metres in audio output socket on the length) to the ‘TO LOCAL’ socket remote module.
- Page 12 6 Attach the output connector of the power supply to the ‘POWER’ socket of the remote module. To power supply 7 Attach the IEC power lead to the power supply body and insert the mains plug of the lead to a nearby earthed power outlet. To power outlet...
-
Page 13: Dual User Configuration
Dual user configuration You can combine two Adder X-USBPRO (or X-USBPRO-MS2) extender sets to create a dual user configuration. Such an installation would allow a single computer to be controlled from two different positions, with each position receiving the same audio... -
Page 14: Video Display (Ddc) Information
Video display (DDC) information DDC indications The Display Data Channel (or DDC) is an industry standard scheme that allows video displays to declare their capabilities to the computer’s video adapter When power is first applied to the local module (either from circuitry, allowing the latter to optimise their outputs accordingly. -
Page 15: Video Compensation
R / G / B and the signals must arrive in should set the cable type and cable length options first. Then, if necessary, the correct order to obtain the optimum screen image. The Adder skewtest.exe use the video gain and colour skew adjustments to fine tune the remote pattern (on the supplied CD-ROM) in particular helps to highlight the pixel video image. - Page 16 Video compensation (continued) Once you have entered video compensation standby level, you can choose To adjust video gain which adjustments to make. Generally you should set the cable type and cable a From standby, use to decrease or increase the gain level. If length options first.
-
Page 17: Operation
USB although most devices remain well below this limit - USB keyboards and mice sub-system of the computer. Unlike with other Adder products, this means that typically require 100mA. Each X-USBPRO contains a self-resetting fuse that will... -
Page 18: Further Information
Troubleshooting Getting assistance Status indicators • Adder Technology website – www.adder.com The green indicators built into the link connectors on each module provide Check the Support section of our website for the latest solutions and driver useful feedback regarding the connection and power status: files. -
Page 19: Warranty
If the product should fail to operate correctly in normal use during the • Ensure that all twisted pair interconnect cables are installed in compliance warranty period, Adder will replace or repair it free of charge. No liability can be with all applicable wiring regulations. -
Page 20: Radio Frequency Energy
Radio Frequency Energy A Category 5 (or better) shielded twisted pair cable must be used to connect the units in order to maintain compliance with radio frequency energy emission regulations and ensure a suitably high level of immunity to electromagnetic disturbances. - Page 21 © 2011 Adder Technology Limited All trademarks are acknowledged. Release 2.0f November 2011 Part No. MAN-X-USBPRO Adder Technology Limited, Adder Corporation, Adder Asia Pacific 6 New Industrial Road, Technology House, 350R Merrimac Street, Hoe Huat Industrial Building Newburyport, Trafalgar Way, Bar Hill,...
Need help?
Do you have a question about the AdderLink X-USBPRO and is the answer not in the manual?
Questions and answers