Zibro D 112 Operating Manual
Pvg international b.v.
Hide thumbs
Also See for D 112:
- Operating manual (83 pages) ,
- Operating manual (142 pages) ,
- Operating manual (67 pages)
Advertisement
Advertisement
Table of Contents

Related Manuals for Zibro D 112


Summary of Contents for Zibro D 112
- Page 1 D 112 - D 116 - DX 118 GEBRAUCHSANWEISUNG BRUGSANVISNING INSTRUCCIONES DE USO MANUEL D'UTILISATION KÄYTTÖOHJE OPERATING MANUAL ISTRUZIONI D’USO > BRUKSANVISNING GEBRUIKSAANWIJZING INSTRUKCJA OBSŁUGI BRUKSANVISNING KULLANIM KILAVUZU...
- Page 2 Dear Sir, Madam, Congratulations with the purchase of your dehumidifier. You have acquired a high quality product which will give you many years of pleasure, if you use it responsibly. Please read the user's manual first in order to ensure the optimum life span of your dehumidifier. On behalf of the manufacturer, we provide a two-year warranty on material- or manufacturing defects.
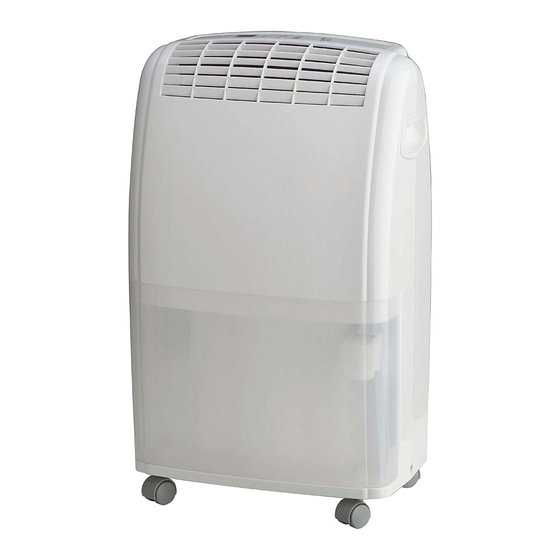
- Page 3 IMPORTANT COMPONENTS Control panel Dry air outlet Removable water container Humid air inlet Air filter Drainage spout (ø 13 mm) with cap Castor Plug and cord Handle...
-
Page 4: Safety Instructions
SAFETY INSTRUCTIONS Install the device only when it complies with local regulations, by-laws and standards. The unit is only suitable for use in dry locations, indoors. Check the mains voltage and frequency. This unit is only suitable for earthed sockets, connection voltage 220-240 V. / 50 GENERAL •... - Page 5 • For safety reasons take care when children are in the surrounding of the device, as with any other electrical device. • Have any repairs only carried out by a recognised service engineer or your supplier. Follow the instructions for use and maintenance as indicated in the user manual of this device.
-
Page 6: Operation
OPERATION DX118 Insert the plug in the wall outlet. Ensure that the water container has been positioned correctly. If the -light switches on when you use the device for the first time, remove the water container from the device and replace it in the correct position. Press the -button to switch the dehumidifier on. -
Page 7: Air Filter
AIR FILTER The D112, D116 and DX118 dehumidifiers are equipped with a 3-layer filter package to clean the circulated room air. The filters are delivered with a separately packed 3M™ HAF filter and an active carbon filter. These filters must be placed according to instructions before operating the dehumidifiers. - Page 8 If desired, it is possible to connect a drainage hose to the device for permanent water drainage. Follow these steps: Unscrew the cap on the back. Remove the rubber stop from the drainage spout. Connect the drainage hose and ensure that the end of the hose is lower than the spout, otherwise the water will not drain and flooding may occur.
-
Page 9: Troubleshooting
TROUBLESHOOTING Check the following before contacting technical support: Problem Cause Solution Insert the plug into the wall The powercord is not connected. outlet. Turn the hydrostat to the The hydrostat setting is too low. desired setting. The unit does not work. Remove the water from the The water container is full. -
Page 10: Technical Specifications
• Transportation costs and the risks involved during the transportation of the dehumidifier or components shall always be for the account of the purchaser. To prevent unnecessary expenses, we recommend that you always carefully read the user’s manual first. If this does not provide a solution, take the dehumidifier to your distributor for repair. - Page 11 PERFORMANCE GRAPH Nom. capacity 80 % RH 60 % RH 50 % RH T [°C] (to be used as indication only) Waste electrical products should not be disposed with household waste. Please recycle where facilities exist. Check with your local authority or retailer for recycling advice.
- Page 12 +44 1606 837787 tel: +43 7434 44867 fax: +44 1606 837757 fax: +43 7434 44868 email: sales@scottmail.co.uk email: pvgaustria@zibro.com > ITALIA e BELGIË PVG Italy SRL PVG Belgium NV/SA Via Niccolò Copernico 5 Industrielaan 55 50051 CASTELFIORENTINO (FI) 2900 SCHOTEN tel:...
Need help?
Do you have a question about the D 112 and is the answer not in the manual?
Questions and answers