Table of Contents
Advertisement
Advertisement
Table of Contents

Related Manuals for Russell Hobbs RH1042


Summary of Contents for Russell Hobbs RH1042
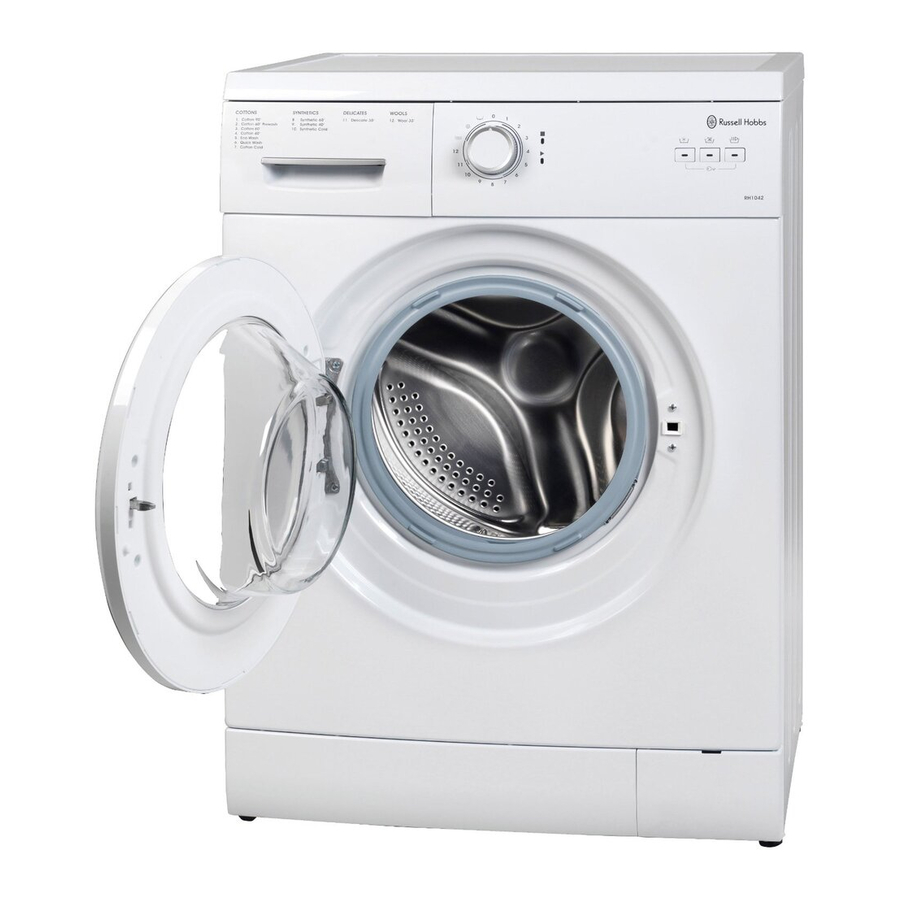
- Page 1 Instruction Manual Washing Machine Model number: RH1042 Please read these instructions carefully and keep them for future reference. For Customer Services, Spare Parts & Manufacturer’s Warranty Information, please call 0845 208 8750 Opening times: Monday – Friday 8am – 6pm...
-
Page 2: Table Of Contents
Contents Before Use ......................... 3 Safety Warnings ...................... 3 Recommendations ....................4 Installation ......................... 4 Removing transportation screws ................5 Leveling the machine ....................6 Electrical connection ....................6 Water inlet connection ..................... 6 Water discharge connection ..................7 Technical specifications ..................8 Preparing your laundry .................... -
Page 3: Before Use
Before Use Safety Warnings You should remove the transportation bolts from your machine before the first usage. Faults occurring in machines operated with transportation bolts fitted are not covered by the warranty. Do not use an extension lead for this appliance. Only plug directly into a wall socket. -
Page 4: Recommendations
Recommendations Ensure you run the machine empty on a full cycle at 90°C with detergent before using the machine properly for the first time. Put detergent into the drawer at the beginning of each wash. It is recommended that you wash only extremely dirty laundry in prewashing programme. -
Page 5: Installation
Installation Removing transportation bolts Transportation bolts, which are located at the back of the machine, must be removed before using or running the machine. Loosen the bolts by rotating counterclockwise with a suitable spanner. Pull out the screws together with the coloured plastic spacer, (the bolts that have been removed from the machine should be kept in case the machine needs to be used in future). -
Page 6: Leveling The Machine
Leveling the machine Your machine should be installed on a hard surface – do not install onto a carpet. For your machine to work quietly and without any vibration, it should it be settled on a flat, non-slippery and tough ground. ... -
Page 7: Water Inlet Connection
Water inlet connection Only a qualified engineer should install this machine Your machine has a single water (cold) inlet. To prevent leakages on the connection joints, 1 seal is included in the hose packing, (Fit this seal on the end of the water inlet hose at the tap side.) ... -
Page 8: Technical Specifications
Technical specifications Operating voltage (220-240) V ~/50Hz frequency (V/Hz) Total current (A) Maximum: 1 Mpa Water pressure (Mpa) Minimum: 0.1 MPa Total power (W) 2100 Maximum laundry capacity (kg) Spin Speed (rev / min) 1000 Programme number Dimensions (Height x Width x Depth) 845 x 597 x 527 (mm) For Customer Services, Spare Parts &... -
Page 9: Preparing Your Laundry
Preparing your laundry Separate your clothes according to their type (cotton, synthetic, sensitive, woolen, etc), washing temperature, dirtiness and colour. Never wash your white and coloured clothes together. Since your new coloured clothes may shed dye on the first wash, wash them separately. -
Page 10: Using Your Machine
Using your machine Open the door of your machine. Place your laundry in your machine. Note: Maximum loading capacity may vary based on the laundry type you wash, degree of contamination and the programme you have chosen. Do not exceed maximum dry loading capacity indicated in the programme table for washing programmes. -
Page 11: Control Panel
Control Panel Drawer Programme Knob Programme ready light Programme end light Cold wash No spin Start/Pause cycle Detergent Drawer For Customer Services, Spare Parts & Manufacturer's Warranty Information please call 0845 208 8750 -12-... -
Page 12: Selecting A Programme
Selecting a Programme Select the required washing programme by rotating the programme knob in either direction (clockwise or anti-clockwise). Ensure that the programme knob is aligned with the required programme. 1 Cotton 90°C 2 Cotton 60°C with prewash 3 Cotton 60°C 4 Cotton 40°C 5 Eco wash 6 Quick wash... -
Page 13: Using Your Machine
Using your machine Before Use Plug your machine in. Turn on the tap connected to the machine. Open the machine door. Place your laundry in your machine. Push the door of your machine until hearing the locking sound to close it. - Page 14 MAX DRY LOAD DETERGENT CAPACITY PROGRAMME TYPE OF LAUNDRY EXPLANATIONS COMPART. (kg) RH1042 Dirty, boil, cotton and 1 COTTON 90˚ linen textile Very dirty, cotton, 2 COTTON 60˚ coloured linen (PREWASH) textile COTTON Dirty, cotton, coloured 60˚ and linen textile Slightly dirty, paint to get 4 COTTON 40˚...
-
Page 15: Child Lock
Child Lock Child lock is used in order to protect the washing cycle from the effects of unwanted button activations during the cycle. The Child lock is activated by pressing the first and third button on the control panel at the same for more than 3 seconds. When child lock is activated LEDs on the function buttons will blink to indicate that Child Lock is active. -
Page 16: Maintenance And Cleaning
Maintenance and Cleaning When cleaning your machine, ensure that the machine is unplugged and the water supply is closed off. Water Inlet Filters Filters are used to avoid dirt and foreign substances in the water from entering the machine. These are on the tap and on the ends of water valves along the water inlet hose of your machine. -
Page 17: Cleaning The Pump
Cleaning the pump A filter system is available which avoids threads from your laundry and tiny materials from entering into the pump during the water discharging operation carried out by your machine after completing washing. This prolongs the lifecycle of your pump. It is recommended that you clean your pump filter once in 2 months. -
Page 18: Cleaning The Detergent Drawer
Cleaning the detergent drawer Your detergent may deposit residue in the detergent drawer over time. To clean the residue formed, disassemble the detergent drawer regurlarly. To eject the detergent drawer: Pull the detergent drawer out fully. Continue to pull gently while pressing the detergent cover to allow the drawer to slide out ... -
Page 19: Body
Body Clean the outer body of your machine with warm water and a non-inflammable cleaning agent that will not abrade the body of your machine. After rinsing with some water, dry using a soft and dry cloth. Drum Do not leave metallic objects such as needles, paper clips, coins, etc. in your machine. - Page 20 FAULT POSSIBLE CAUSE REMOVING METHODS It is not plugged in. Plug machine in. Fuse blown. Replace the fuse. Electricity cut-off. Check mains power. Start/pause button not Press start/pause pressed. button. Your machine does not start. Switch the programme Programme knob ‘stop’ knob desired position.
-
Page 21: Energy Efficiency
Energy Efficiency Energy and water consumption may vary based on water pressure, water hardness, water temperature, ambient temperature, laundry amount, additional function selection, and voltage fluctuations. It will reduce energy and water consumption to use your machine with the laundry capacity proposed for the selected programme, wash your less dirty or daily laundry in short programmes, carry out cleaning and maintenance periodically, use your machine at the convenient time intervals specified by electricity vendor. - Page 22 For manufacturer’s warranty information please call 0845 208 8750 Opening times: Monday - Friday 9am until 5pm Saturday: 9am – 1pm Revision 3 This symbol is known as the 'Crossed-out wheelie bin Symbol'. W hen this symbol is marked on a product/batteries, it means that the product/batteries should not be disposed of with your general household waste.
Need help?
Do you have a question about the RH1042 and is the answer not in the manual?
Questions and answers
How to test with out washing load?
To test the Russell Hobbs RH1042 without a washing load, you can run a rinse or spin cycle without any clothes. Use the "RINSING" program to check water intake and drainage or the "SPINNING" program to test the spinning function. Ensure the machine is connected to an earthed power supply and the correct voltage is used.
This answer is automatically generated