Table of Contents
Advertisement
Advertisement
Table of Contents

Related Manuals for Roberts R9943


Summary of Contents for Roberts R9943
- Page 1 R9943 3 band PLL Synthesised Radio Please read this manual before use...
-
Page 2: Table Of Contents
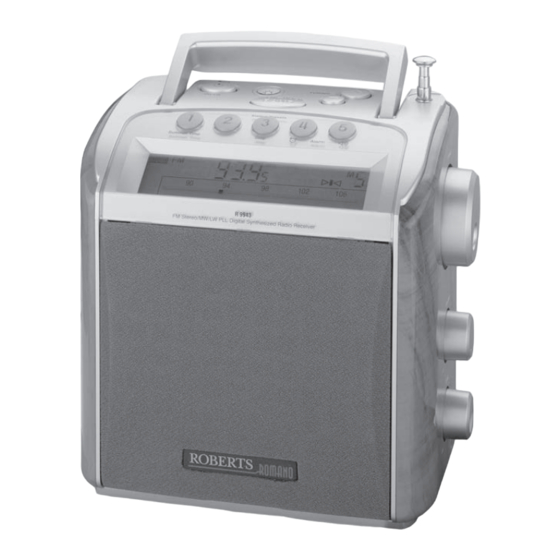
Contents Controls ................2-3 General ................19 Display ................4 Specifications ..............20 Battery operation ............... 5 Circuit features ..............20 Battery replacement ............5 Mains Supply ..............21 Mains operation ..............5 Guarantee ................ 22 Important Information - please read before use Setting the clock ............... - Page 3 Controls (Top) 1. On/Off/Sleep button 5. Telescopic aerial 2. Light button 6. Preset, Summer time, Tuning step and Alarm set buttons 3. Waveband, Time set, FM Stereo/Mono button 7. LCD display 4. Tuning Up/Down buttons If you need any further advice, please call our Technical Helpline on :- 020 8758 0338 (Mon-Fri)
-
Page 4: Controls
Controls (Right side) 8. Headphone socket 9. Tone control 10. Volume control 11. Rotary tuning control 12. Mains input socket (on rear) 13. Battery compartment (on rear) -
Page 5: Display
Display 1. Step indicator 8. Alarm indicators 2. Sleep/Snooze indicator 9. Tuning indicator 3. Summer time indicator 10. Memory indicator 4. Stereo indicator 11. Battery indicator 5. Waveband indicators 12. Dial scale 6. Frequency/Time indicators 7. Frequency units indicators If you need any further advice, please call our Technical Helpline on :- 020 8758 0338 (Mon-Fri) -
Page 6: Battery Operation
4. If the radio is not to be used for any extended period of time it is recommended that the batteries are removed from the radio. We would recommend for economy that the R9943 is used on the mains whenever possible with battery operation for occasional or stand-by use only. -
Page 7: Setting The Clock
Setting the clock 1. The clock will start running when the batteries are installed or when the radio is connected to the mains supply. The display will show 0:00 . 2. Ensure that the radio switched off. 3. Press and hold down Time set button until the hours digits begin to flash in the display. -
Page 8: Operating Your Radio
Operating you radio Your radio is equipped with four tuning methods:- Scan tuning, Rotary tuning, Manual tuning, and Memory preset tuning. When switched on your radio will display the waveband and frequency in use. A graphical display similar to a conventional radio tuning dial will be shown in the bottom half of the display. -
Page 9: Manual Tuning
Manual tuning 1. Press the On/Off button to switch on your radio. 2. Select the required waveband by repeatedly pressing the Band button. For the FM waveband fully extend the Telescopic aerial angle and rotate, if necessary, to obtain best reception. 3. -
Page 10: Rotary Tuning
Rotary tuning 1. Press the On/Off button to switch on your radio. 2. Select the required waveband by repeatedly pressing the Band button. For the FM waveband fully extend the Telescopic aerial angle and rotate, if necessary, to obtain best reception. 3. -
Page 11: Presetting Stations
Presetting stations There are 5 memory presets for each of the 3 wavebands. 1. Press the On/Off button to turn on the radio. 2. Tune to the required station using one of the methods previously described. 3. Press and hold down the required Preset button until the radio beeps (greater than 2 seconds) The preset number will appear in the display and the station will be stored under the chosen preset button. -
Page 12: Recalling A Preset Station
Recalling a preset station 1. Press the On/Off button to turn on the radio. 2. Select the required waveband by repeatedly pressing the Band button. 3. Momentarily press the required Preset button, the preset number and station frequency will appear in the display. -
Page 13: Wake To Buzzer Alarm
Wake to buzzer alarm A bleep tone will sound when using the buzzer alarm. The alarm bleep will increase in volume every 15 seconds for one minute followed by one minutes silence before repeating the cycle. The buzzer alarm will sound for one hour unless turned off by pressing the On/Off button. -
Page 14: Wake To Radio Alarm
Wake to radio alarm When the radio alarm is selected the radio will turn on and play the last station listened to. The radio alarm will sound for one hour unless turned off by pressing the On/Off button. Pressing the On/Off button whilst the alarm is sounding will cancel the alarm for 24 hours. -
Page 15: Snooze Function
7. Press the Tuning up/down buttons to set the required radio alarm duration. (1, 2, 3 or 4 hours) 8. Press the button to complete alarm setting. 9. To permanently cancel the alarm press the button until the symbol is removed from the display. Snooze function(buzzer alarm only) 1. -
Page 16: Sleep Timer
Sleep timer The sleep timer will automatically switch off the radio after a preset time has elapsed. 1. Press and continue to hold down the button the display will cycle through the available sleep times in the order 90-60-30-15-90. Release the button when the required sleep time appears in the display. -
Page 17: Headphone Socket
Headphone socket A 3.5mm Headphone Socket located on the right-hand end of you radio is provided for use with either headphones or an earpiece. Inserting a plug automatically mutes the internal loudspeaker. FM Stereo/Mono button 1. If a station being received is weak some hiss may be audible. To reduce the hiss press and hold down the FM St./Mono button to switch to mono mode. -
Page 18: Tuning Step Size
Tuning step size In Europe and other parts of the world MW tuning steps are 9kHz, in America the MW tuning step size is 10kHz. On FM most countries use 100kHz tuning steps, your radio can however be set so as to allow an FM tuning step size of 50kHz. Ensure that your radio is switched off. -
Page 19: Summer Time
Summer time Your radio can be set to advance the clock to summer time by pressing a single button. 1. Ensure that your radio is switched off. Press and hold down the Summer time button until the summer time indicator appears in the display. -
Page 20: Reset Button
Reset button If your radio fails to operate correctly, or some digits on the display are missing or incomplete carry out the following procedure. 1. With the aid of a suitable implement (the end of a paper clip) press the reset button located on the underside of your radio for at least 5 seconds, this will reset the microprocessor, clock time and clear all stations stored in preset memory. -
Page 21: Specifications
Specifications Circuit Features Power Requirements Loudspeaker Woofer 125mm 4ohms Mains AC 230 volts, 50Hz only Tweeter 38mm 4 ohms Batteries 4 x LR20 (D size) Output Power Mains 1.4 Watts Battery Life Batteries 0.8 Watts Approx. 70 hours of listening for 4 hours a day at normal volume using alkaline cells. -
Page 22: Mains Supply
Mains supply The wire coloured BLUE must be connected to the terminal marked N or The R9943 will operate from a supply of AC 230 volts, 50Hz only. coloured BLACK. DO NOT cut off the mains plug from this equipment. If the plug... -
Page 23: Guarantee
In the event that it is not possible to return the instrument to the Roberts' dealer from whom it was purchased, please contact Roberts Radio Technical Services at the address shown on the rear of this manual. - Page 24 ROBERTS RADIO TECHNICAL SERVICES 97-99 Worton Road Isleworth Middlesex TW7 6EG Technical Helpline :- 020 8758 0338 (Mon-Fri during office hours) Issue 1...
Need help?
Do you have a question about the R9943 and is the answer not in the manual?
Questions and answers