Table of Contents
Advertisement
Quick Links
Advertisement
Table of Contents

Subscribe to Our Youtube Channel
Related Manuals for Jet JPB-60


Summary of Contents for Jet JPB-60
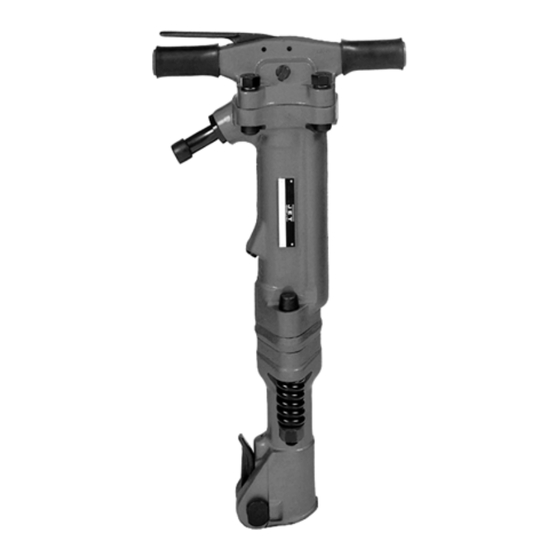
- Page 1 OWNER'S MANUAL JPB-60 & 90 Paving Breakers WMH TOOL GROUP Industrial Division P.O. BOX 1349 Auburn, WA 98071-1349 Ph: 1-800-274-6848 ▪ Fax: 1-800-274-6840 E-mail: jet@wmhtoolgroup.com www.wmhtoolgroup.com M-550075 12/02 Copyright © WMH Tool Group...
-
Page 2: Warranty And Service
Authorized Repair Stations located throughout the United States can give you quick service. In most cases, any one of these WMH Tool Group Repair Stations can authorize warranty repair, assist you in obtaining parts, or perform routine maintenance and major repair on your JET, Performax, Wilton, or Powermatic tools. -
Page 3: Specifications
WARNING This paving breaker is designed and intended for use by properly trained and experienced personnel only. If you are not familiar with the proper and safe operation of a paving breaker, do not use until proper training and knowledge has been obtained. •... -
Page 4: Daily Service
Pour several ounces of JET Marvel Air Tool Oil into the tool inlet before connecting to the air supply. • Before storing the tool, pour a few ounces of JET Marvel Air Tool Oil into the air inlet and momentarily operate the tool. - Page 5 Disassembly 1. Disconnect the air tool from the air system. 2. Loosen the back head bolt nuts, remove the lock washer, and back head bolt nuts. 3. Remove the back head from the cylinder and remove the throttle valve, throttle valve spring, plunger, and plunger spring.
-
Page 6: Complete Assembly
15. Remove oil fill plug in the back head and refill the spindle oil tank. 16. Tighten oil tank plug. See torque specification chart. 17. Before operating a newly rebuilt tool, pour a few ounces of JET Marvel air tool oil into the air inlet. - Page 7 Torque Specifications (ft./lb.): Refer to the chart below when assembling parts or tightening after a period of service: PB-60 PB-90 Front Head Bolt 2-2.5mm* 3mm* Back Head Bolt 166.3-202.5 166.3-202.5 Front Retainer Bolt 43.4-57.8 43.4-57.8 Oil Tank Bolt 57.8 28.9-32.5 GD Plug 7.2-10.8 10.8-14.5...
- Page 8 Parts Breakdown for JPB-60-1-1/8” and JPB-60-1-1/4”...
- Page 9 35 ..P61103......Piston Hammer ..................1 36 ..P61126......Tappet Seat....................1 37 ..P61127......Tappet ...................... 1 38 ..P61143......Front Head Bushing ........ Used w/the JPB-60-1-1/8” ..1 ....P91243......Front Head Bushing ........ Used w/the JPB-60-1-1/4” ..1 39 ..P61121......Front Head ....................1 40 ..P91242......Front Head Bolt Spring ......
- Page 10 Parts Breakdown for JPB-90-1-1/8” and JPB-90-1-1/4”...
- Page 11 Parts List for JPB-90-1-1/8” and JPB-90-1-1/4” Index Part Description Size Qty. 1 ..P91213......Rubber Grip....................2 2 ..P91211......Back Head....................1 3 ..P91220......Oil Control Plug........1/8”........... 1 4 ..P91245......Felt Oiler..........8.5x25mm ........ 1 5 ..P91217......Throttle Lever ................... 1 6 ..P91250......Spring Pin..........4x40mm ........1 7 ..P91251......Stop Lever..........
Need help?
Do you have a question about the JPB-60 and is the answer not in the manual?
Questions and answers