KitchenAid KEBC107 Use And Care Manual
Kitchenaid built-inelectric convection oven use & care guide
Hide thumbs
Also See for KEBC107:
- Use & care manual (24 pages) ,
- Use & care manual (24 pages) ,
- Use & care manual (24 pages)
Table of Contents
Advertisement
Quick Links
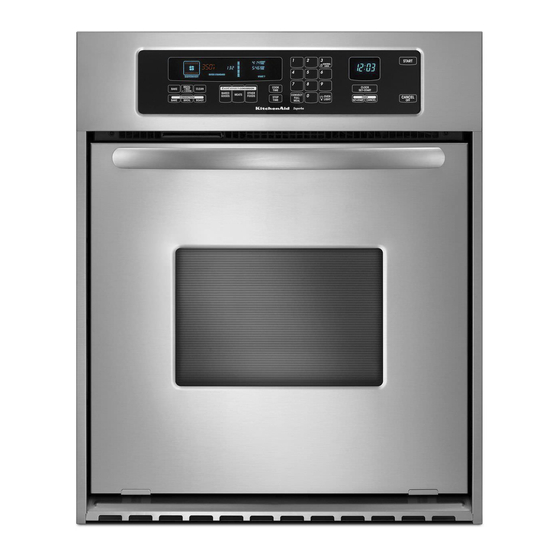
BUILT-IN ELECTRIC CONVECTION OVEN
For questions about features, operation/performance, parts accessories or service, call: 1-800-422-1230
In Canada, call for assistance 1-800-461-5681, for installation and service, call: 1-800-807-6777 or visit our website at...
Table of Contents............................................................................................................ 2
Models
KEBC107
KEBC147
8302184
Use & Care Guide
www.kitchenaid.com or www.KitchenAid.ca
KEBC177
KEBC247
KEBC208
KEBC277
KEBC278
KEBV208
KEBS207
Advertisement
Table of Contents


Need help?
Do you have a question about the KEBC107 and is the answer not in the manual?
Questions and answers
What are the dimensions of Kitchen Aid model number KEBC107? And do you sell an built- in oven with the dam dimensions?
what are the dimensions of the KEBC177