Sign In
Upload
Download
Table of Contents
Contents
Add to my manuals
Delete from my manuals
Share
URL of this page:
HTML Link:
Bookmark this page
Add
Manual will be automatically added to "My Manuals"
Print this page
×
Bookmark added
×
Added to my manuals
Manuals
Brands
Magic Chef Manuals
Oven
9512WUA
Owner's manual
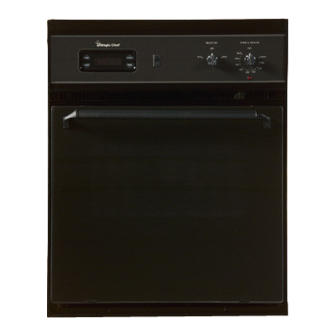
Magic Chef 9512WUA Owner's Manual
24-inch electric wall oven with time-of-day clock and timer
Hide thumbs
1
2
3
4
5
6
7
8
9
10
11
12
13
14
15
16
Table Of Contents
17
page
of
17
Go
/
17
Contents
Table of Contents
Bookmarks
Advertisement
Table of Contents
1
Oven Racks
2
Baking Tips
3
Roasting Tips
4
Common Baking Problems and Why They Happen
5
Broiling Chart
6
Oven Light
7
How to Obtain Service
Download this manual
24-inch
Electric
.Wall Oven
with Time-Of-Day
Clock and Timer
(Read and keep these instructions for future reference)
8112P126-60
(01-95-00)
Table of
Contents
Previous
Page
Next
Page
1
2
3
4
5
Advertisement
Table of Contents
Need help?
Do you have a question about the 9512WUA and is the answer not in the manual?
Ask a question
Questions and answers
Subscribe to Our Youtube Channel
Related Manuals for Magic Chef 9512WUA
Oven Magic Chef 9112 Gas Owner's Manual
24-inch gas wall oven with time-of-day clock and timer (17 pages)
Oven Magic Chef 9112WUV Installation Manual
Gas 24-inch built-in ovens (25 pages)
Oven MAGIC CHEF 9112WUV Owner's Manual
24-inch gas wall oven with time-of-day clock and timer (16 pages)
Oven MAGIC CHEF 9512XUB Owner's Manual
24-inch electric wall oven with time-of-day clock and timer (17 pages)
Oven Magic Chef 9875XYB Installation Instructions
30" electric built-in wall ovens (4 pages)
Oven Magic Chef 9522WUA Owner's Manual
24-inch electric wall oven with time-of-day clock and timer (16 pages)
Oven Magic Chef 9815VUV Manual
(19 pages)
Oven Magic Chef Admiral Series Manual
(13 pages)
Oven Magic Chef 9122XUB Owner's Manual
24-inch gas wall oven with time-of-day clock and timer (17 pages)
Oven Magic Chef MCFR17TTB User Manual
Built in range oven (20 pages)
Oven Magic Chef MCSWOE24S User Manual
24-inch built-in wall oven (48 pages)
Oven Magic Chef 6898XVB Owner's Manual
Electronic controller & self-clean oven (24 pages)
Oven Magic Chef CLY1612BDH Manual
(17 pages)
Oven Magic Chef 59F-5TXW Use And Care Manual
Electric wall oven with "t" clock (13 pages)
Oven Magic Chef 3468VRV Repair Manual
(28 pages)
Oven Magic Chef 3523XRA Repair Manual
(19 pages)
This manual is also suitable for:
9512wut
9512xub
Table of Contents
Print
Rename the bookmark
Delete bookmark?
Delete from my manuals?
Login
Sign In
OR
Sign in with Facebook
Sign in with Google
Upload manual
Upload from disk
Upload from URL


Need help?
Do you have a question about the 9512WUA and is the answer not in the manual?
Questions and answers